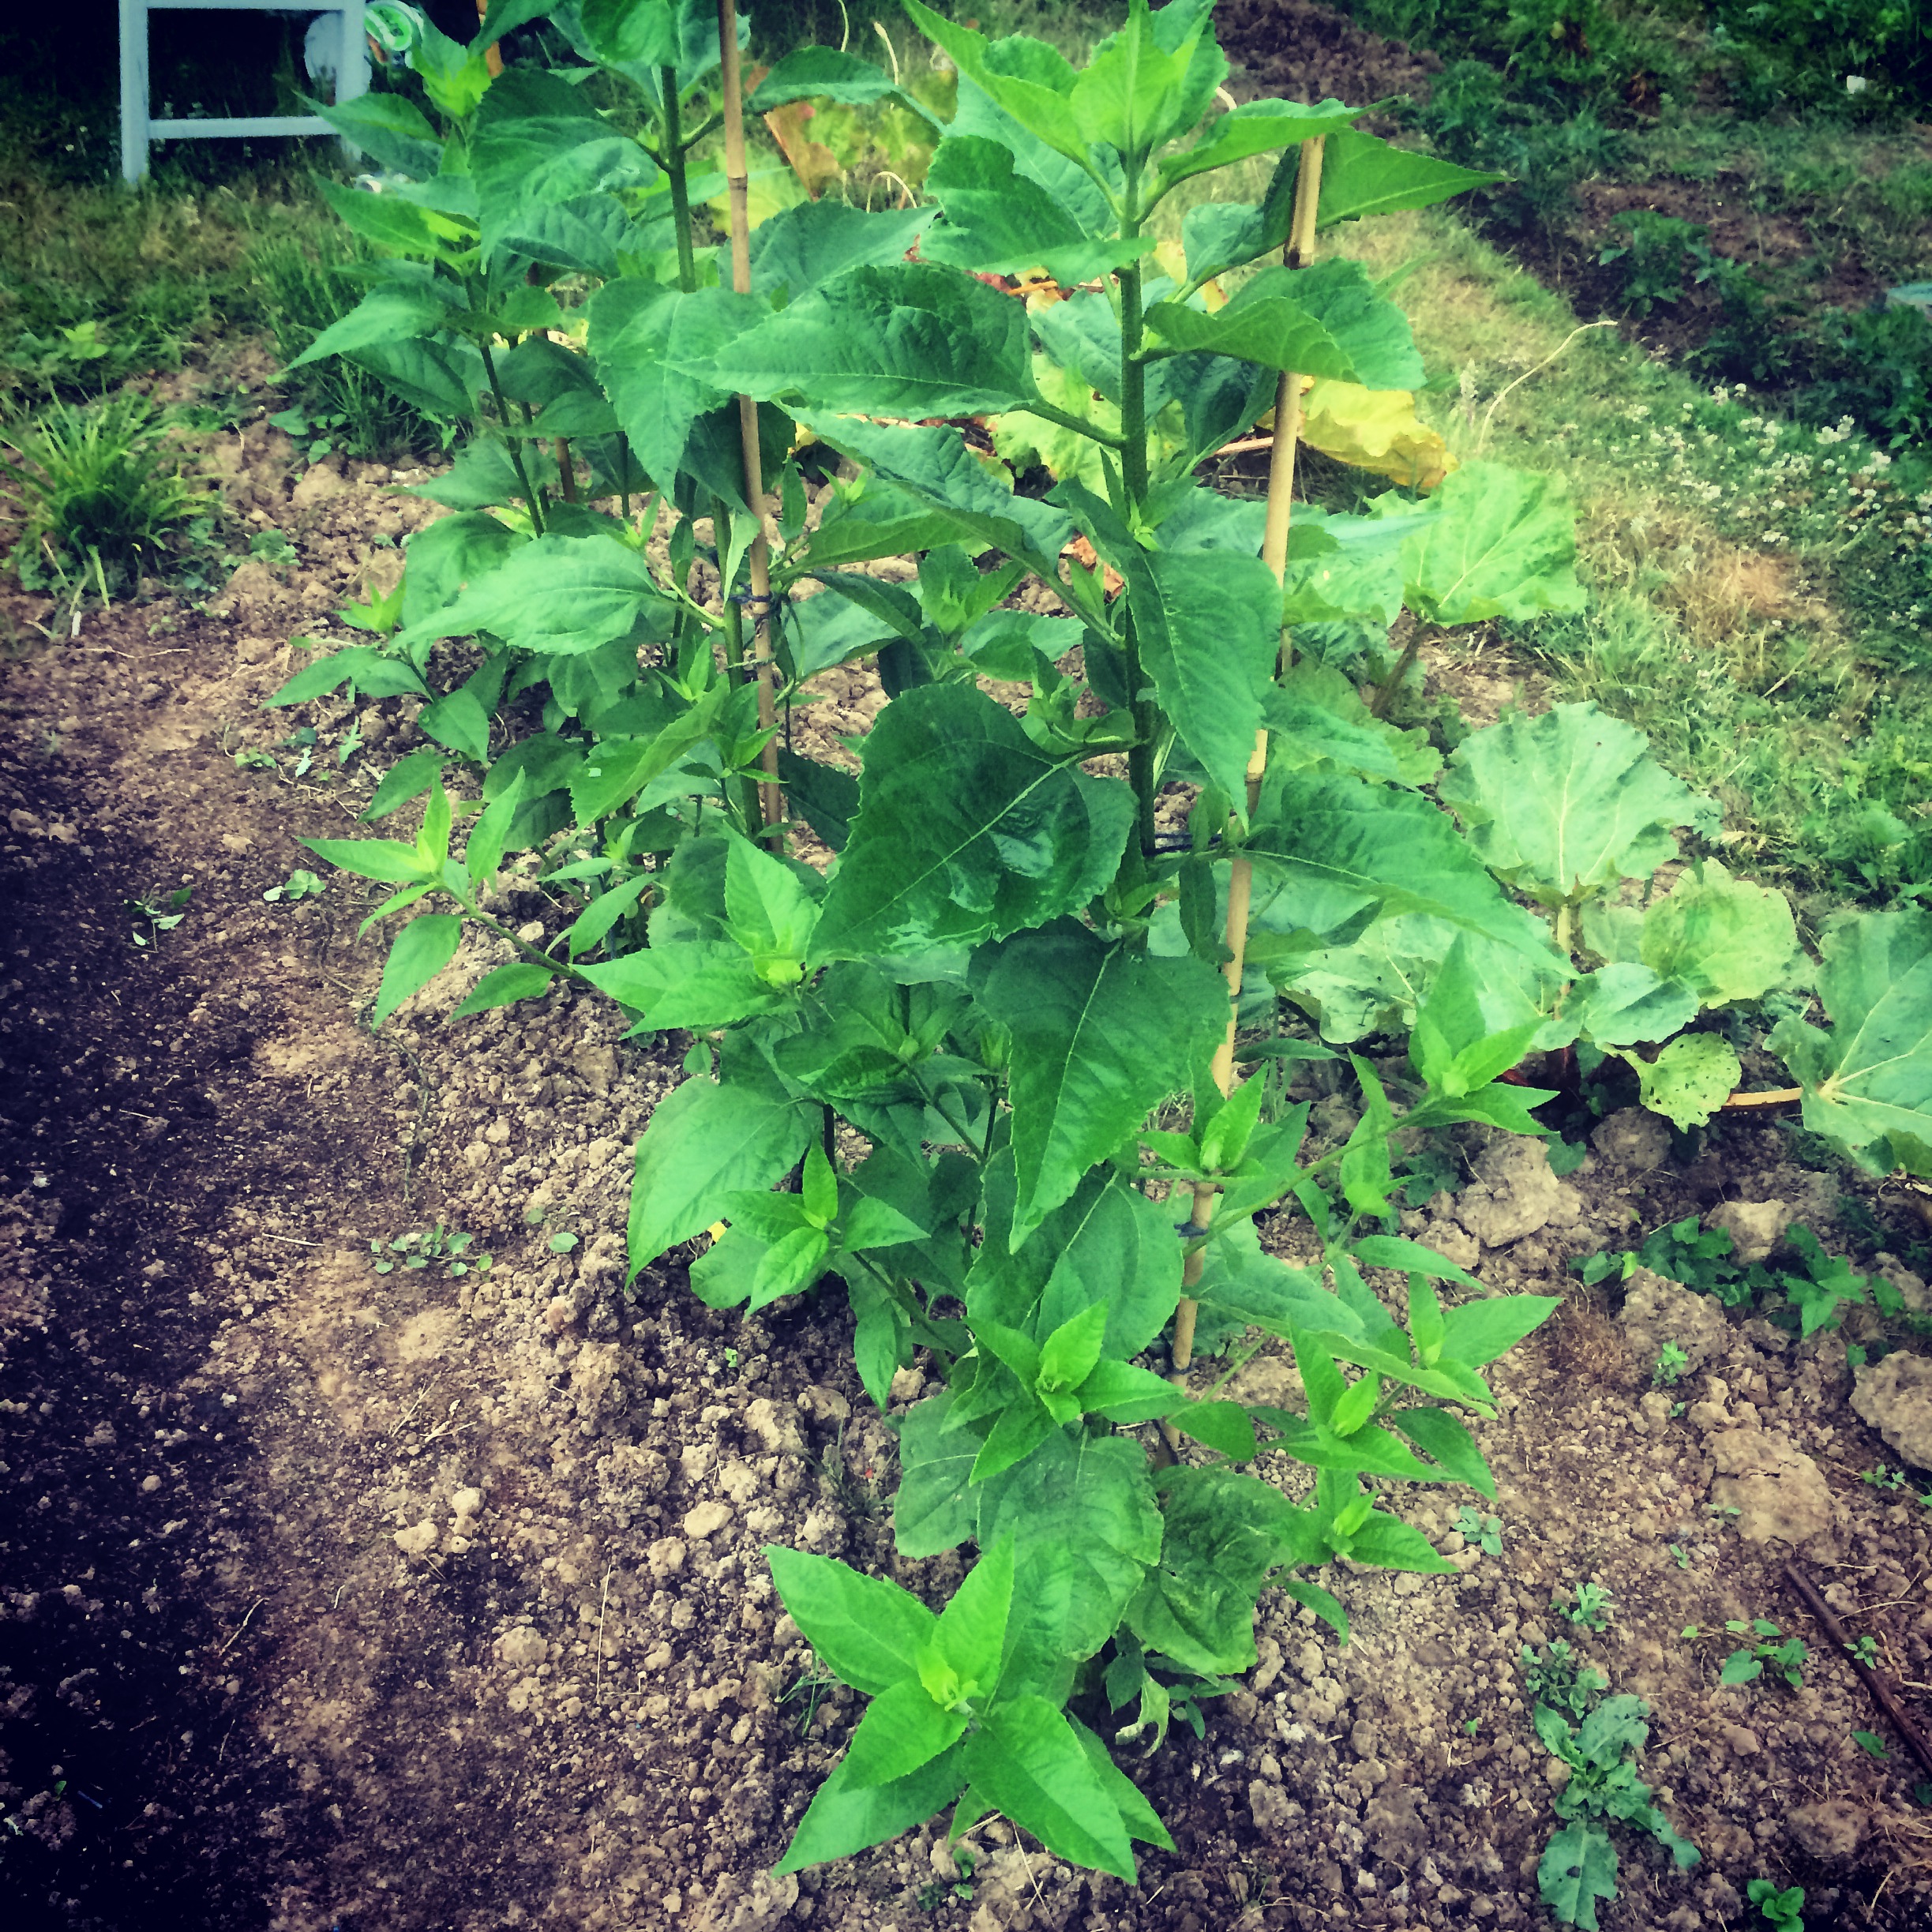
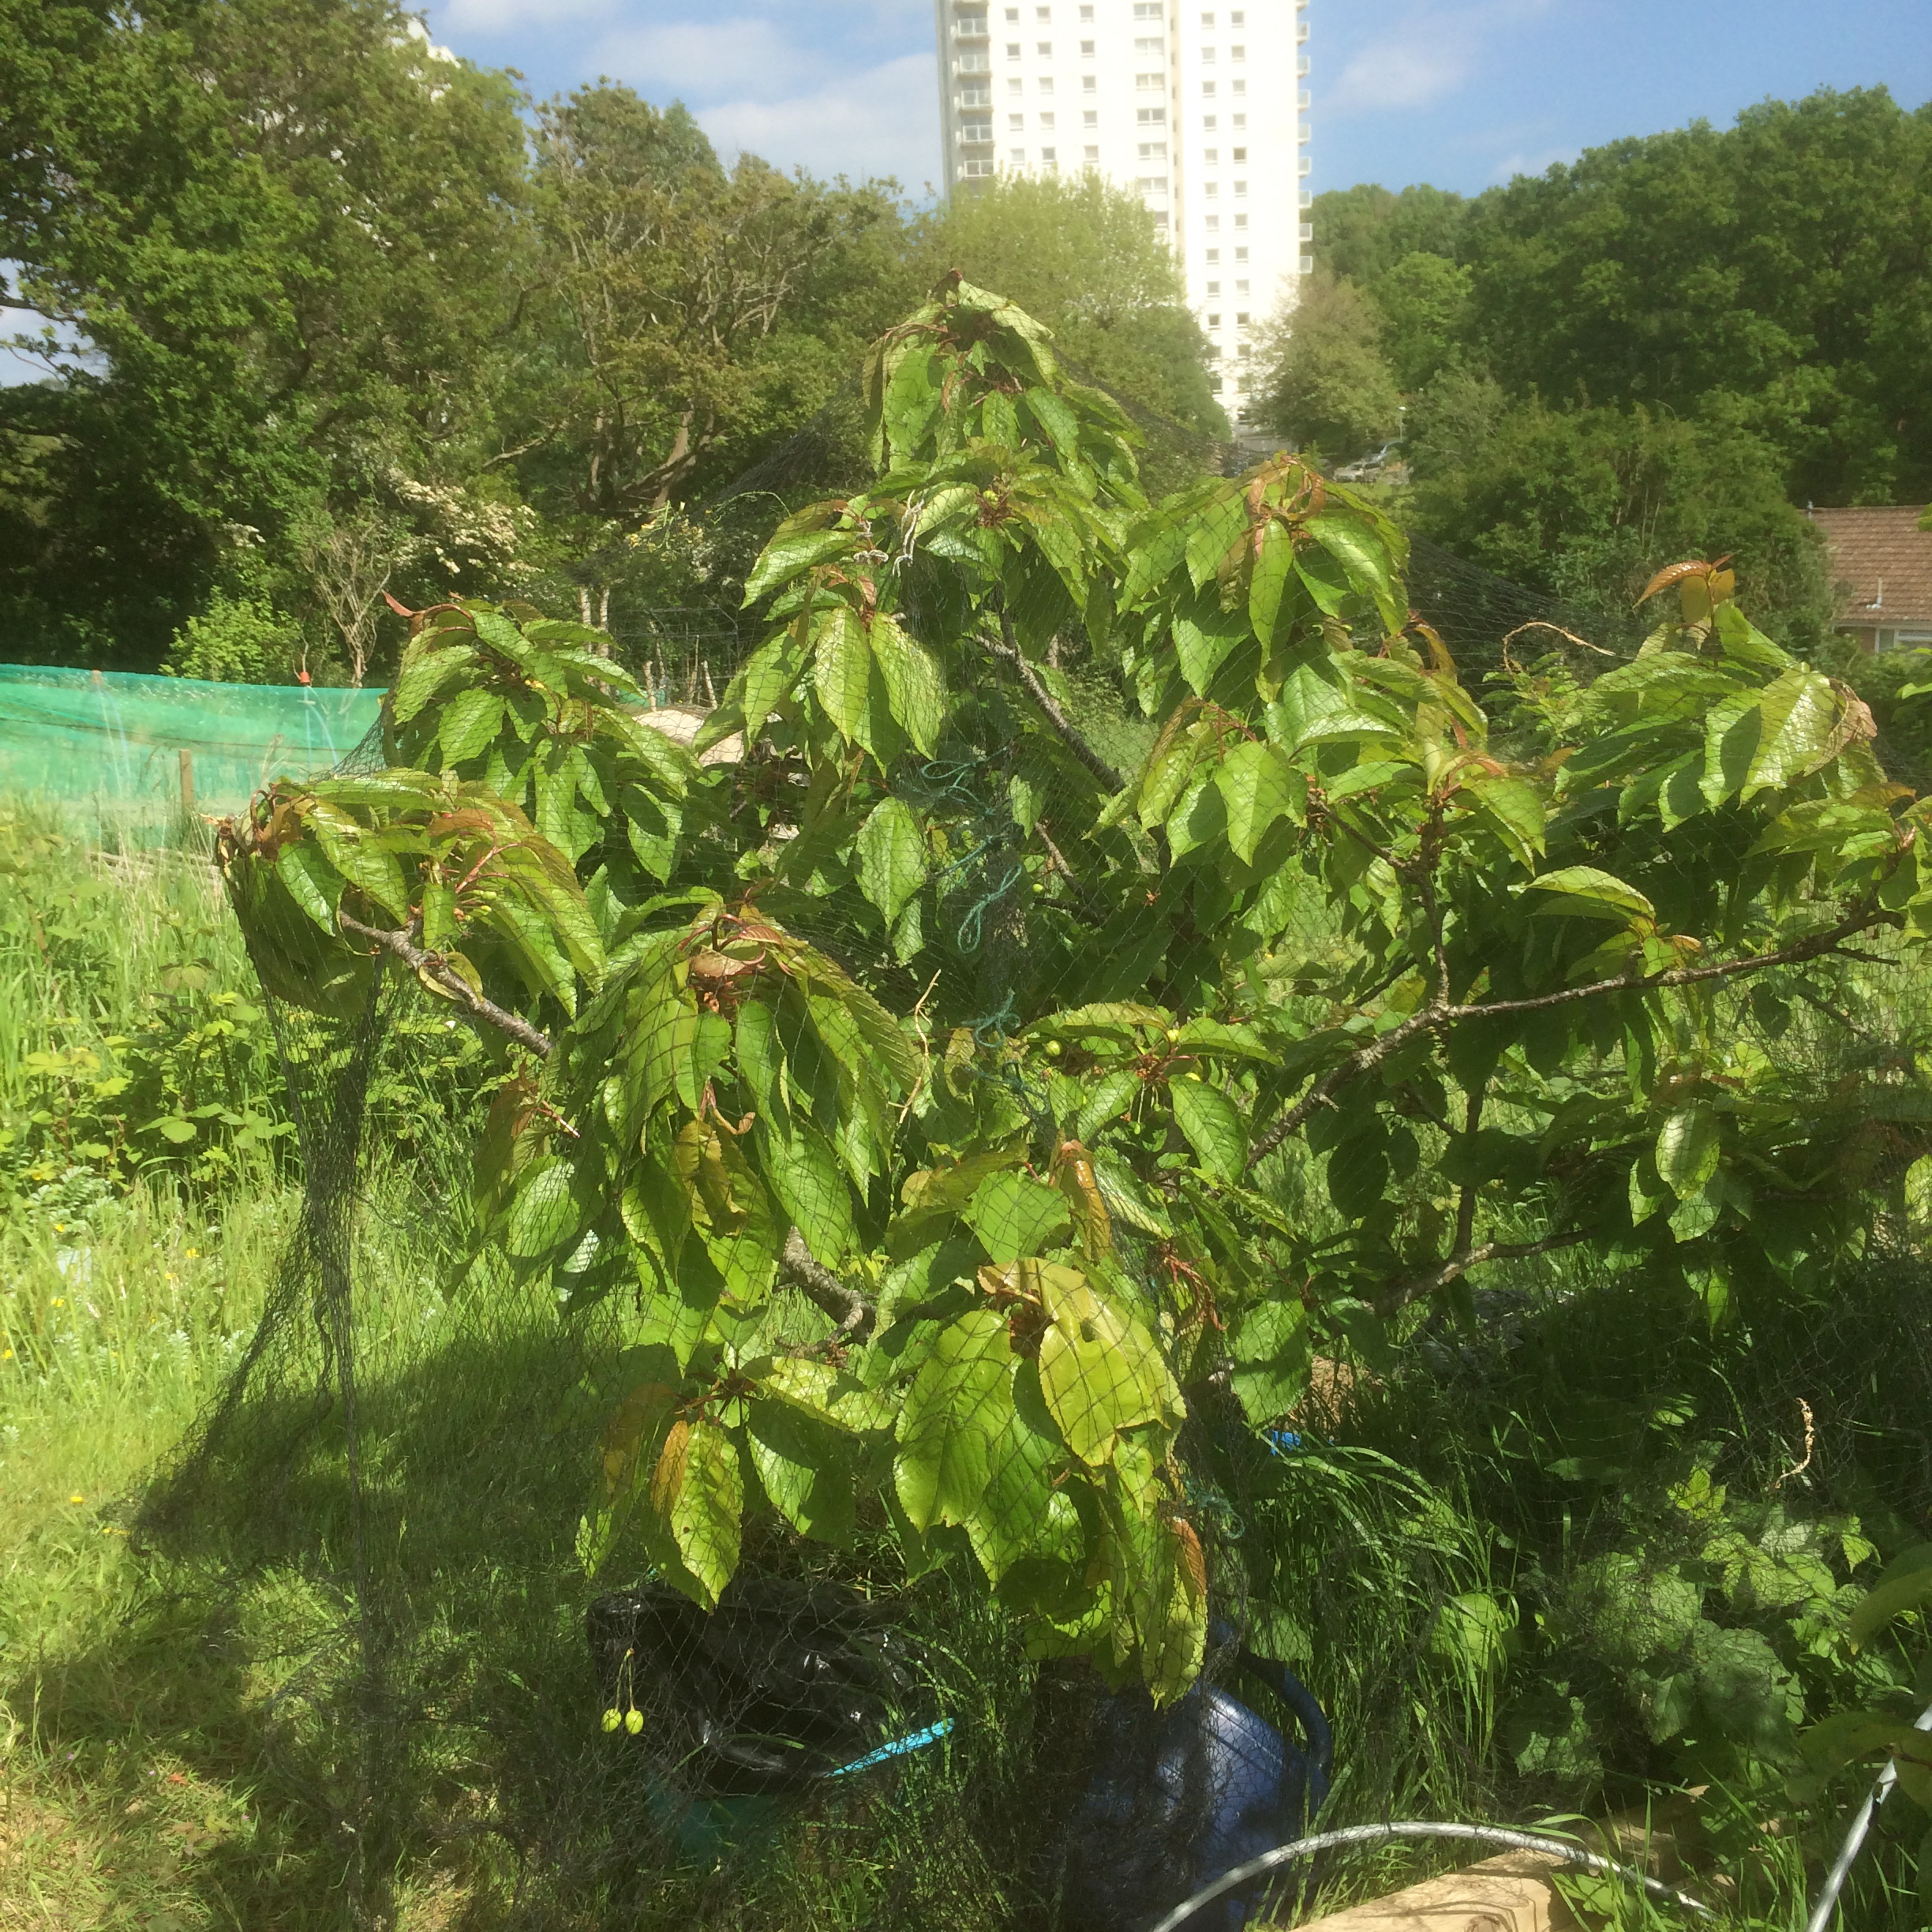
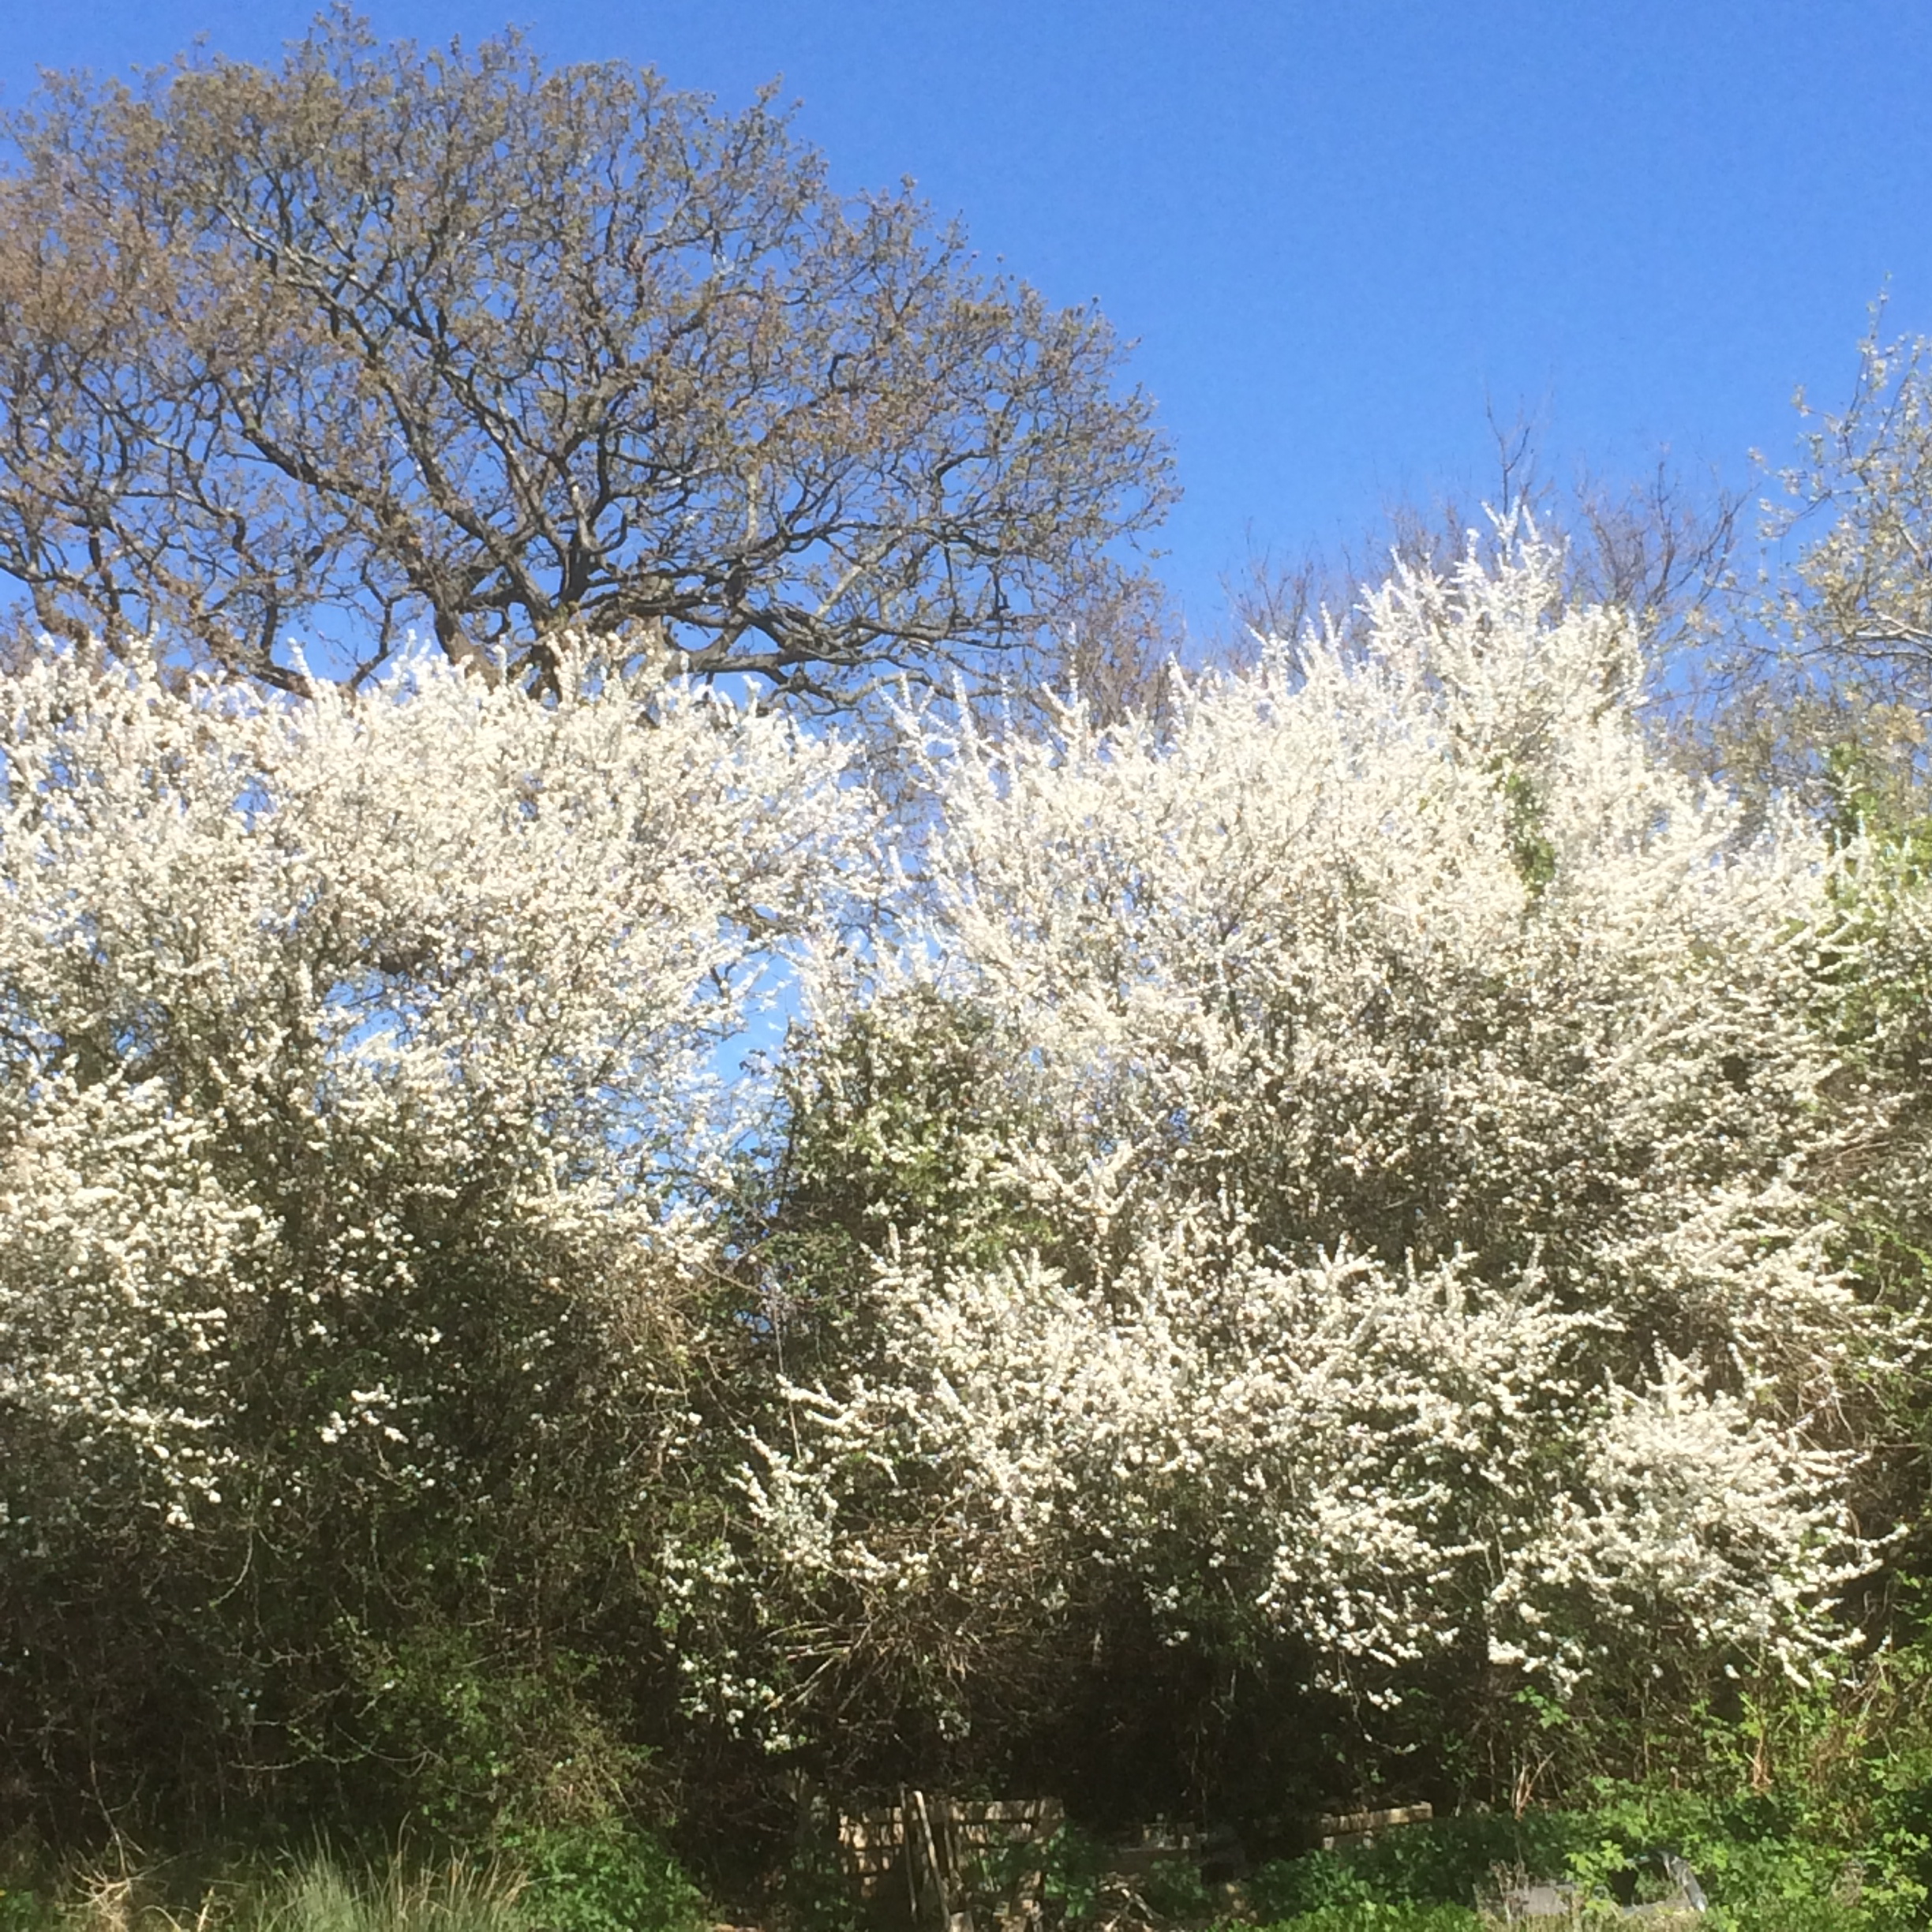
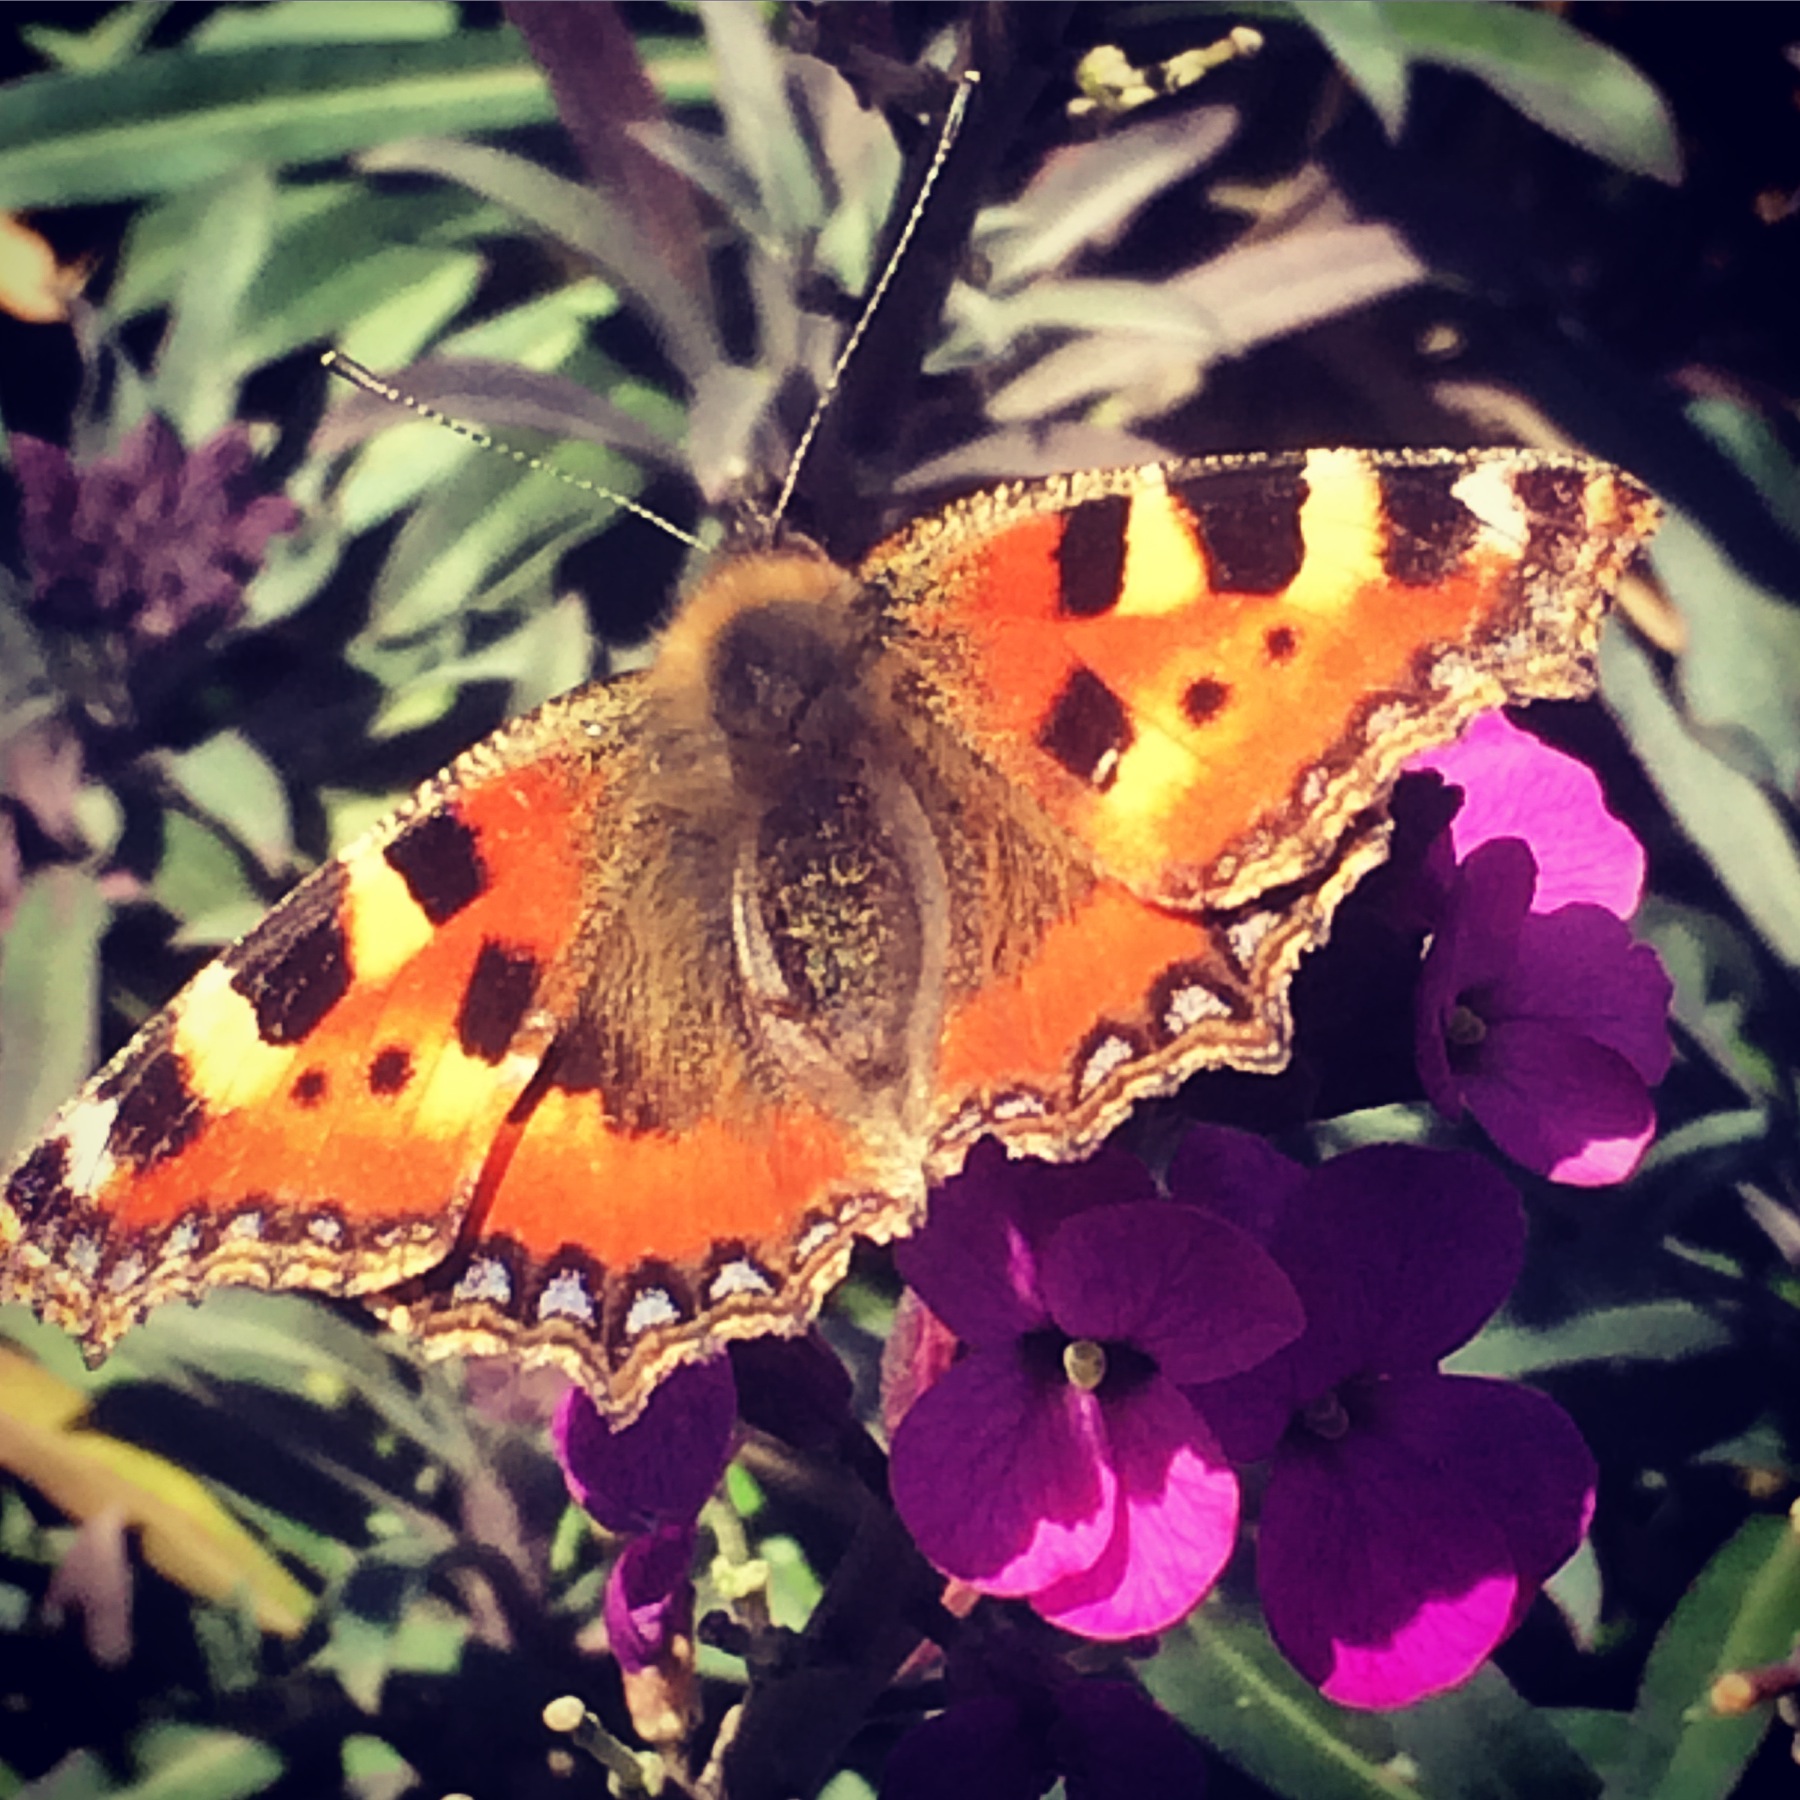
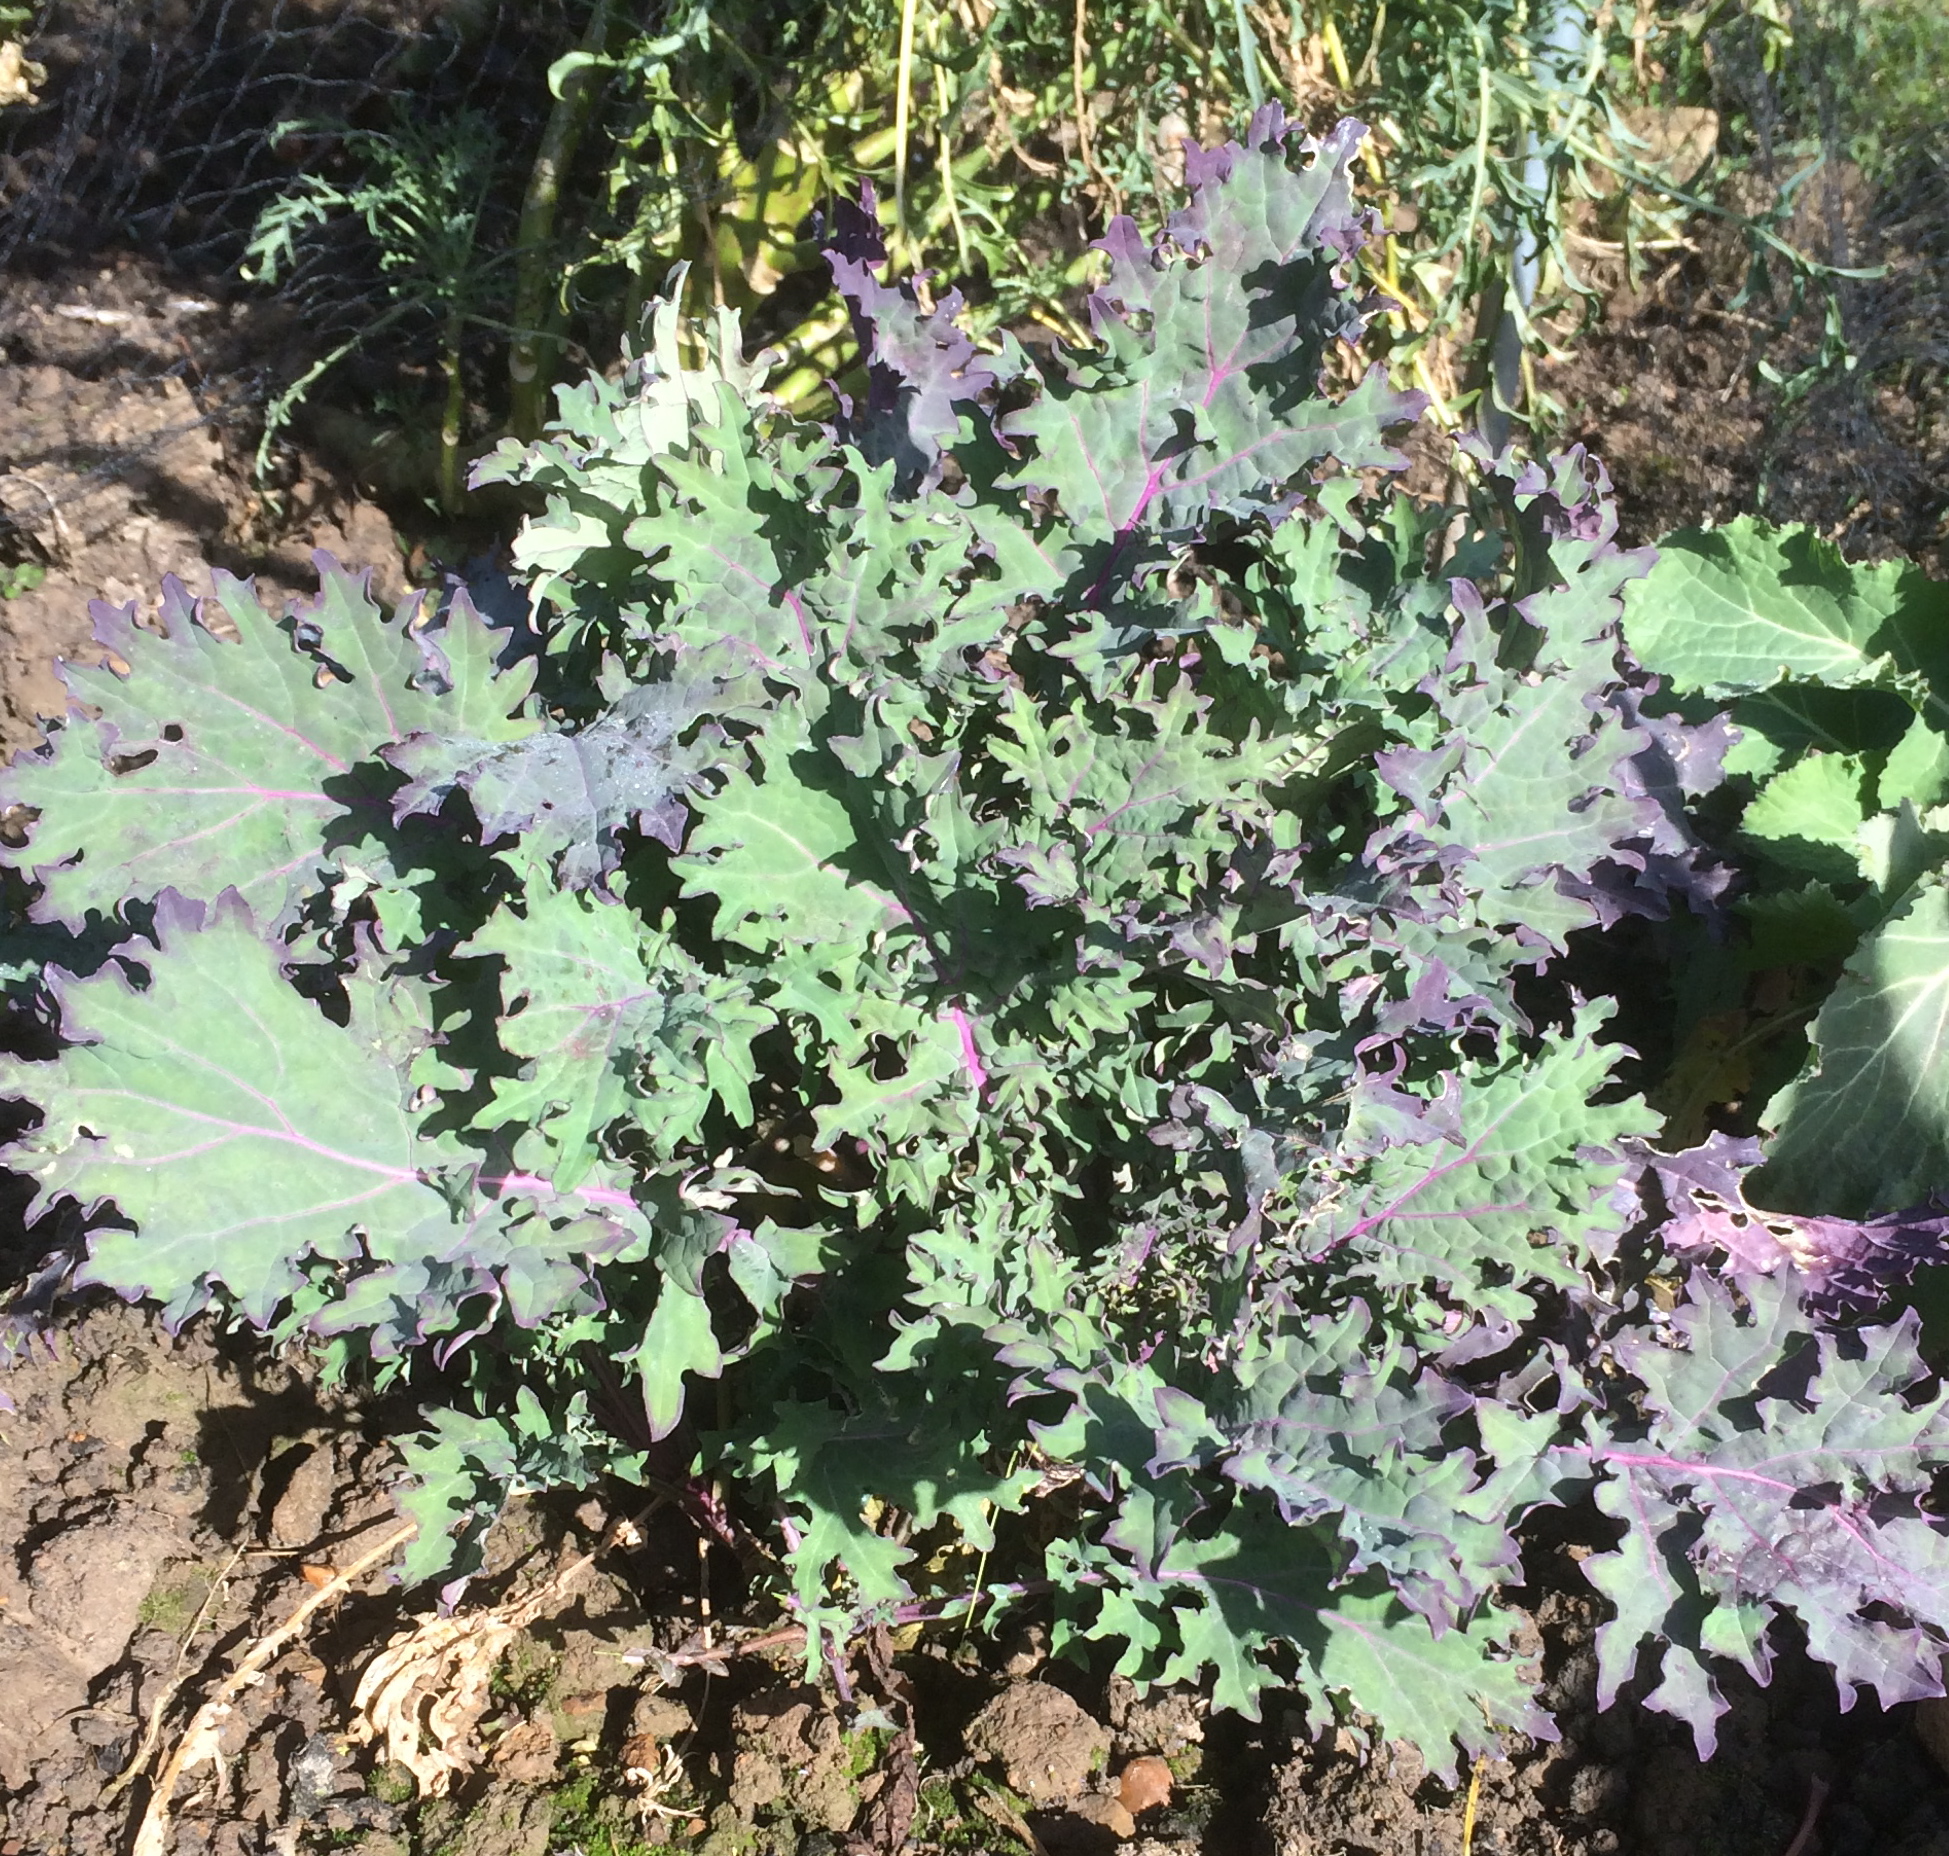
Lavender, plot 2.
July was a predominantly dry month, with temperatures roughly in line with the seasonal average. After an extended period of dry weather, heavy rainfall finally arrived late July. Around 45mn of rain fell over 3 days. This rainfall was much needed and gave the plants a good growth burst, and on the plus side, we didn’t need to water the plants for an entire week!
Here’s whats been going on over the past month
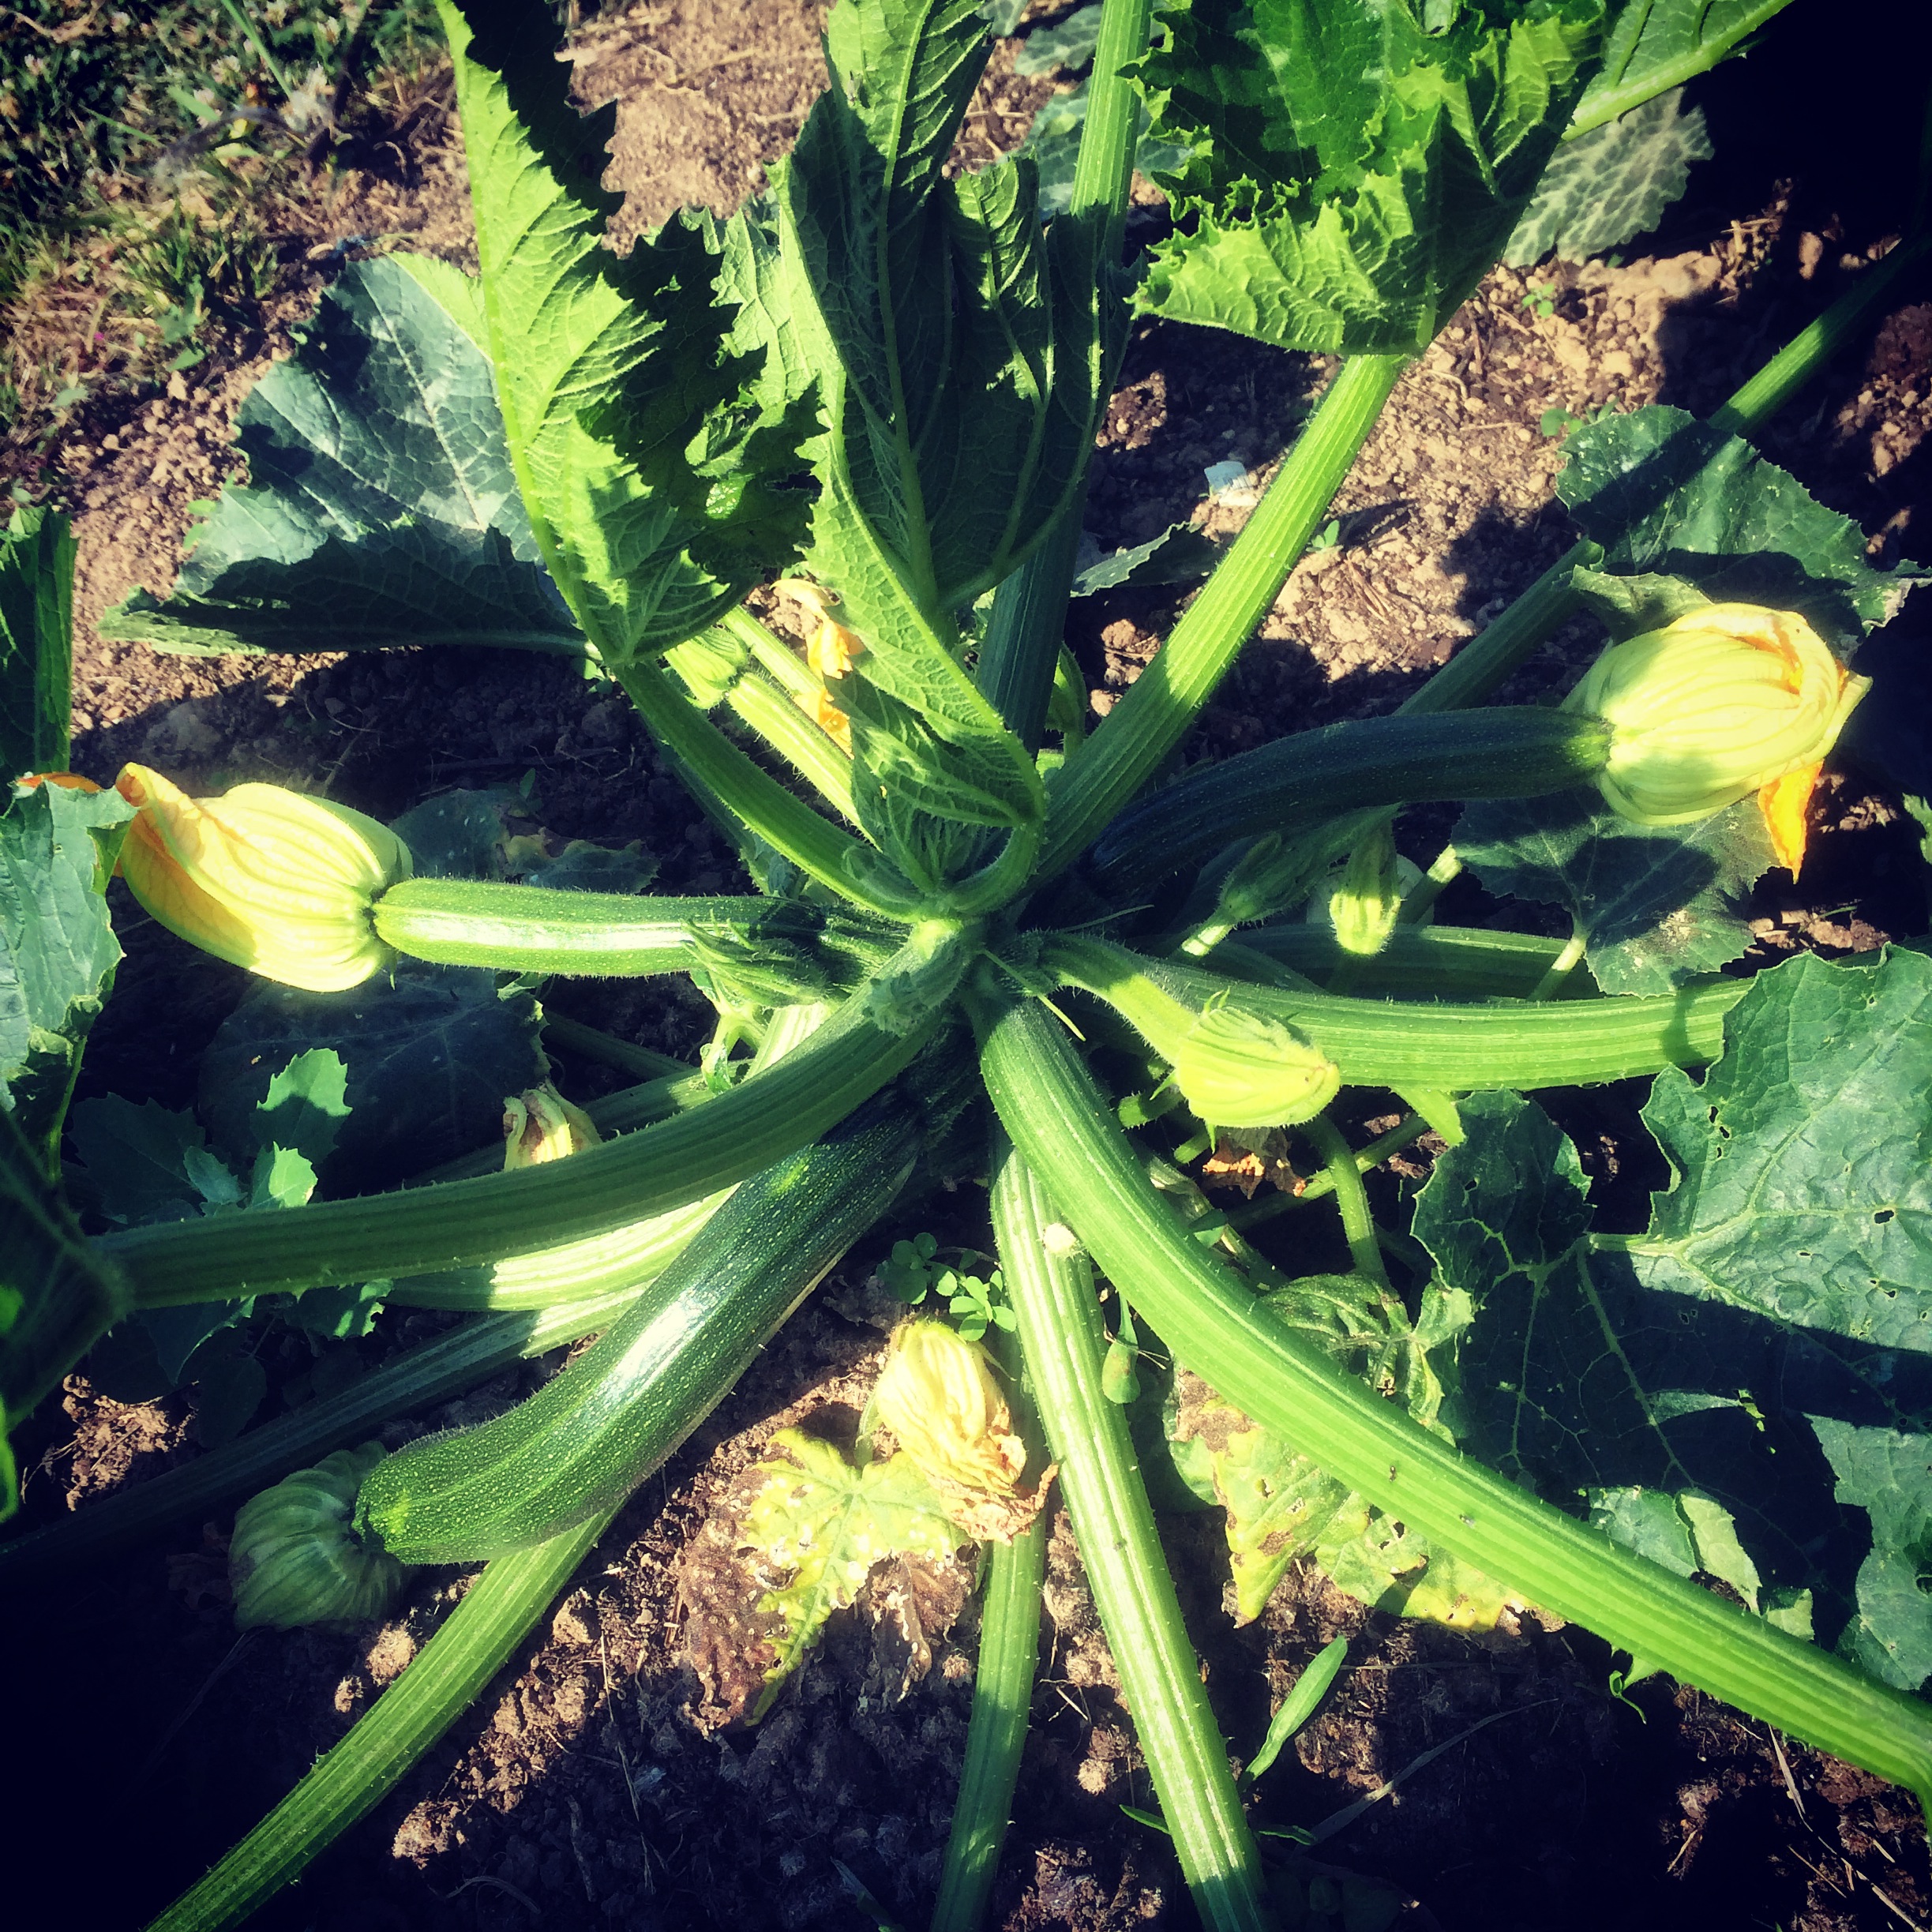
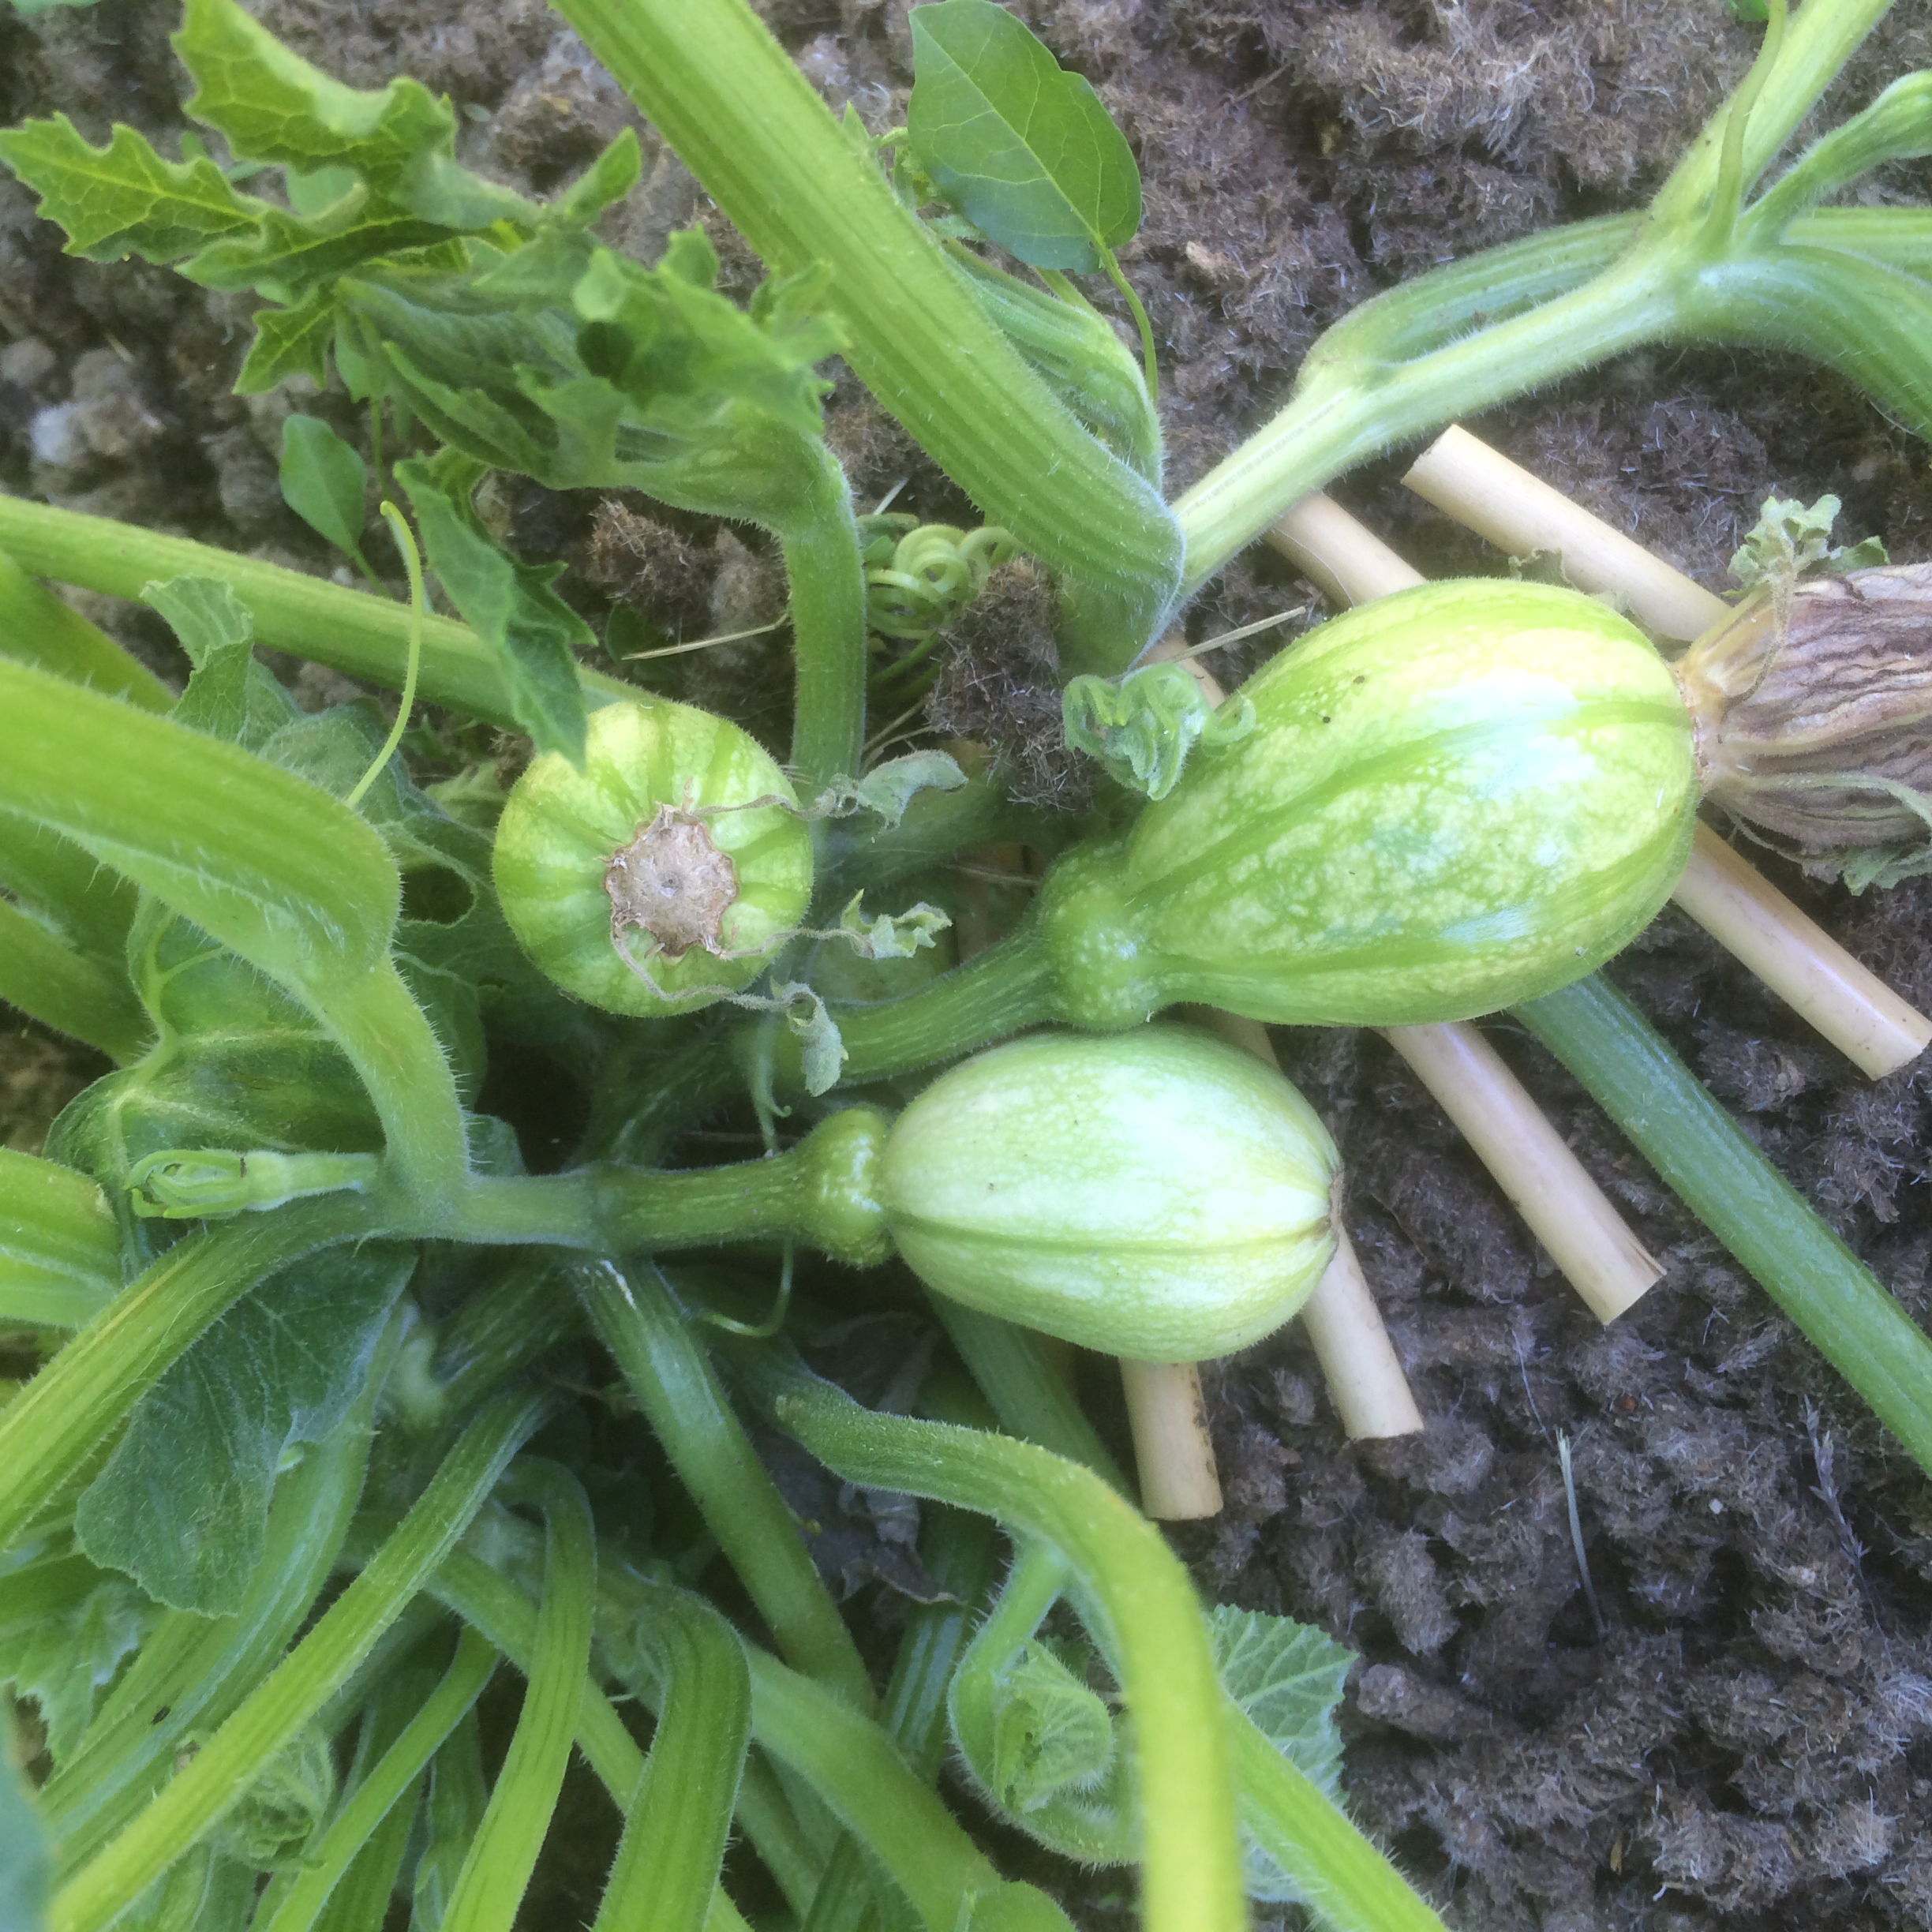
Courgettes

Verde Di Milano, Plot 2
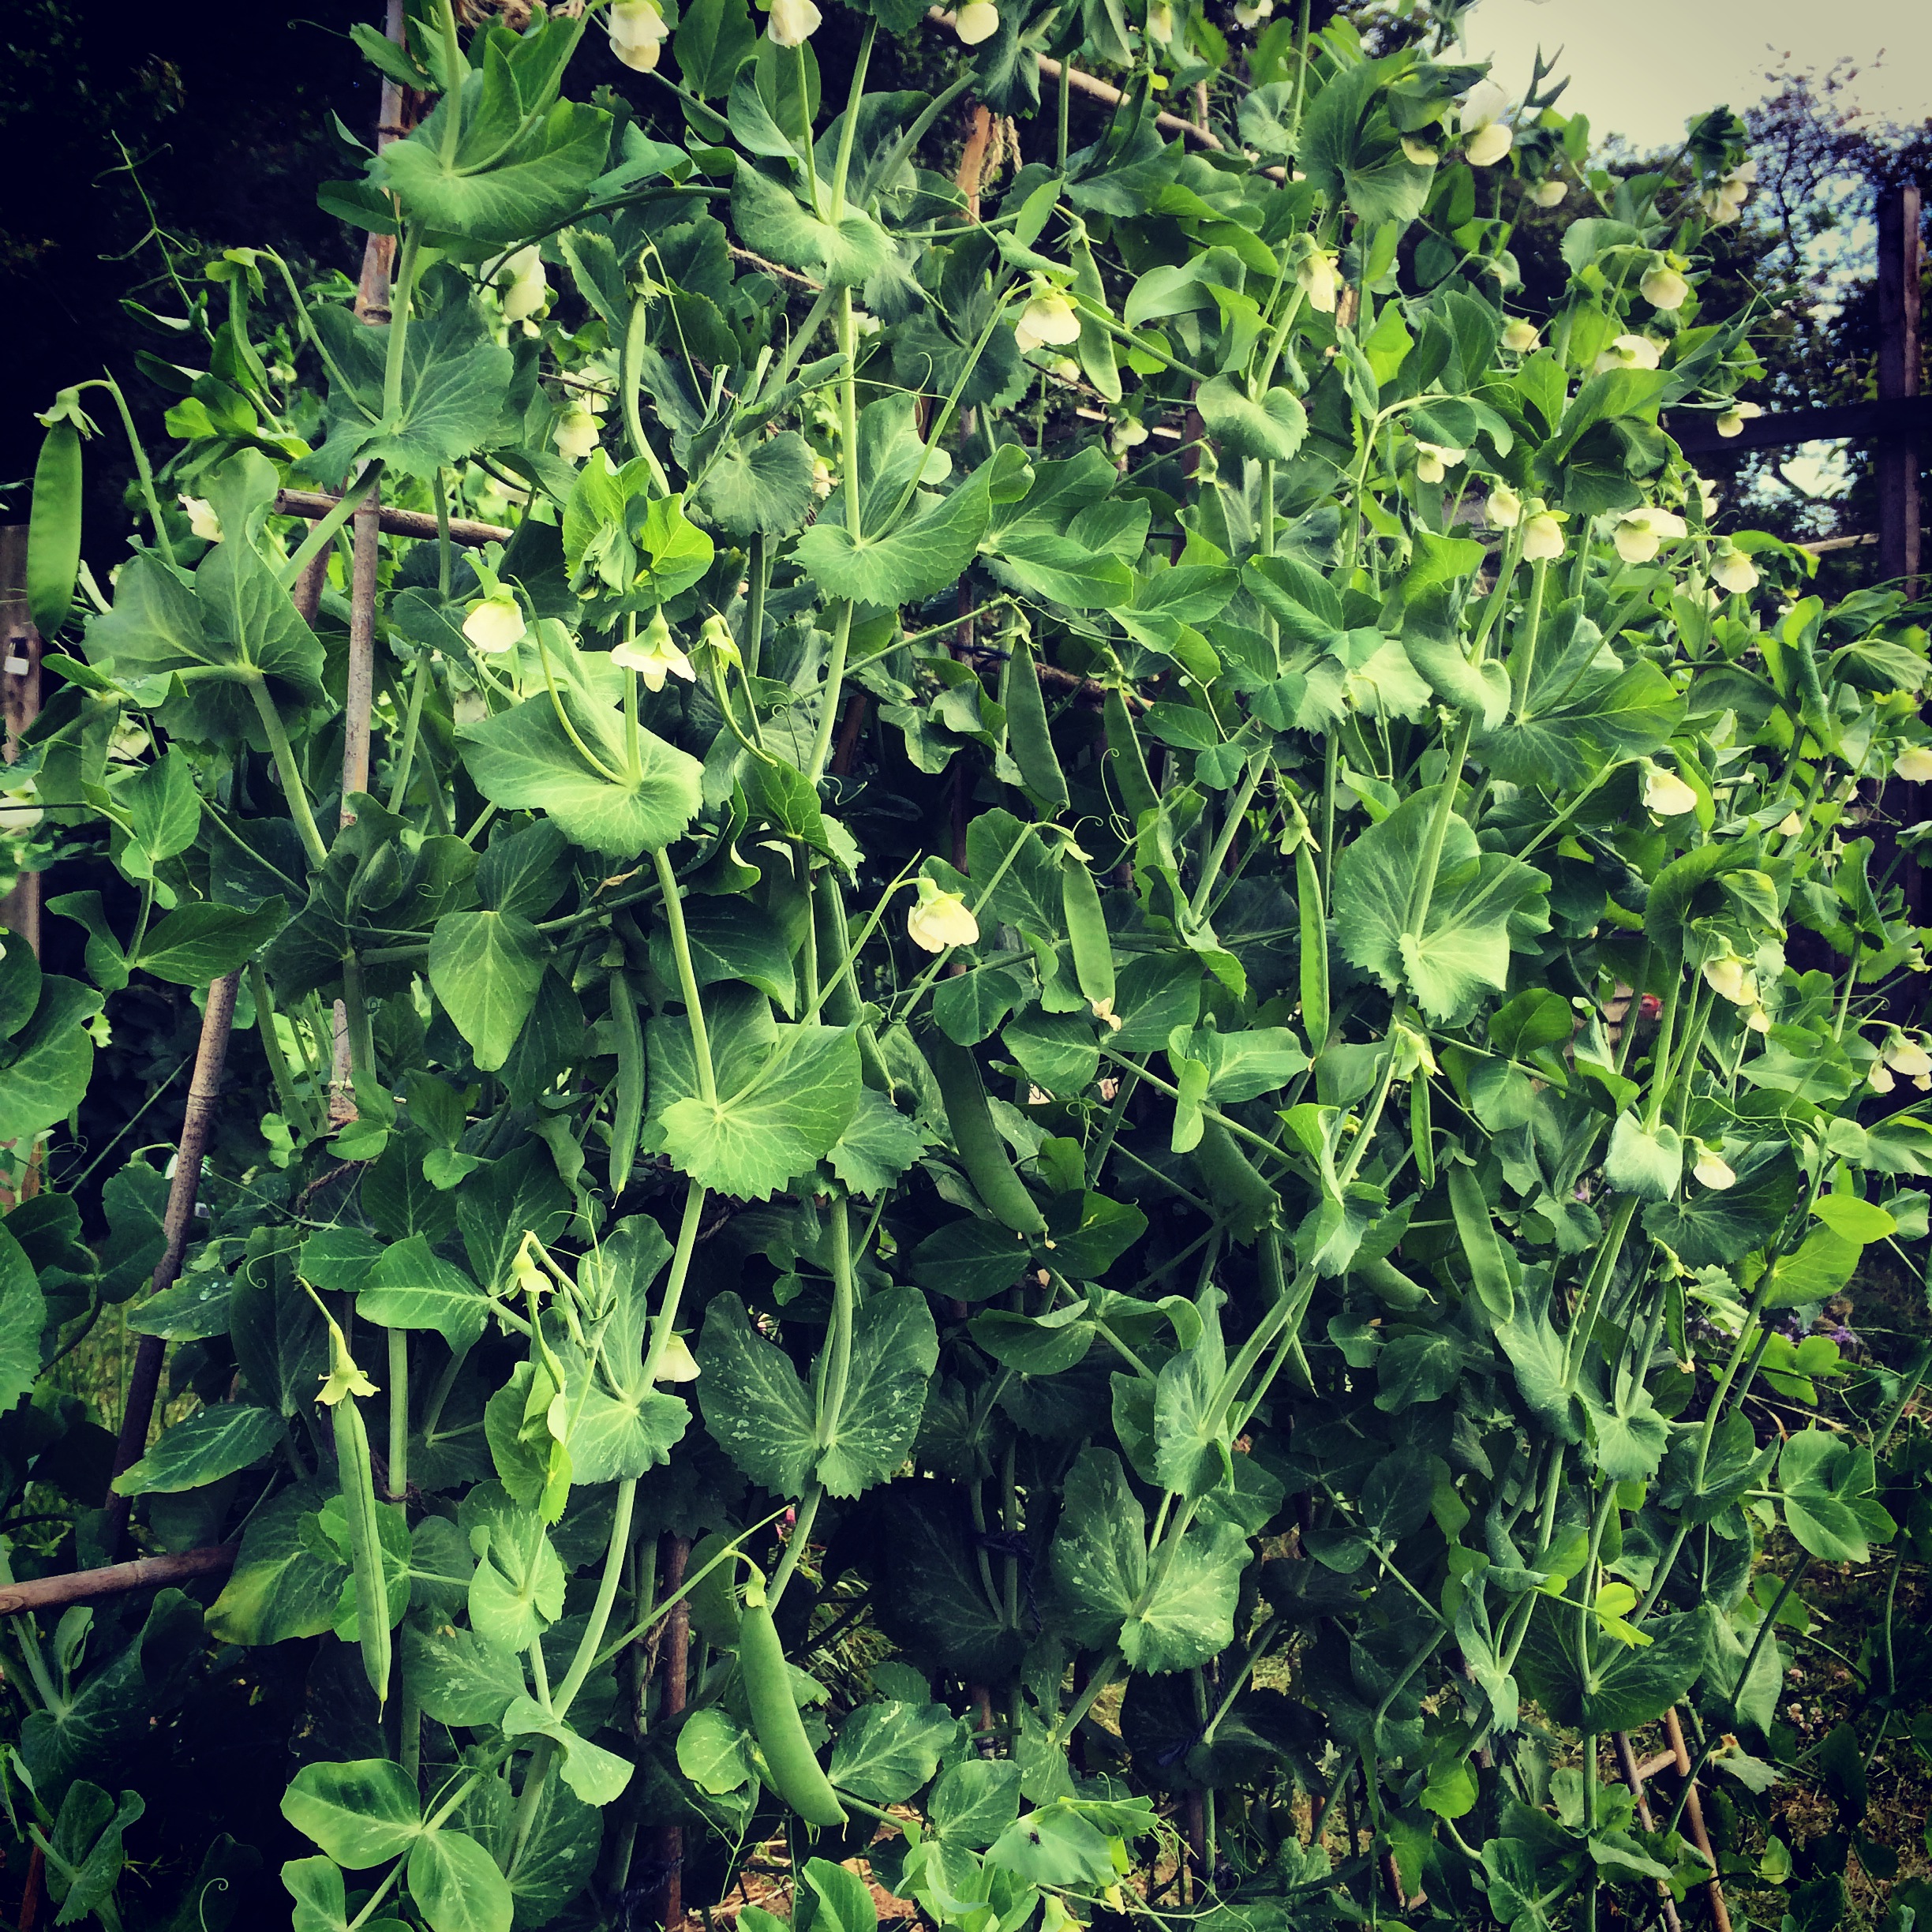
The courgette plants have been cropping for weeks and we’re currently harvesting between 4 to 6 courgettes a day from our 9 plants. To be honest, I’m a little courgetted out! Apart from giving loads away to friends, I’ve been baking cakes, using them in pasta, throwing them in stir fries and I’ve even stuffed them with minced beef, a childhood dinner, and it was actually surprisingly good compared to how I remembered it!
However, I do plan to make this dish, it’s a courgette and pea tart. I ordered this as a starter when I had lunch at Hendy’s Kitchen, in Hastings Old Town last Sunday.

Courgette and Pea tart, Hendy’s, Kitchen, Hastings, Old Town.
This tart is beautifully simple, it uses seasonal produce to create a lovely light lunch or supper. Think more of an assembled tart than one that is baked in the oven. It’s a puff pastry base, already cooked blind and allowed to cool. The base of the tart is something Alistair Hendy calls goat curd. Goat curd is essentially smooth goats cheese mixed with some creme fraiche; I had no idea, so I asked Toby, the chef. Spread a good layer of this curd over the pastry. On top of the curd place the courgettes. The courgettes have been sliced thinly, lengthways, and then rolled. Add a good sprinkling of fresh tender uncooked peas or blanched peas if you prefer less crunch, then drizzle with olive oil, season and add some sweet Genovese basil leaves. Very simple, and it tastes deliciously clean.
Sweetcorn : Swift F1

Sweetcorn Swift F1, plot 2
The sweetcorn went through its pollination phase towards the end of July. There is a possibility that the sweetcorn may not be that good this year, and this is why. The male tassels opened and started to deliver pollen before the majority of the female silks had emerged. I saved the pollen in small brown paper envelopes, and later manually pollenated the silks as and when they eventually emerged. The trouble being, I had insufficient pollen to pollinate all the silks.

Saving sweetcorn pollen..
The second problem is that the wet weather arrived during the middle of the pollination process. It’s likely that this has also hampered the pollination process. Only time will tell.
On the plus side the cobs are starting to fill out

Sweetcorn cobs, plot 2
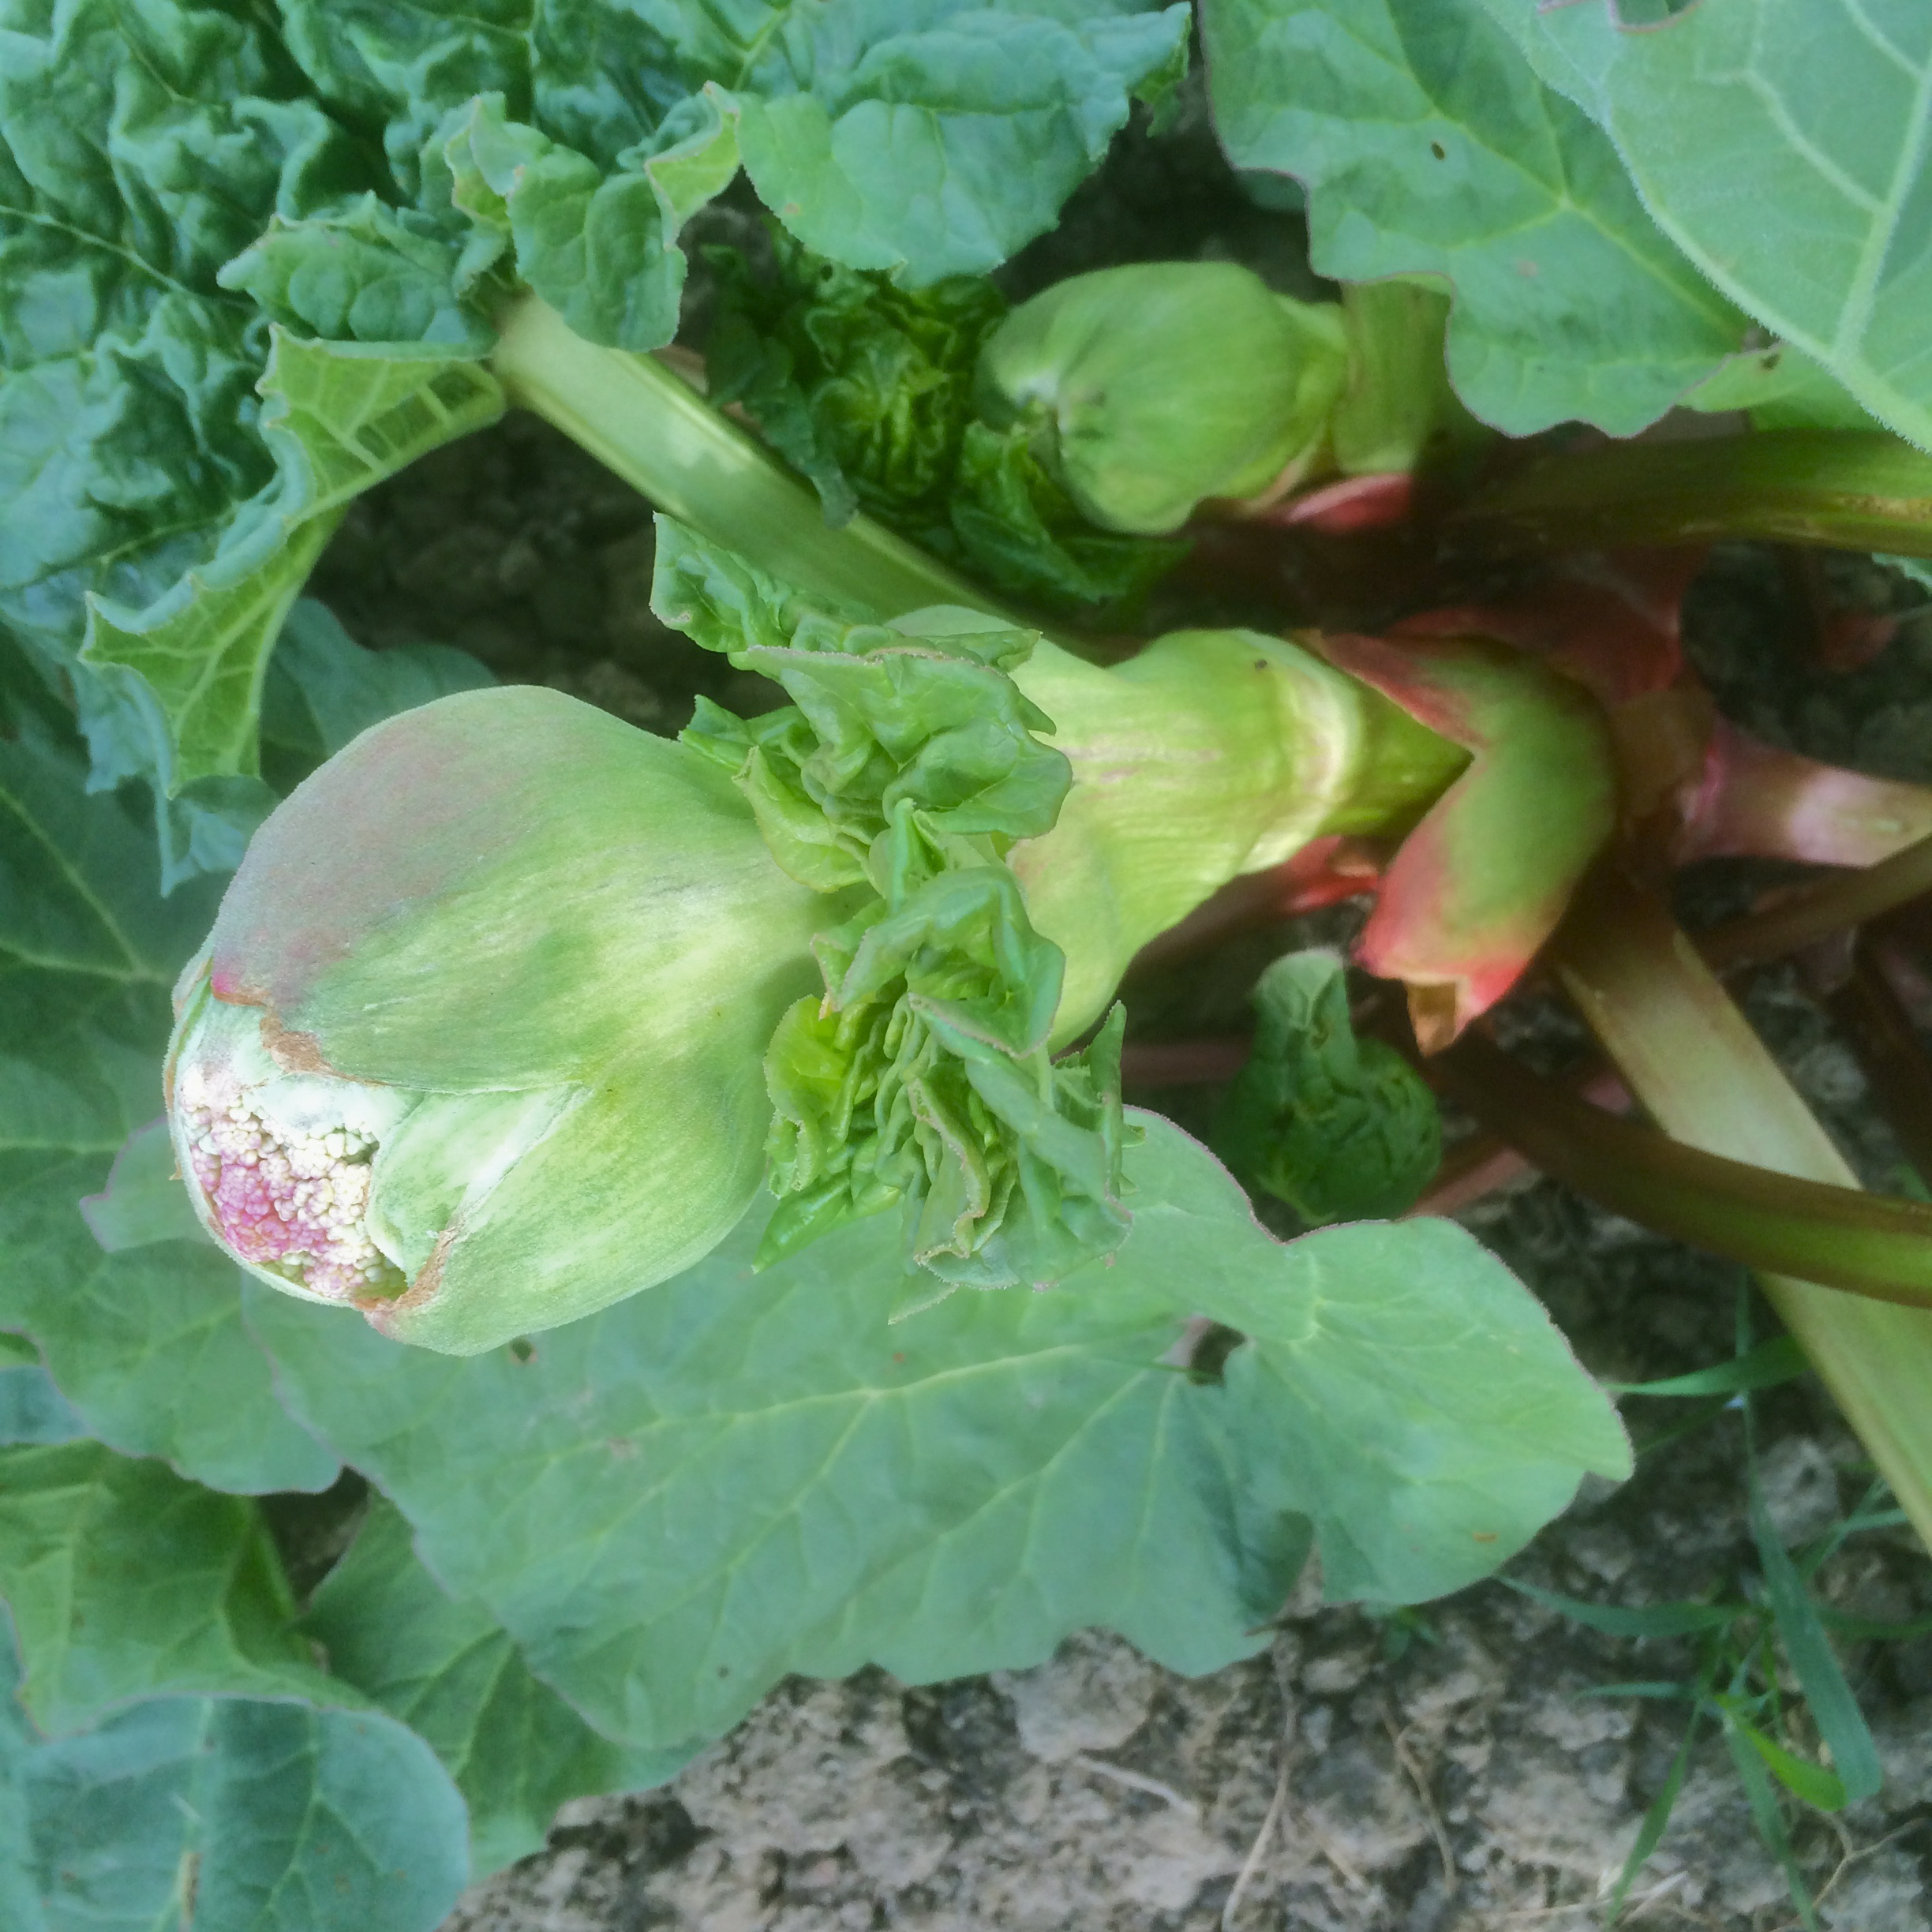
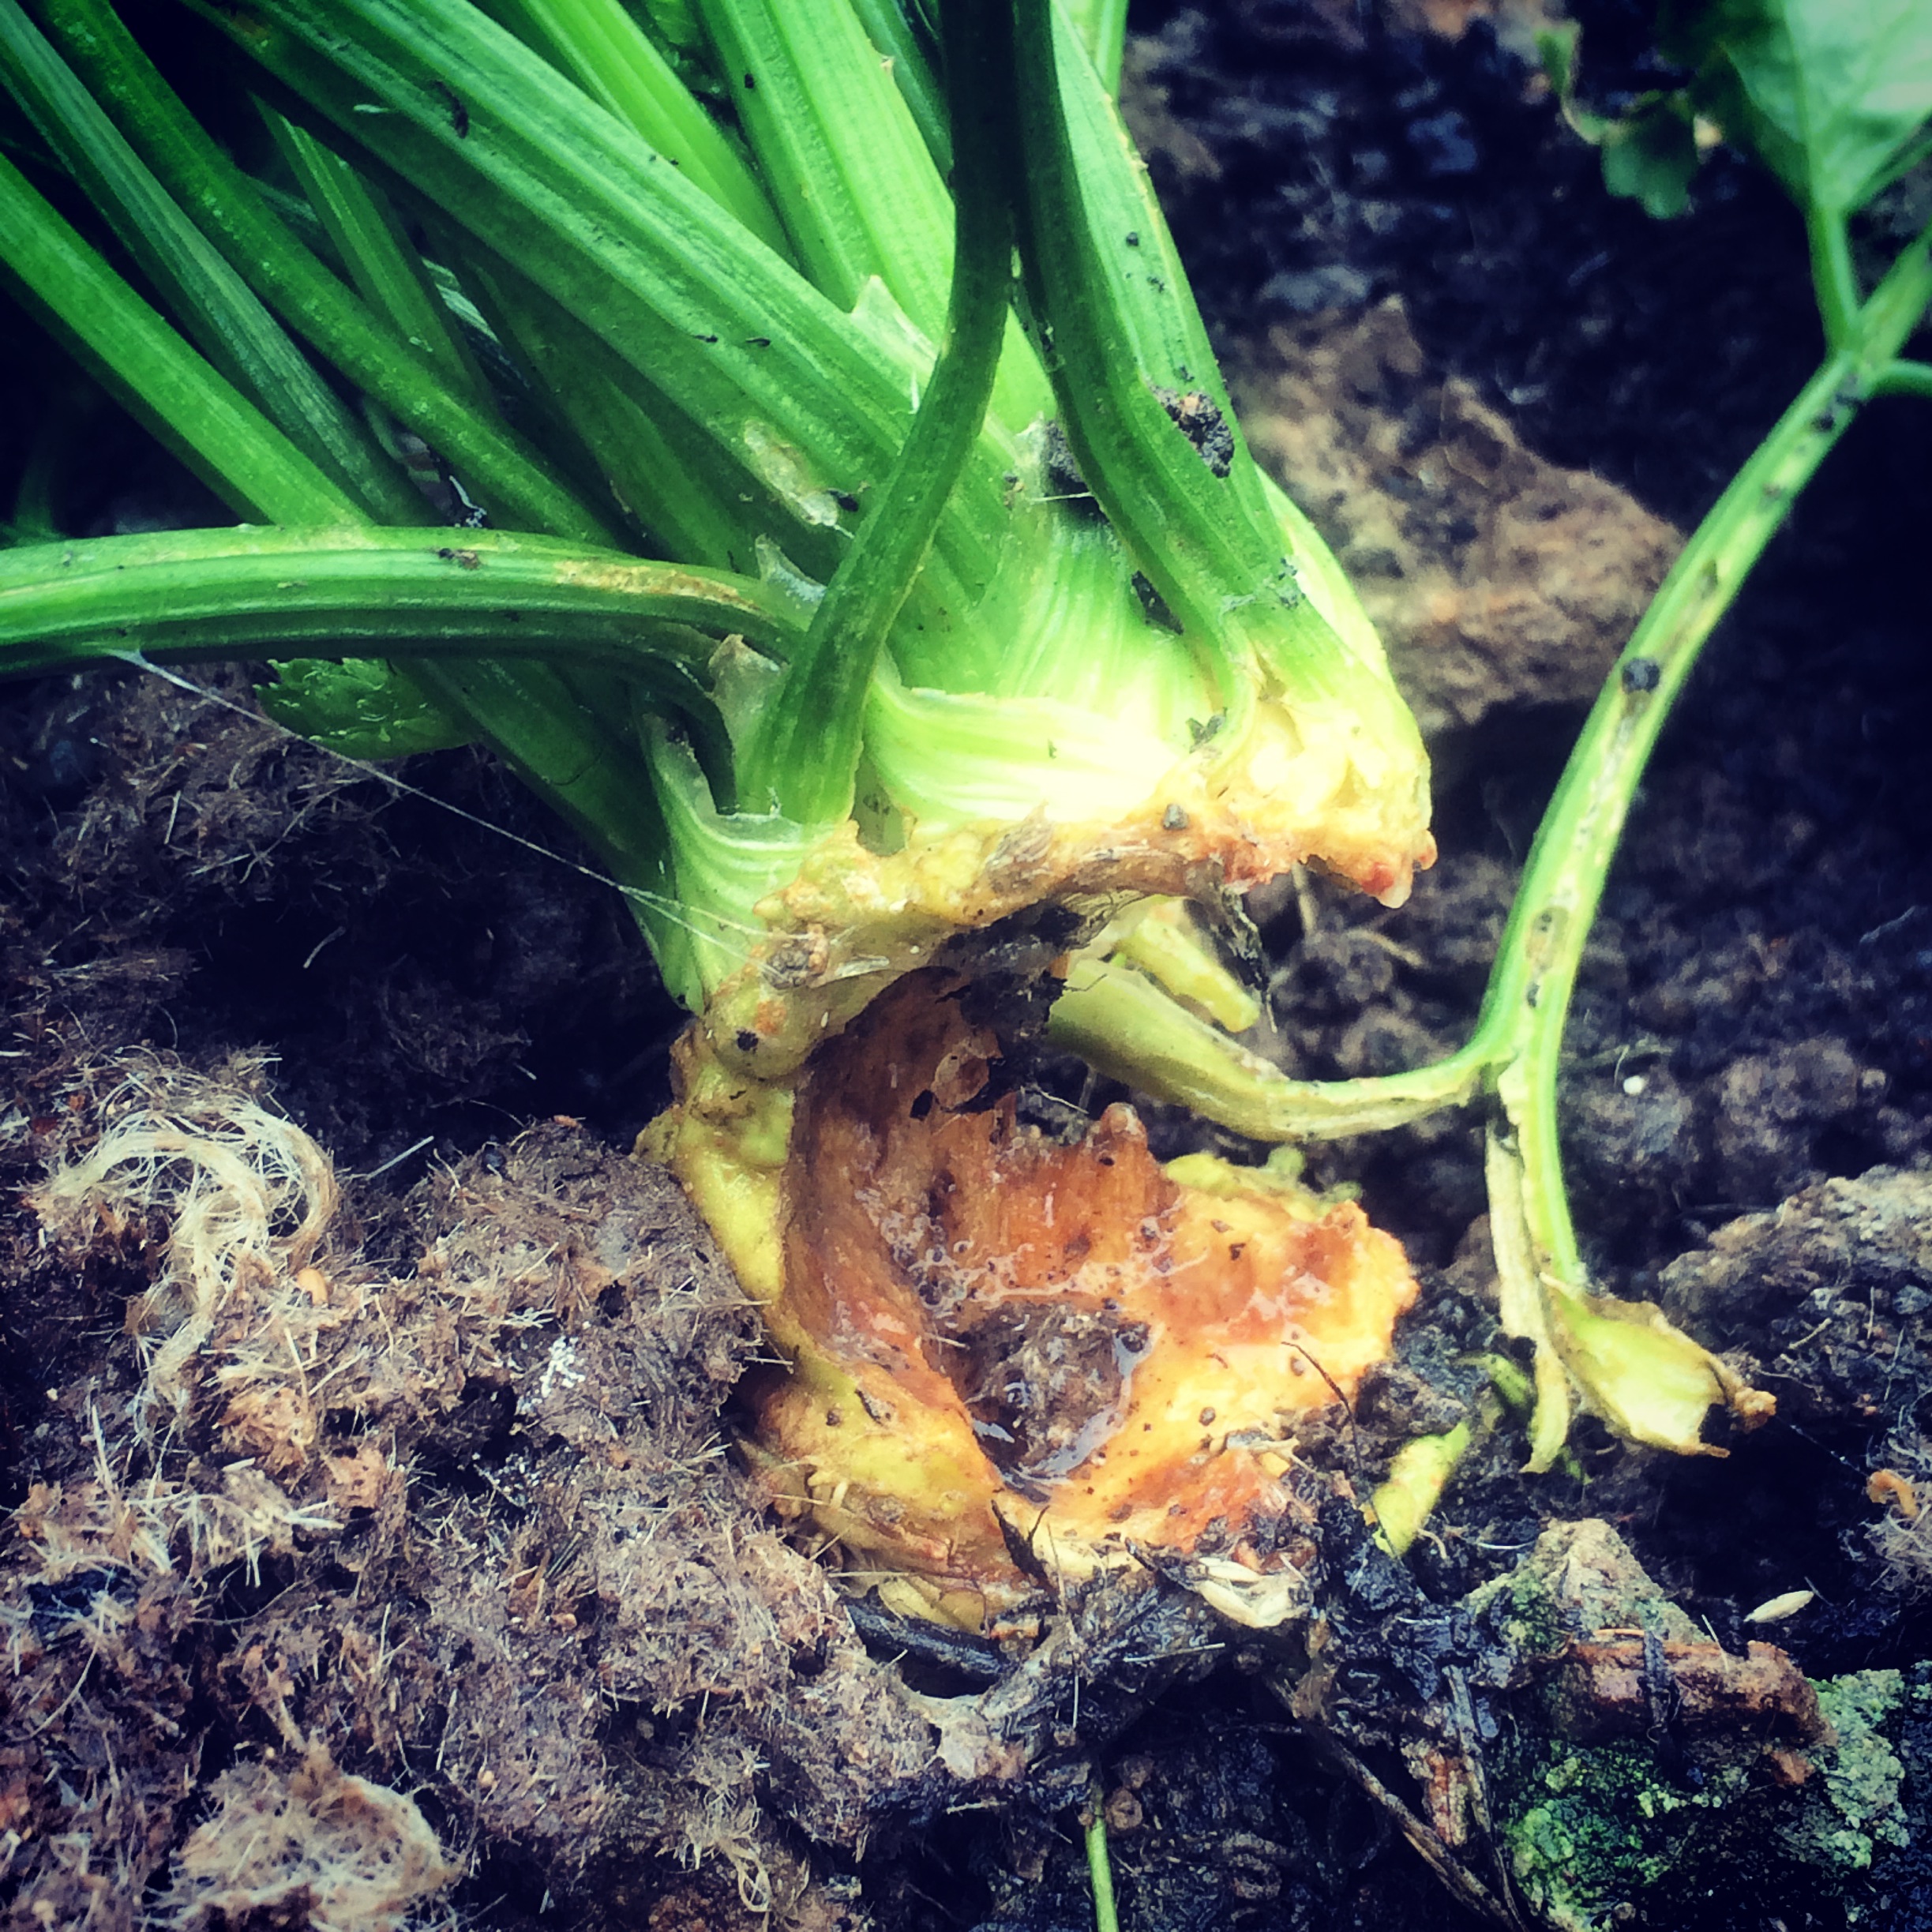
BUT they’re most definitely not supposed to do this… YIKES!

Exposed sweetcorn cob! Plot 2
I’m unsure what caused this cob to do this, so I’ll do some research.
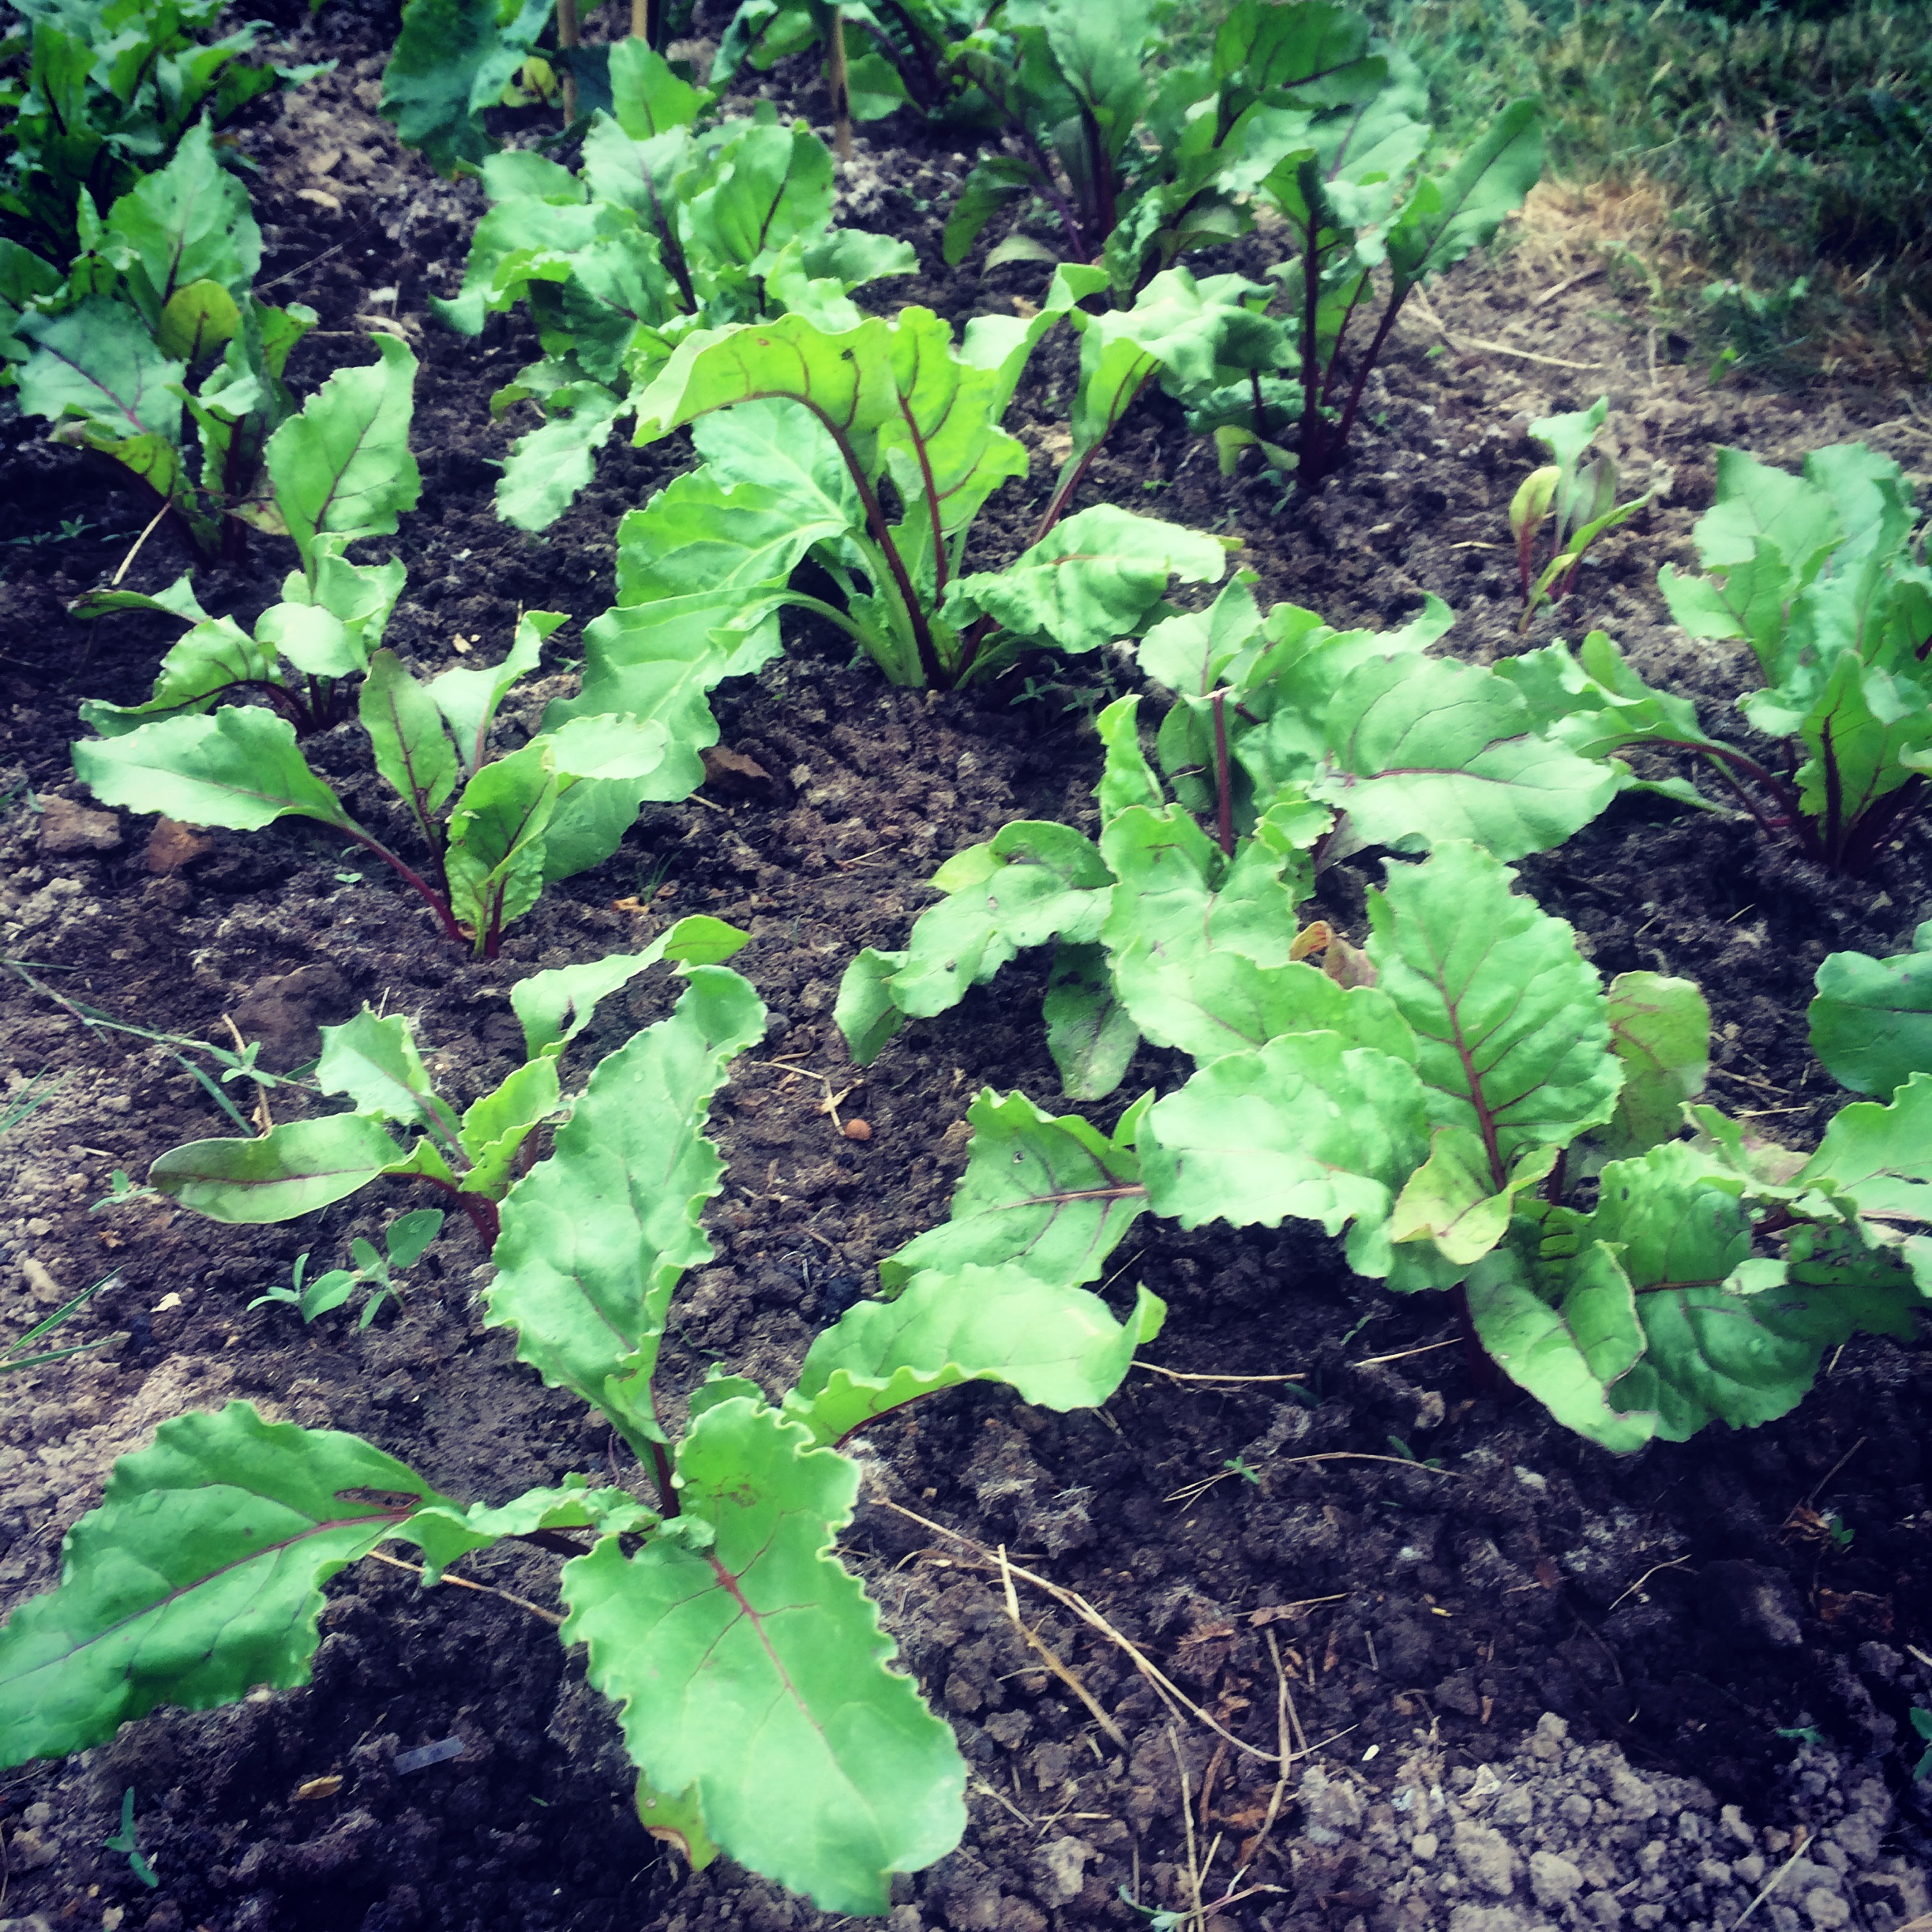
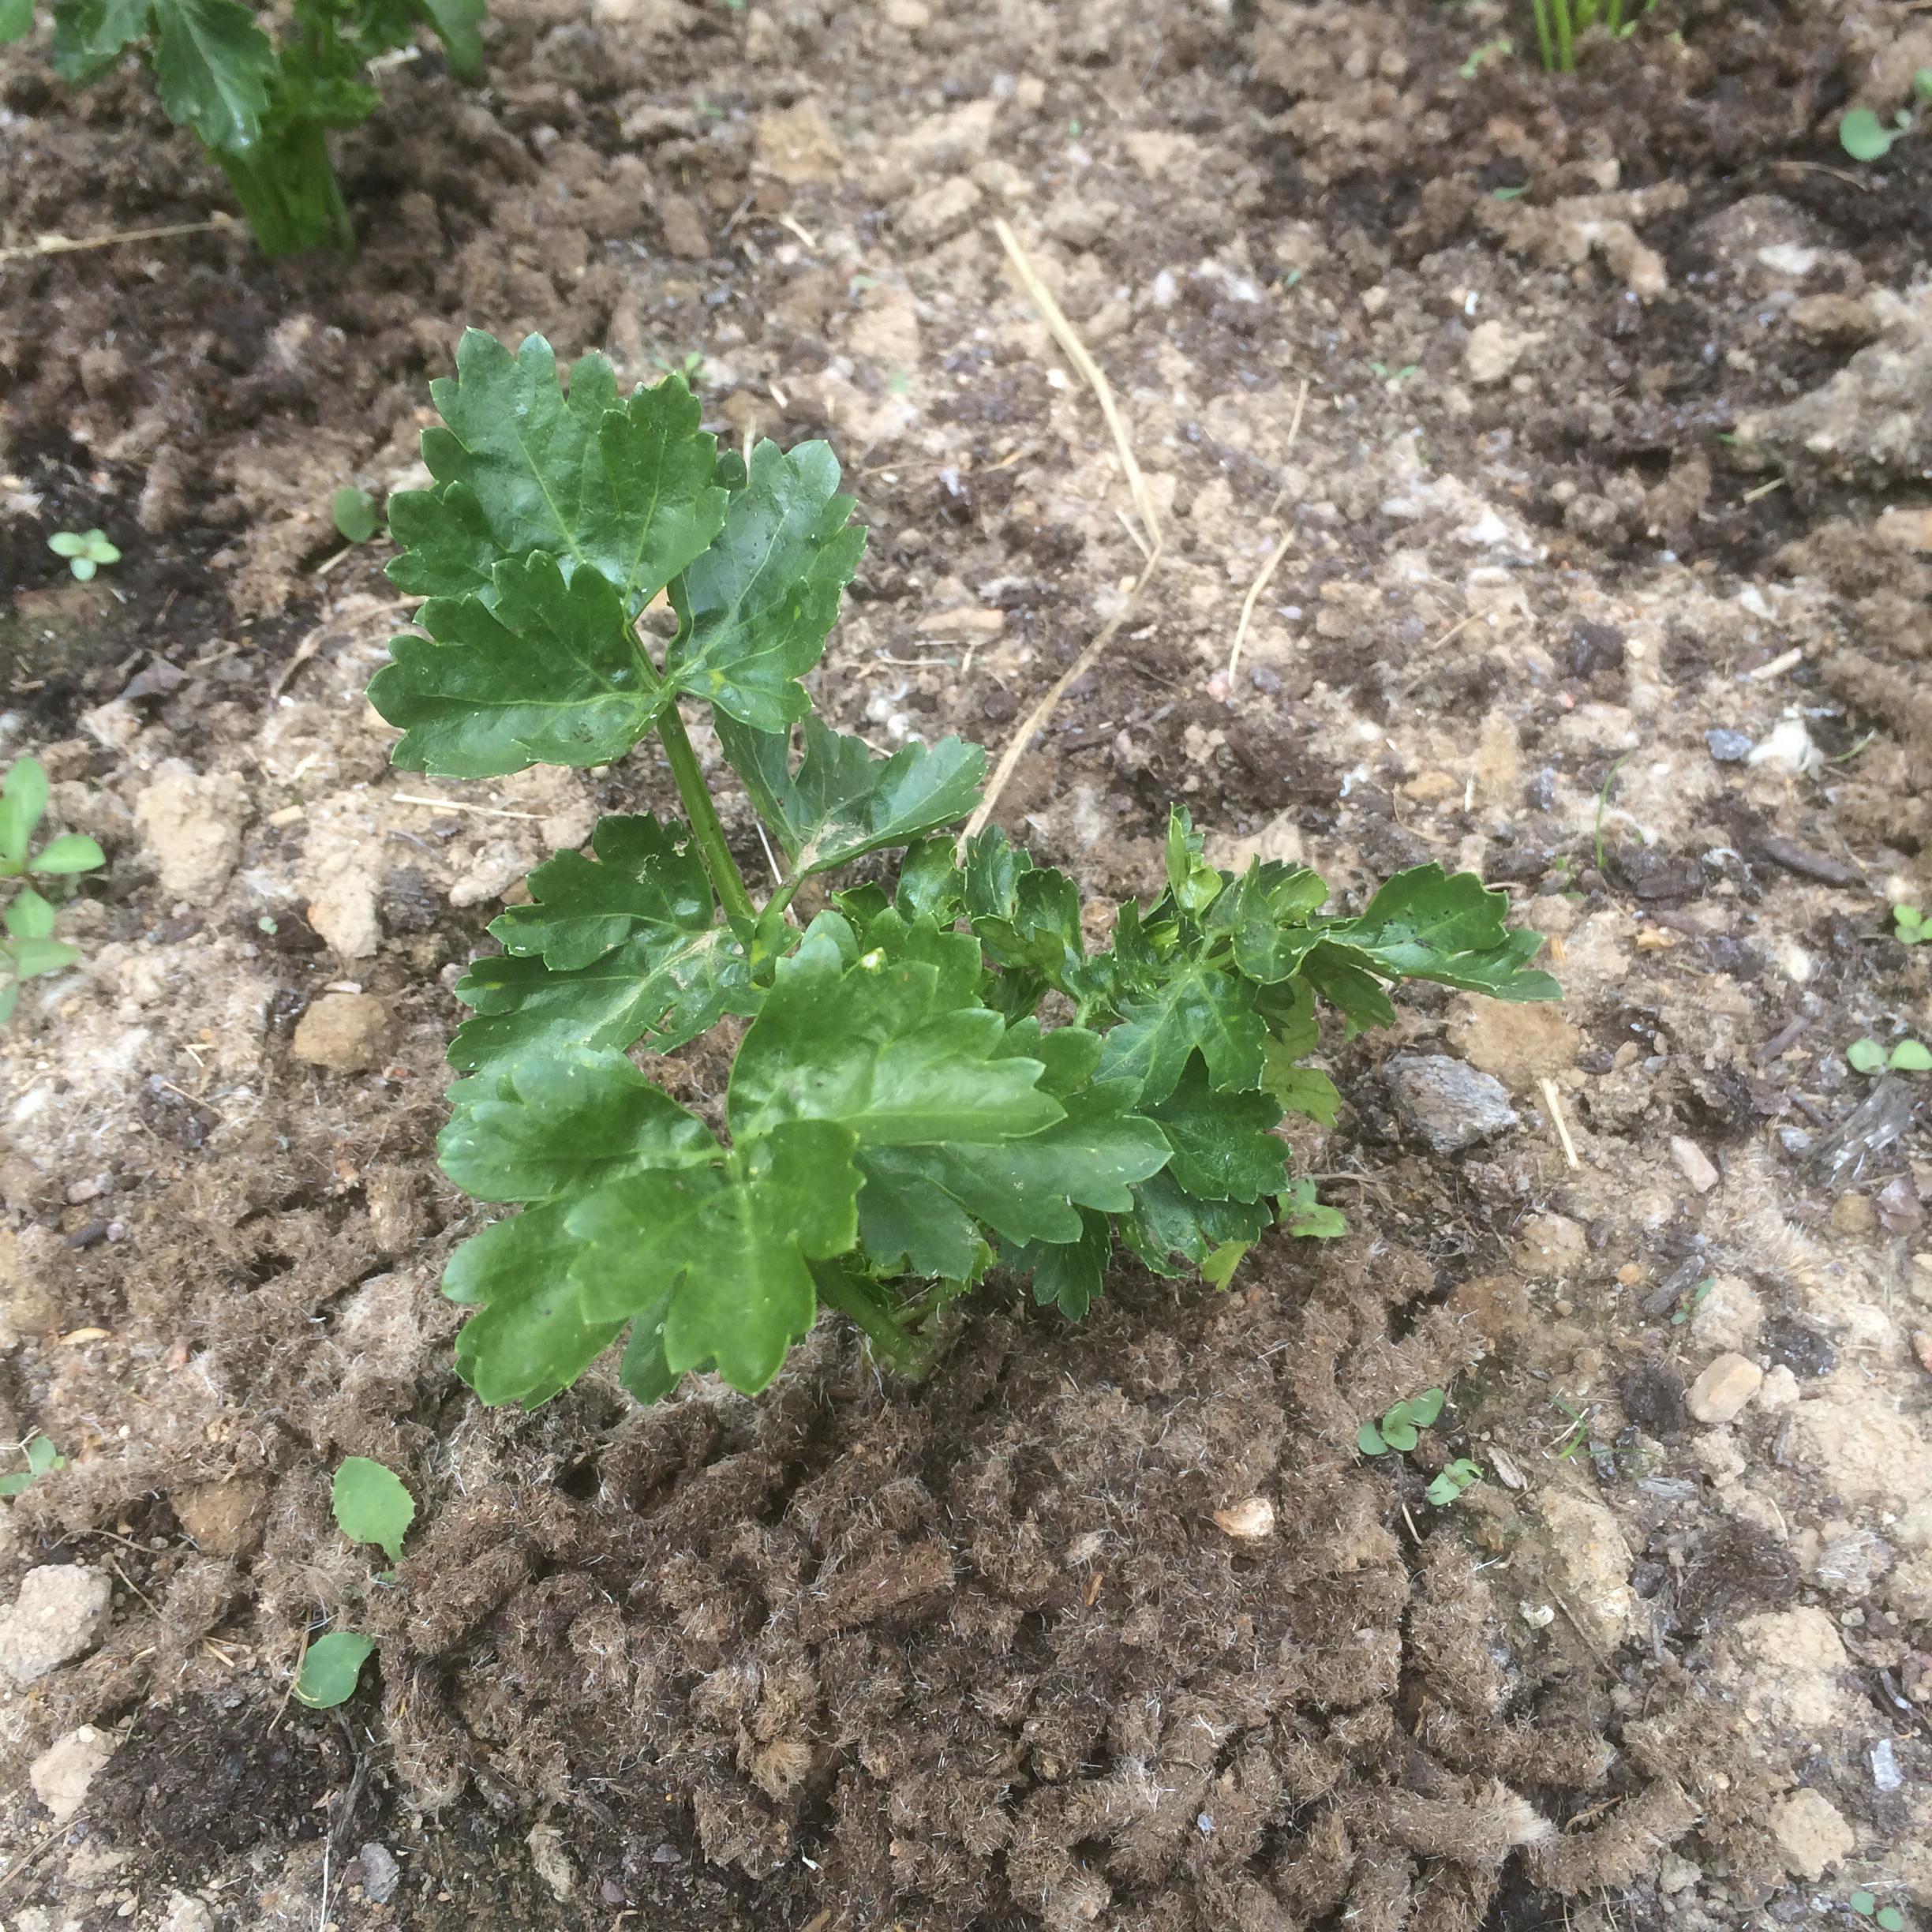
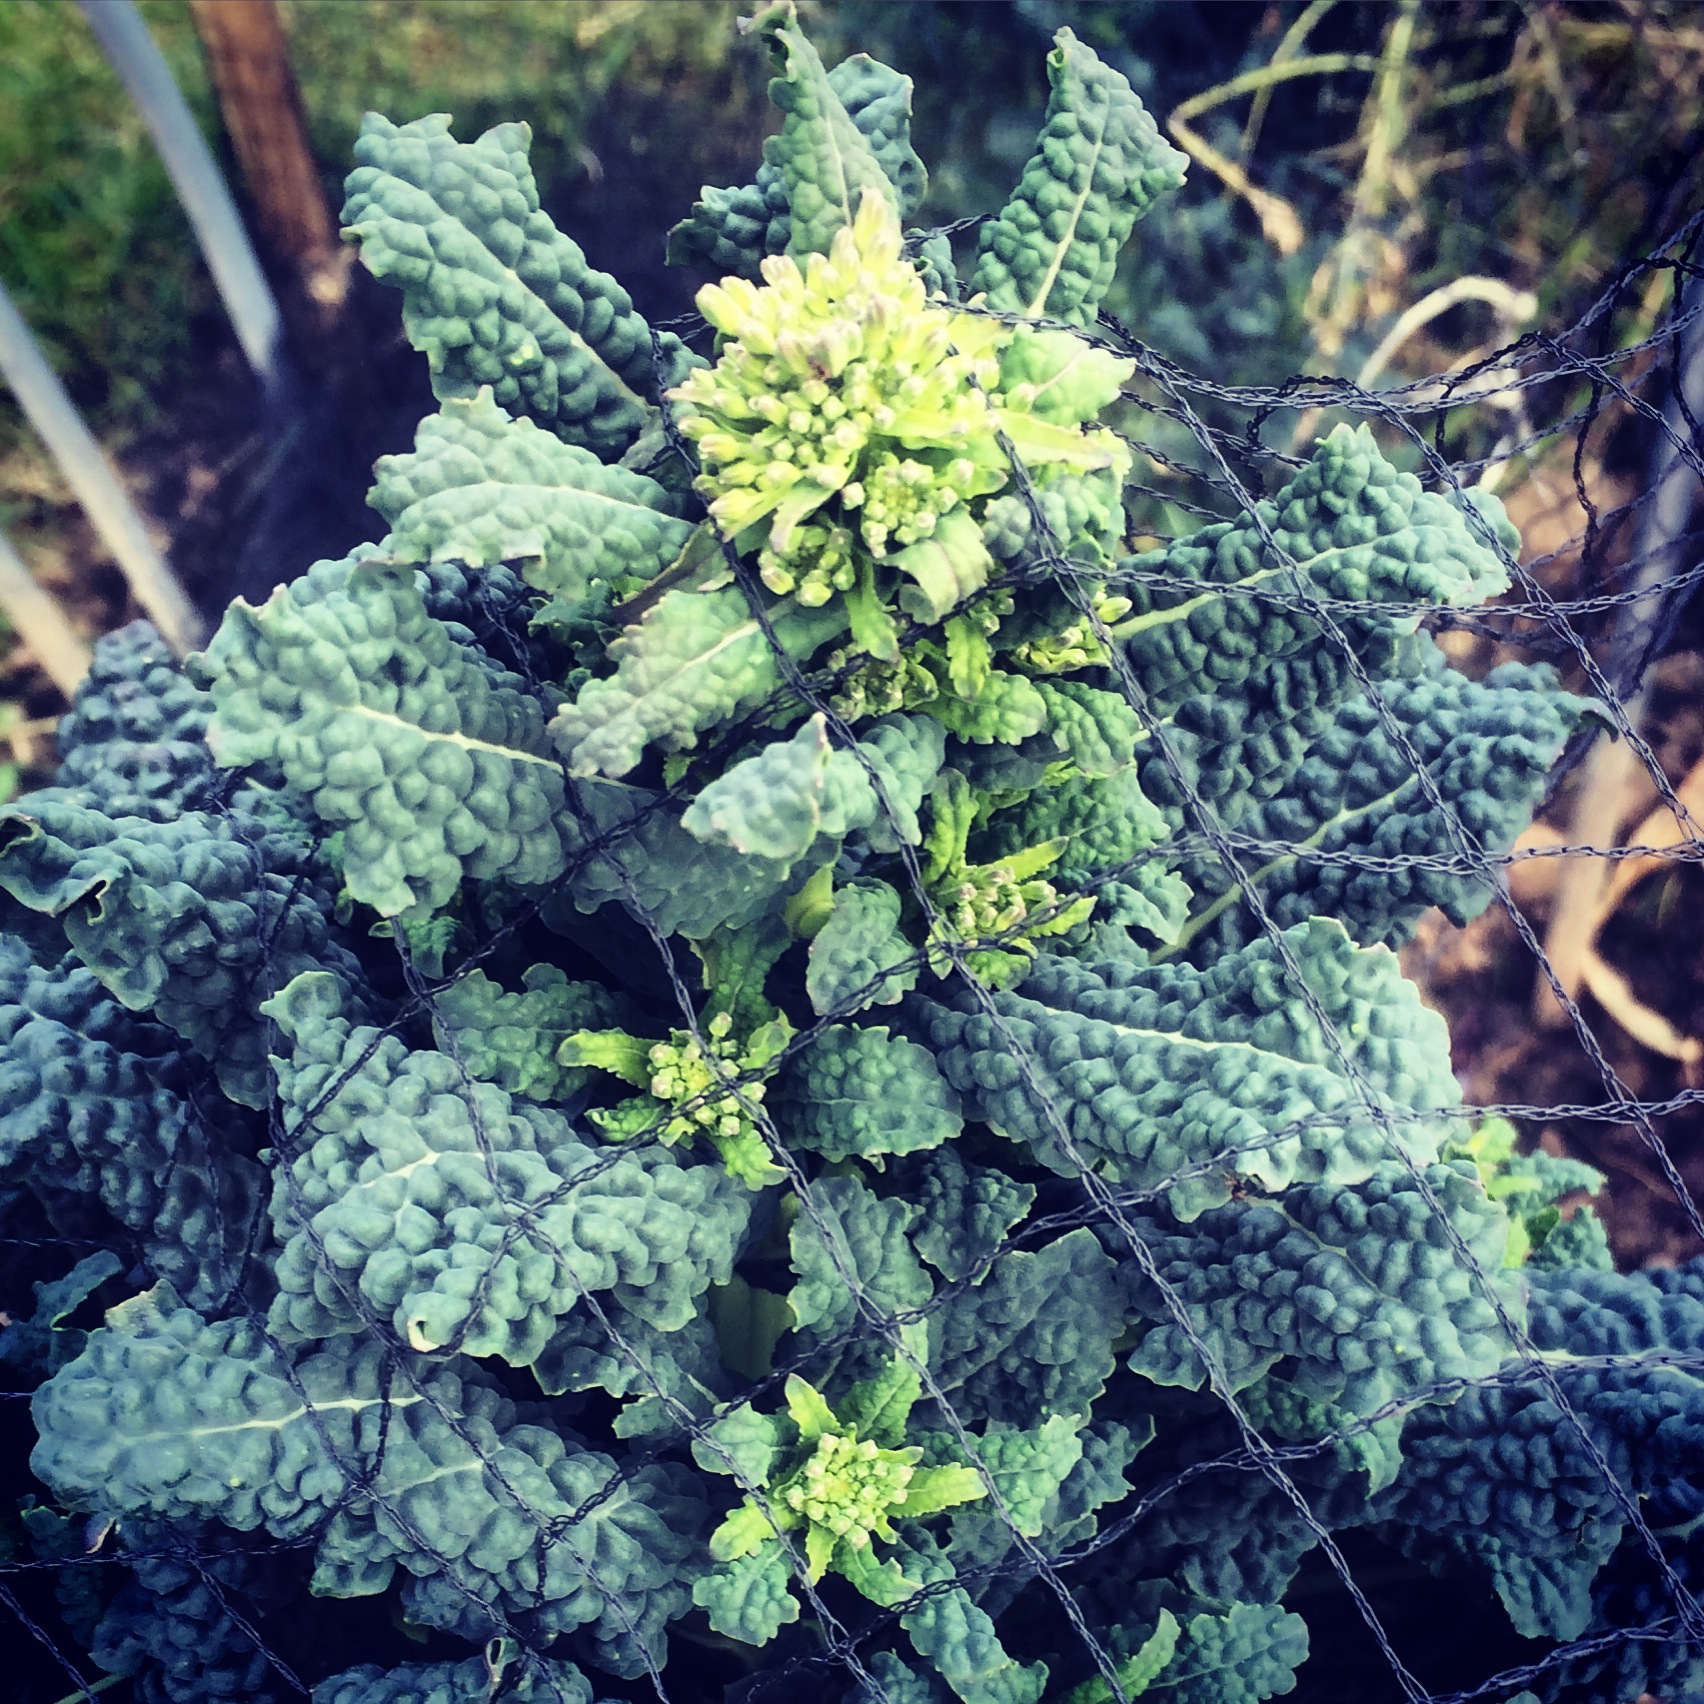
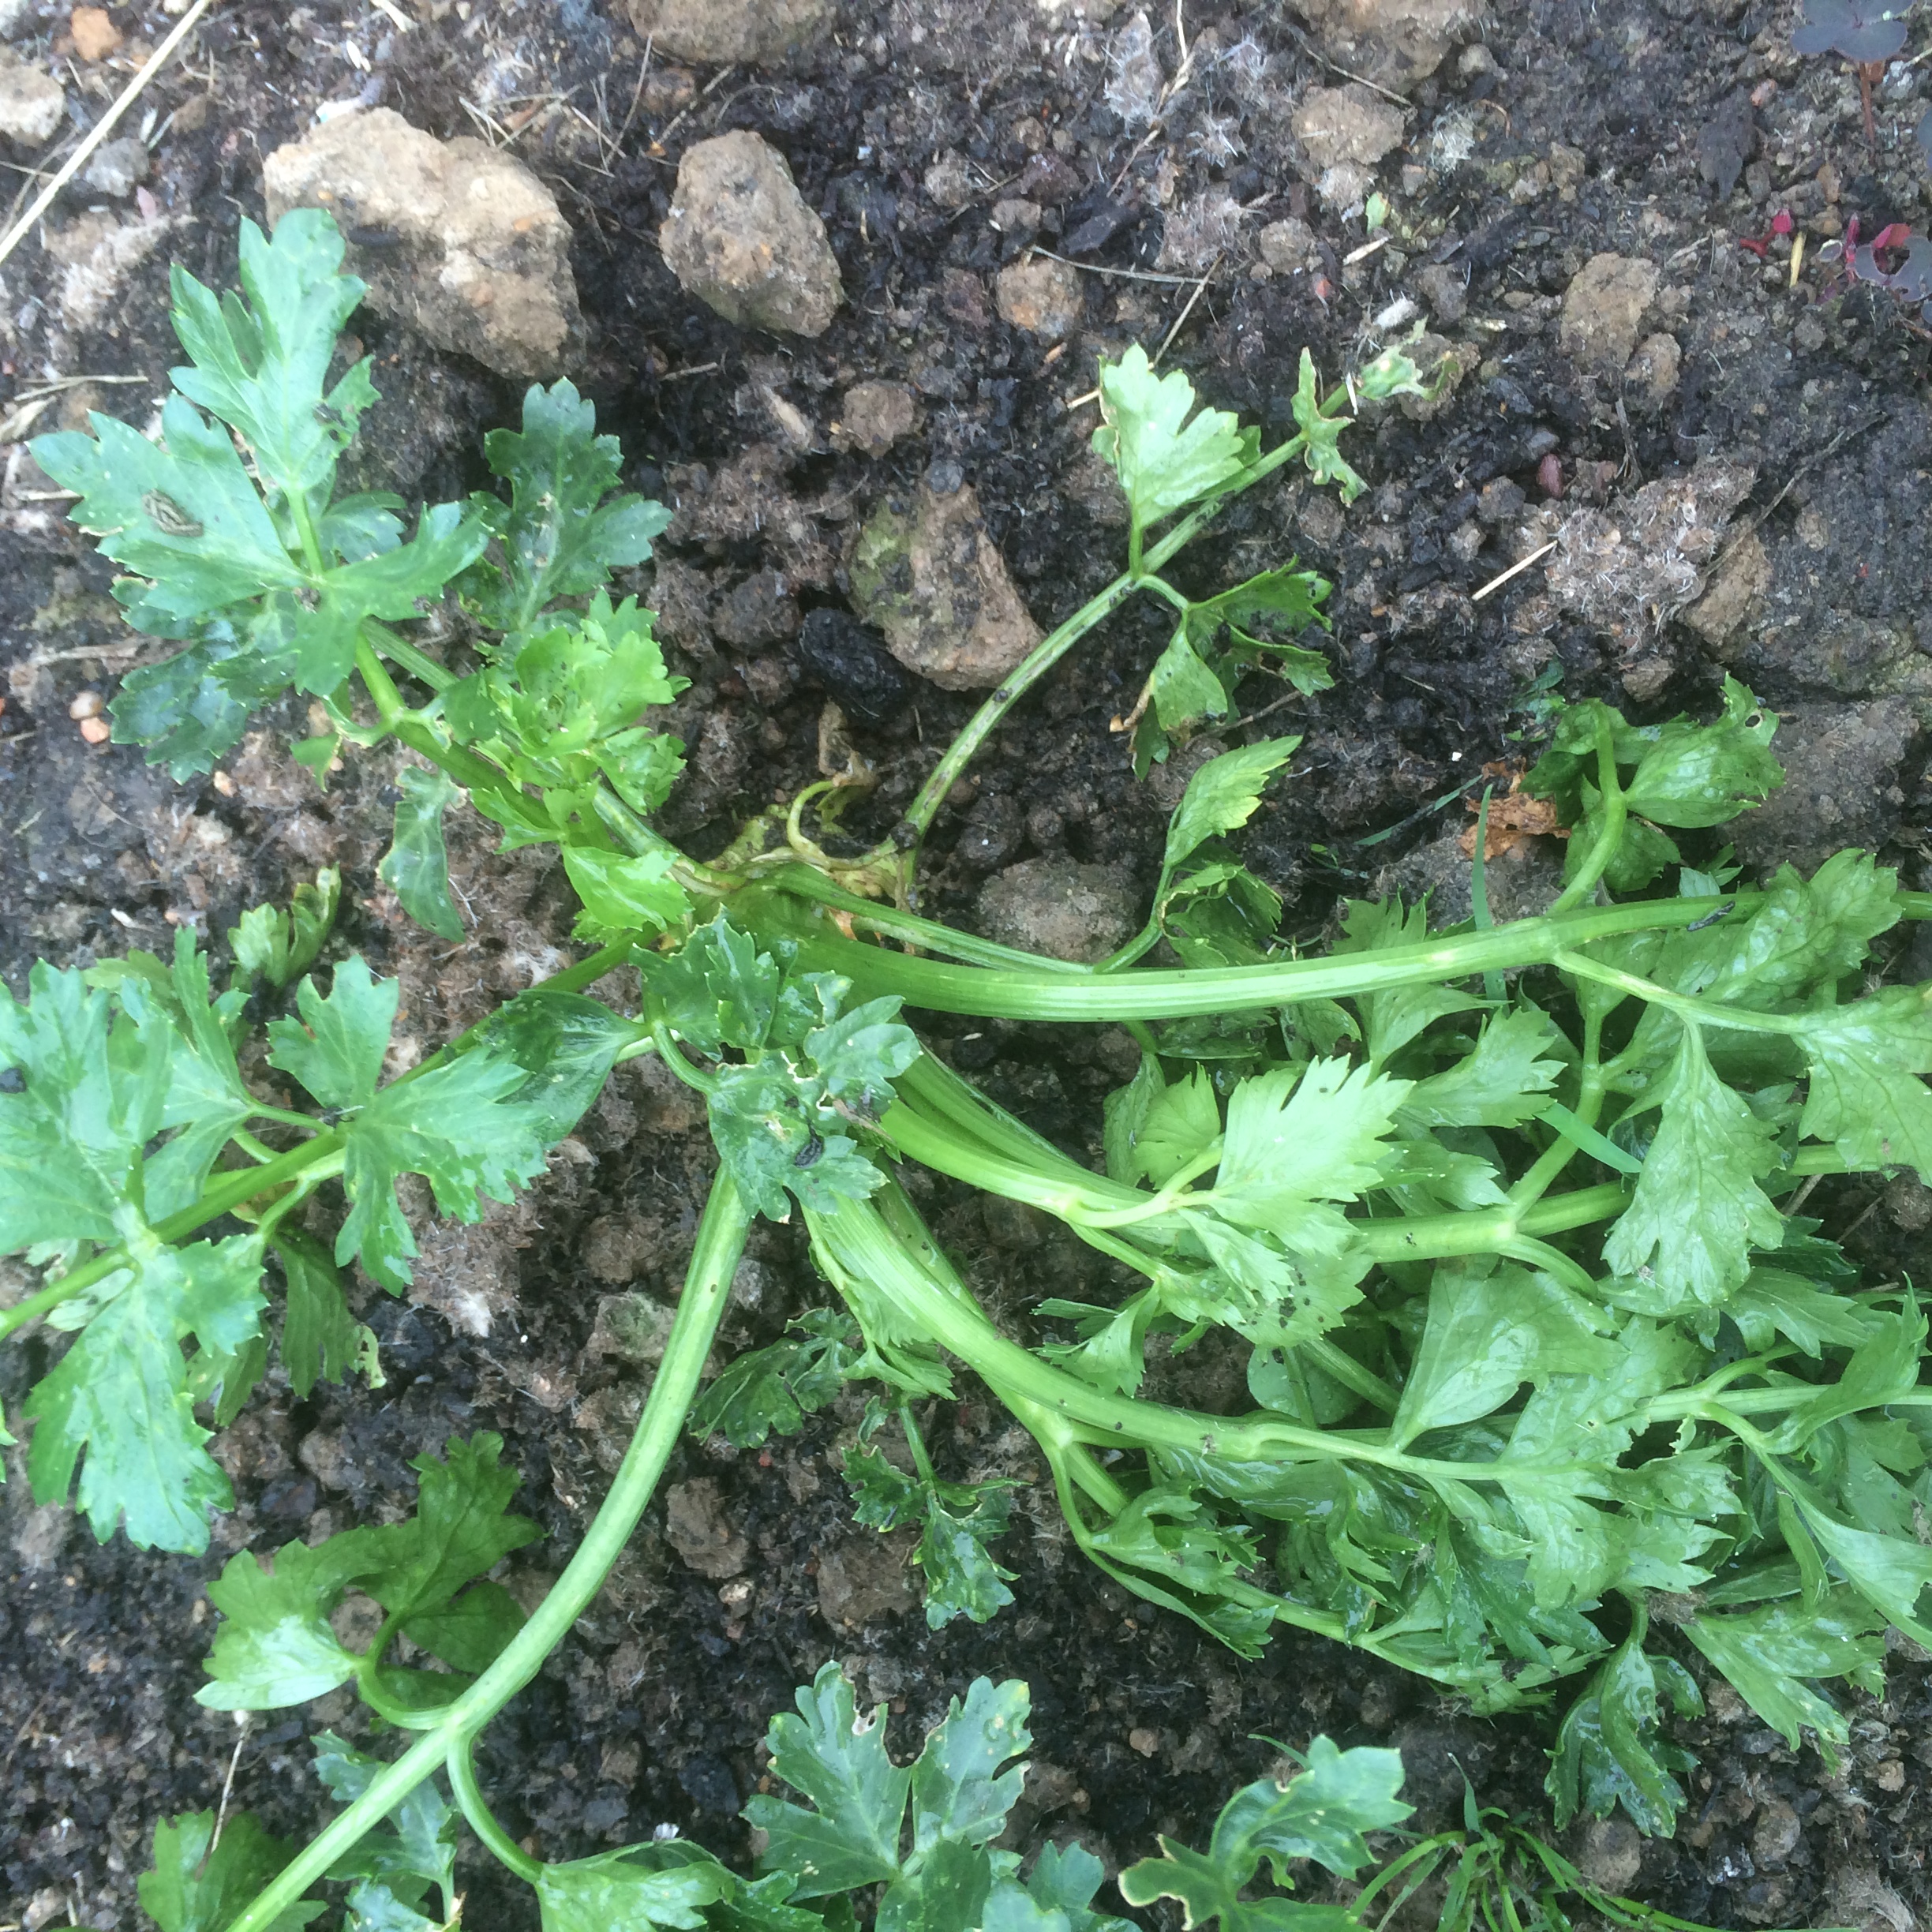
Purple Sprouting Broccoli

Early Purple Sprouting Broccoli, Plot 2
I’m not one for reading instructions, I typically just get stuck in and then wonder why it’s not working! I’ve been waiting patiently for the broccoli to sprout, I keep checking yet nothing is happening, so I thought I’d better read the seed packet. The reason there hasn’t been anything sprouting is because harvest time is in February and March next year……. aha! so a bit of a rethink as these plants are going to have a terribly long growing season. So this week, we’ve removed all the dead and and yellowing leaves and then we sprinkled over some organic chicken manure pellets to ensure the plants remain well nourished over the coming months.
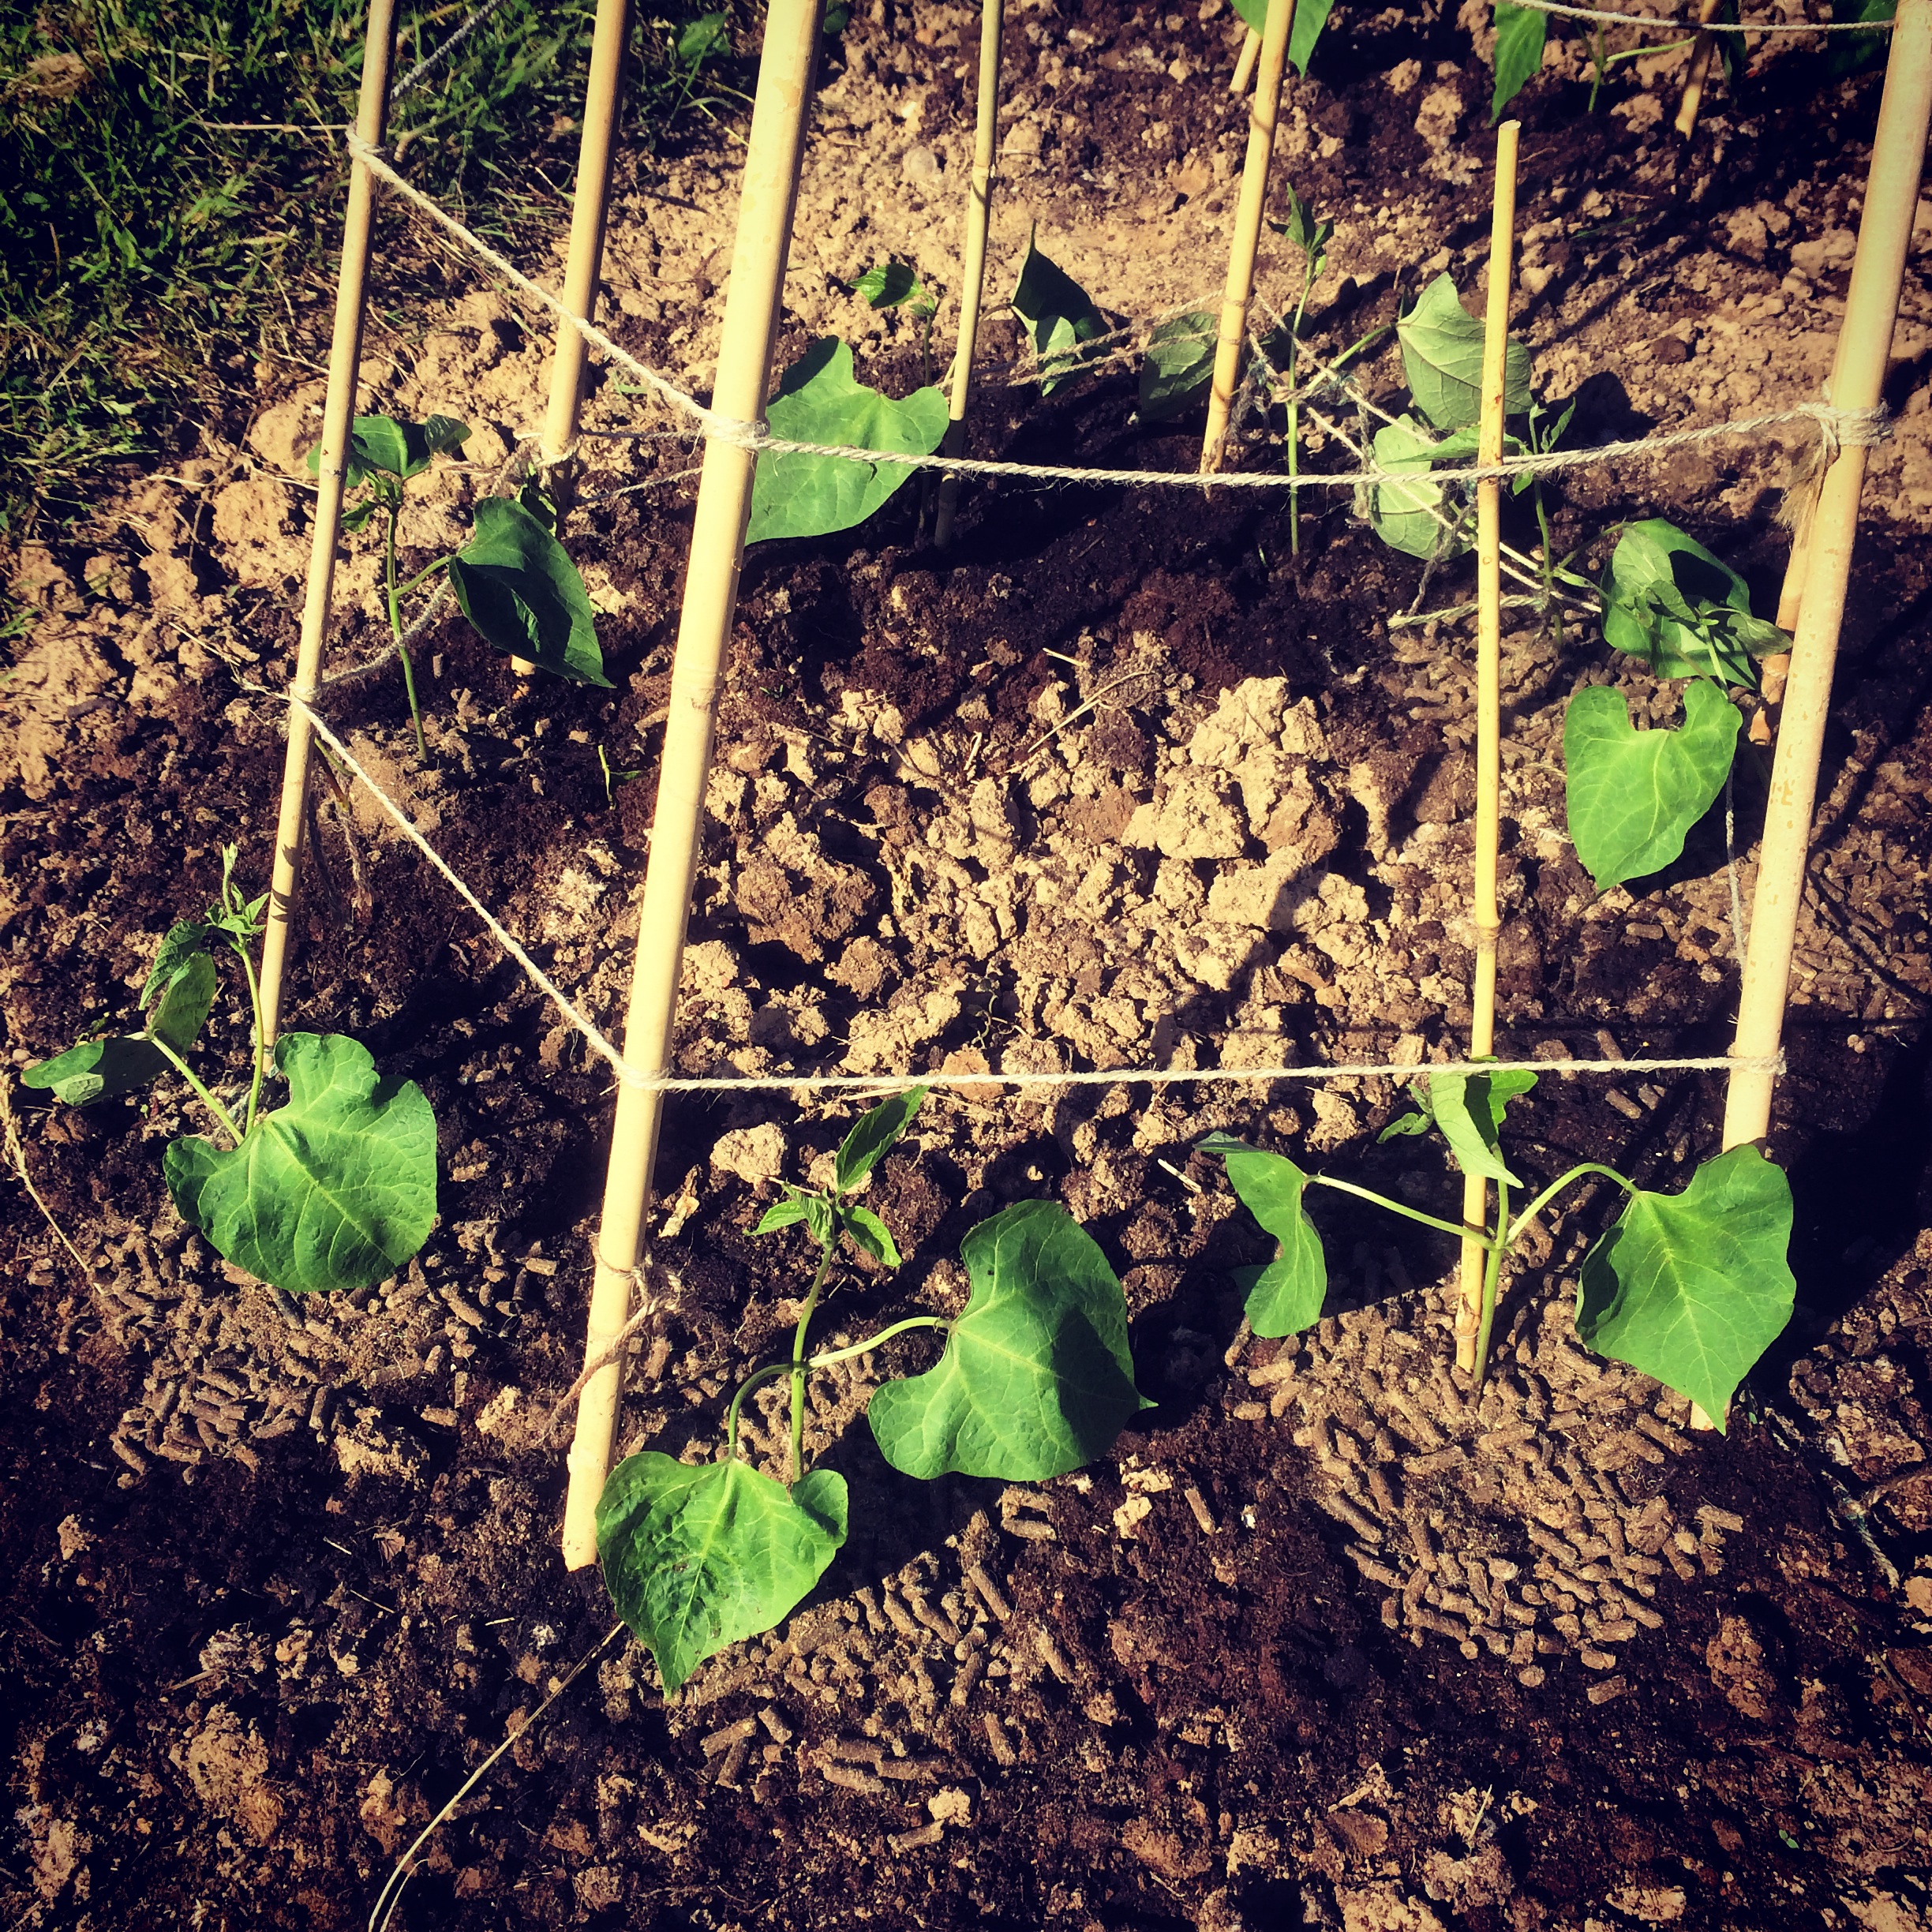
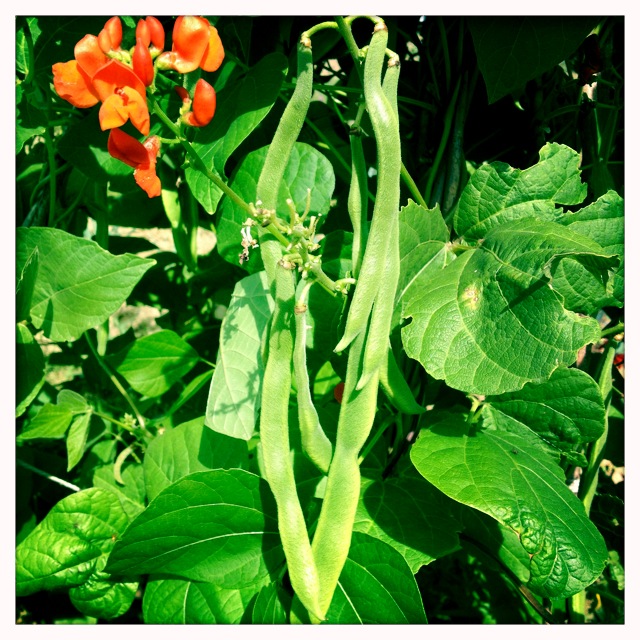
Runner beans

Giant runner bean wig-wams, Streamline runner bean plants, orchard plot
After battling the elements and losing two sets of runner bean seedlings to the gales earlier in the season, we finally have runner bean plants, and they’re doing brilliantly. The plants have plenty of flowers and there are plenty of bees and pollen loving insets to help set the flowers. We’ve ensured the plants remain well watered at all times, this helps the bean setting process.

Enorma runner bean plants, plot 2
It’s important to harvest the beans at least every other day. I like to pick them when the pods are about 8 to 10 inches long. At this stage they are so lovely and tender they can be eaten raw, and if cooked they need a minimal amount of cooking.
Don’t leave the beans unpicked and allow the seeds inside the pod to start to swell. When this happens the plant stops flowering, which will shorten the cropping period.
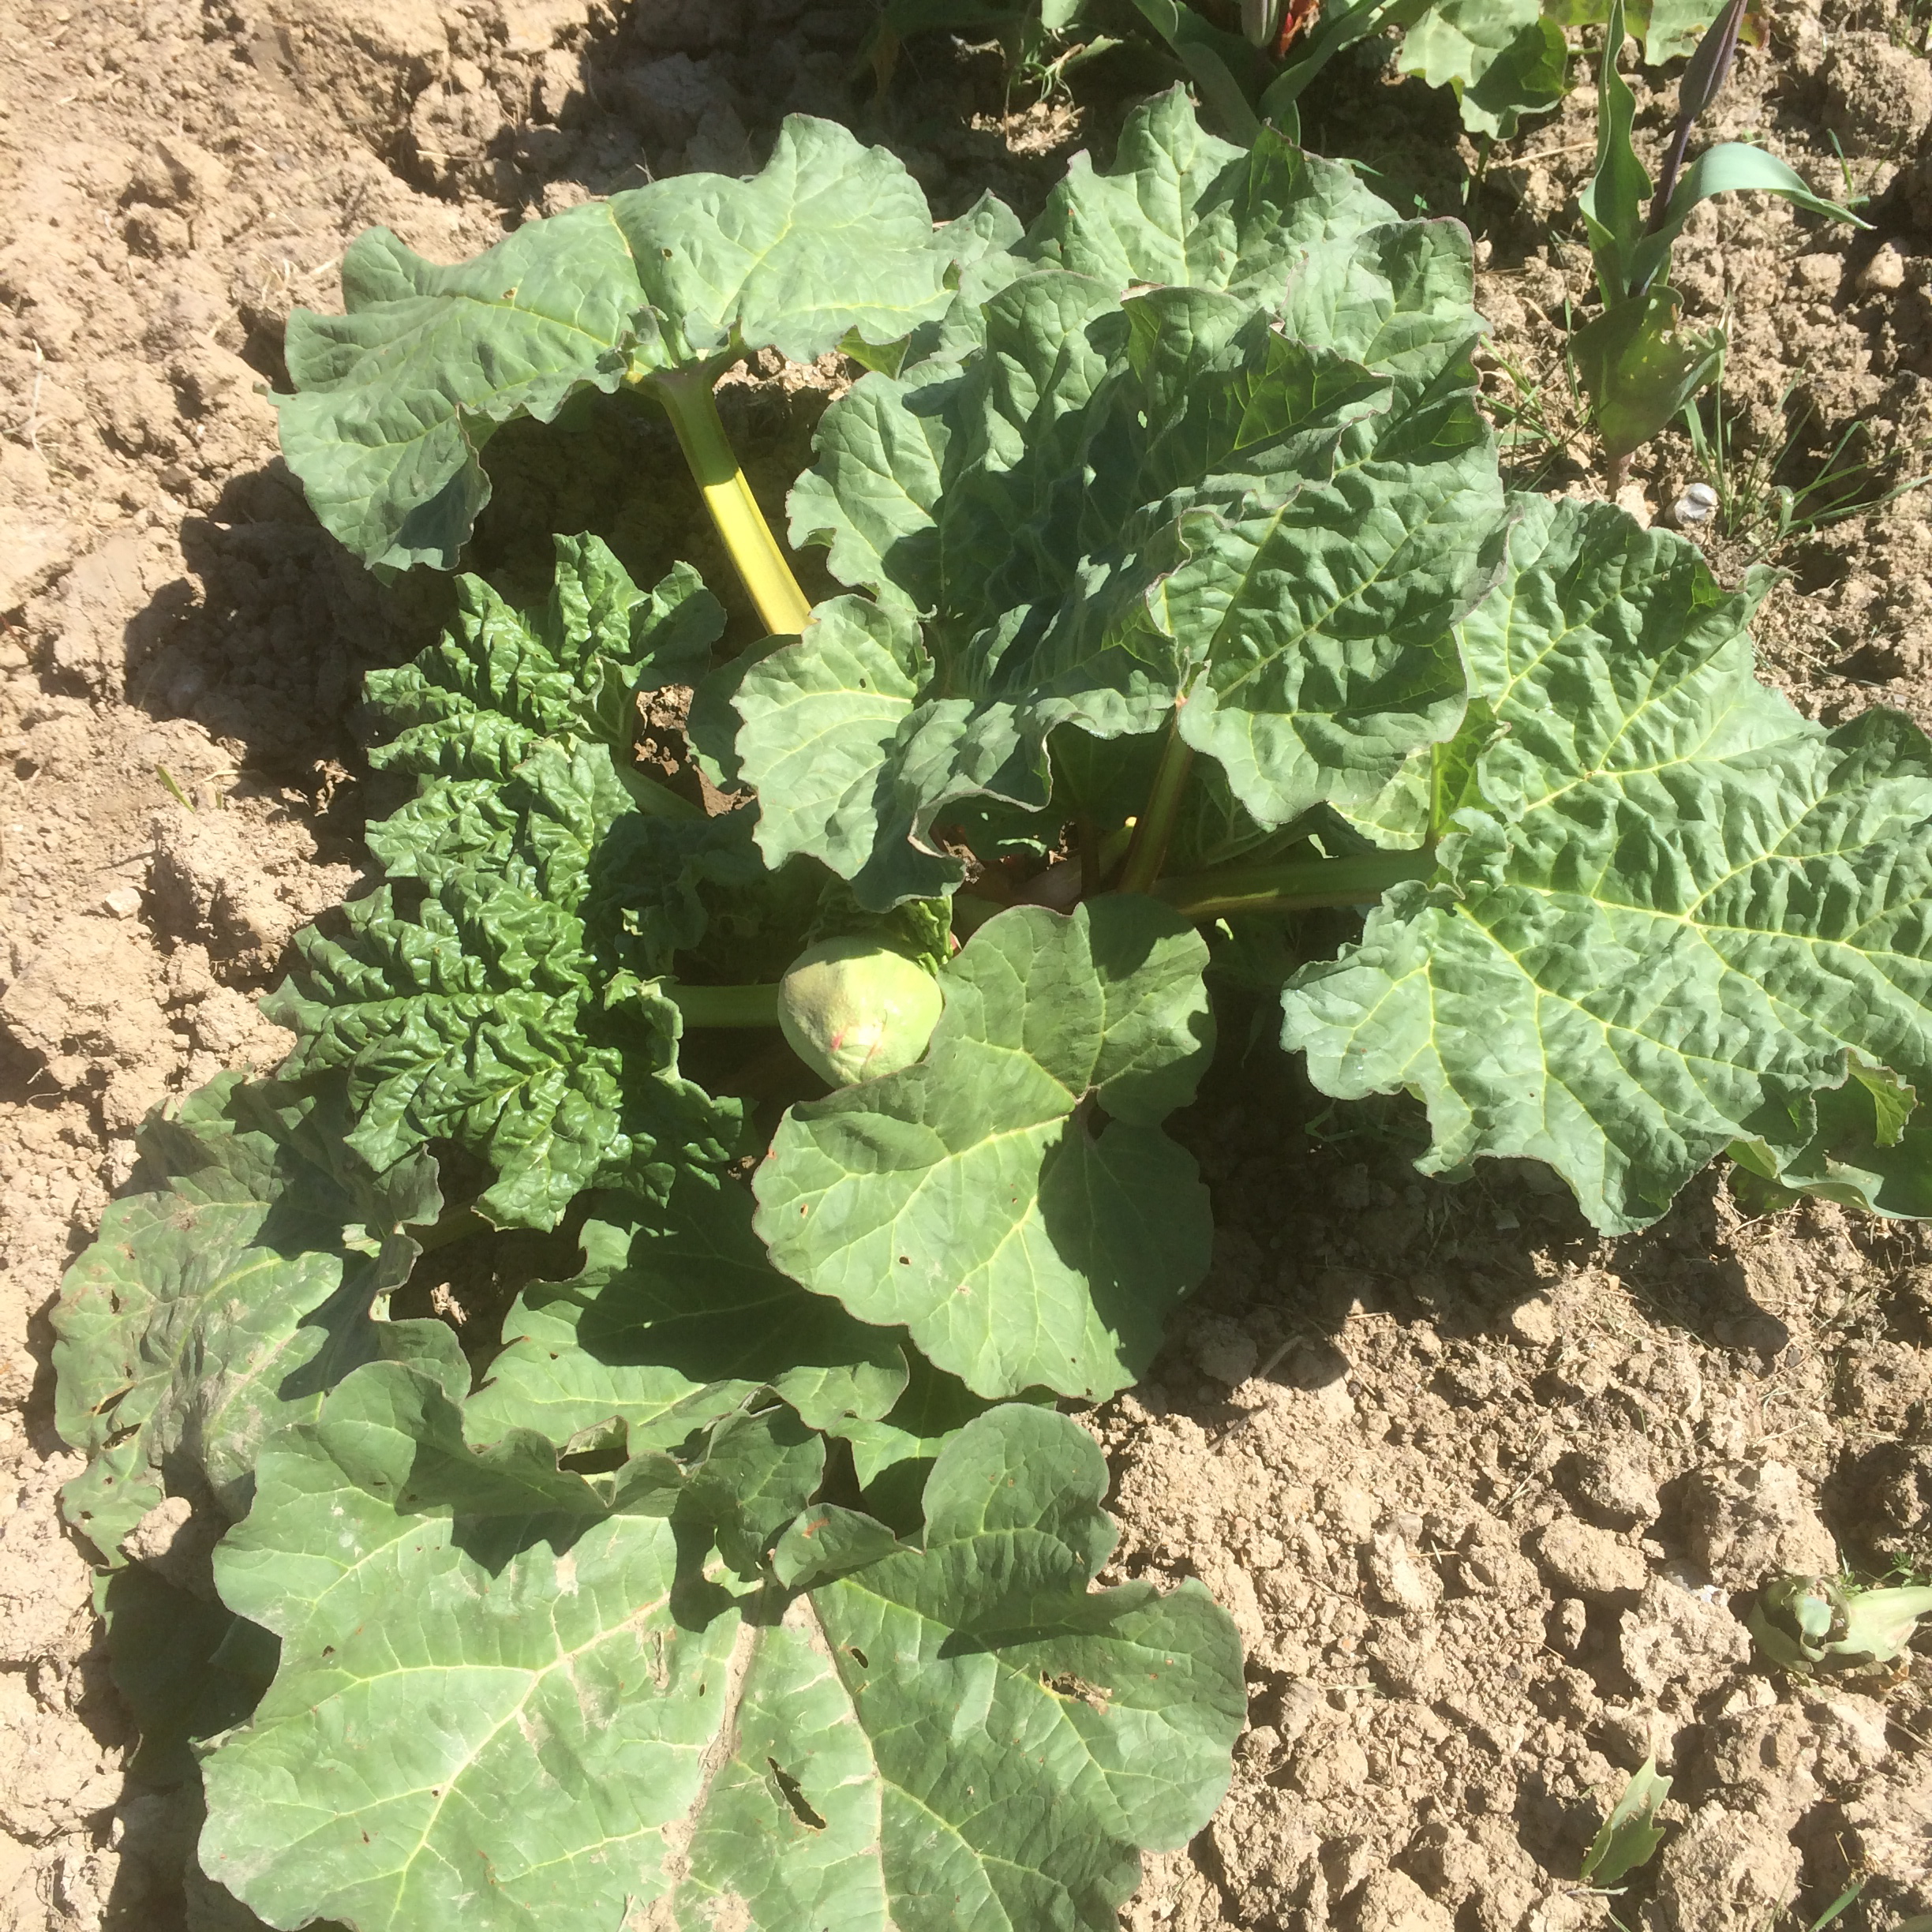
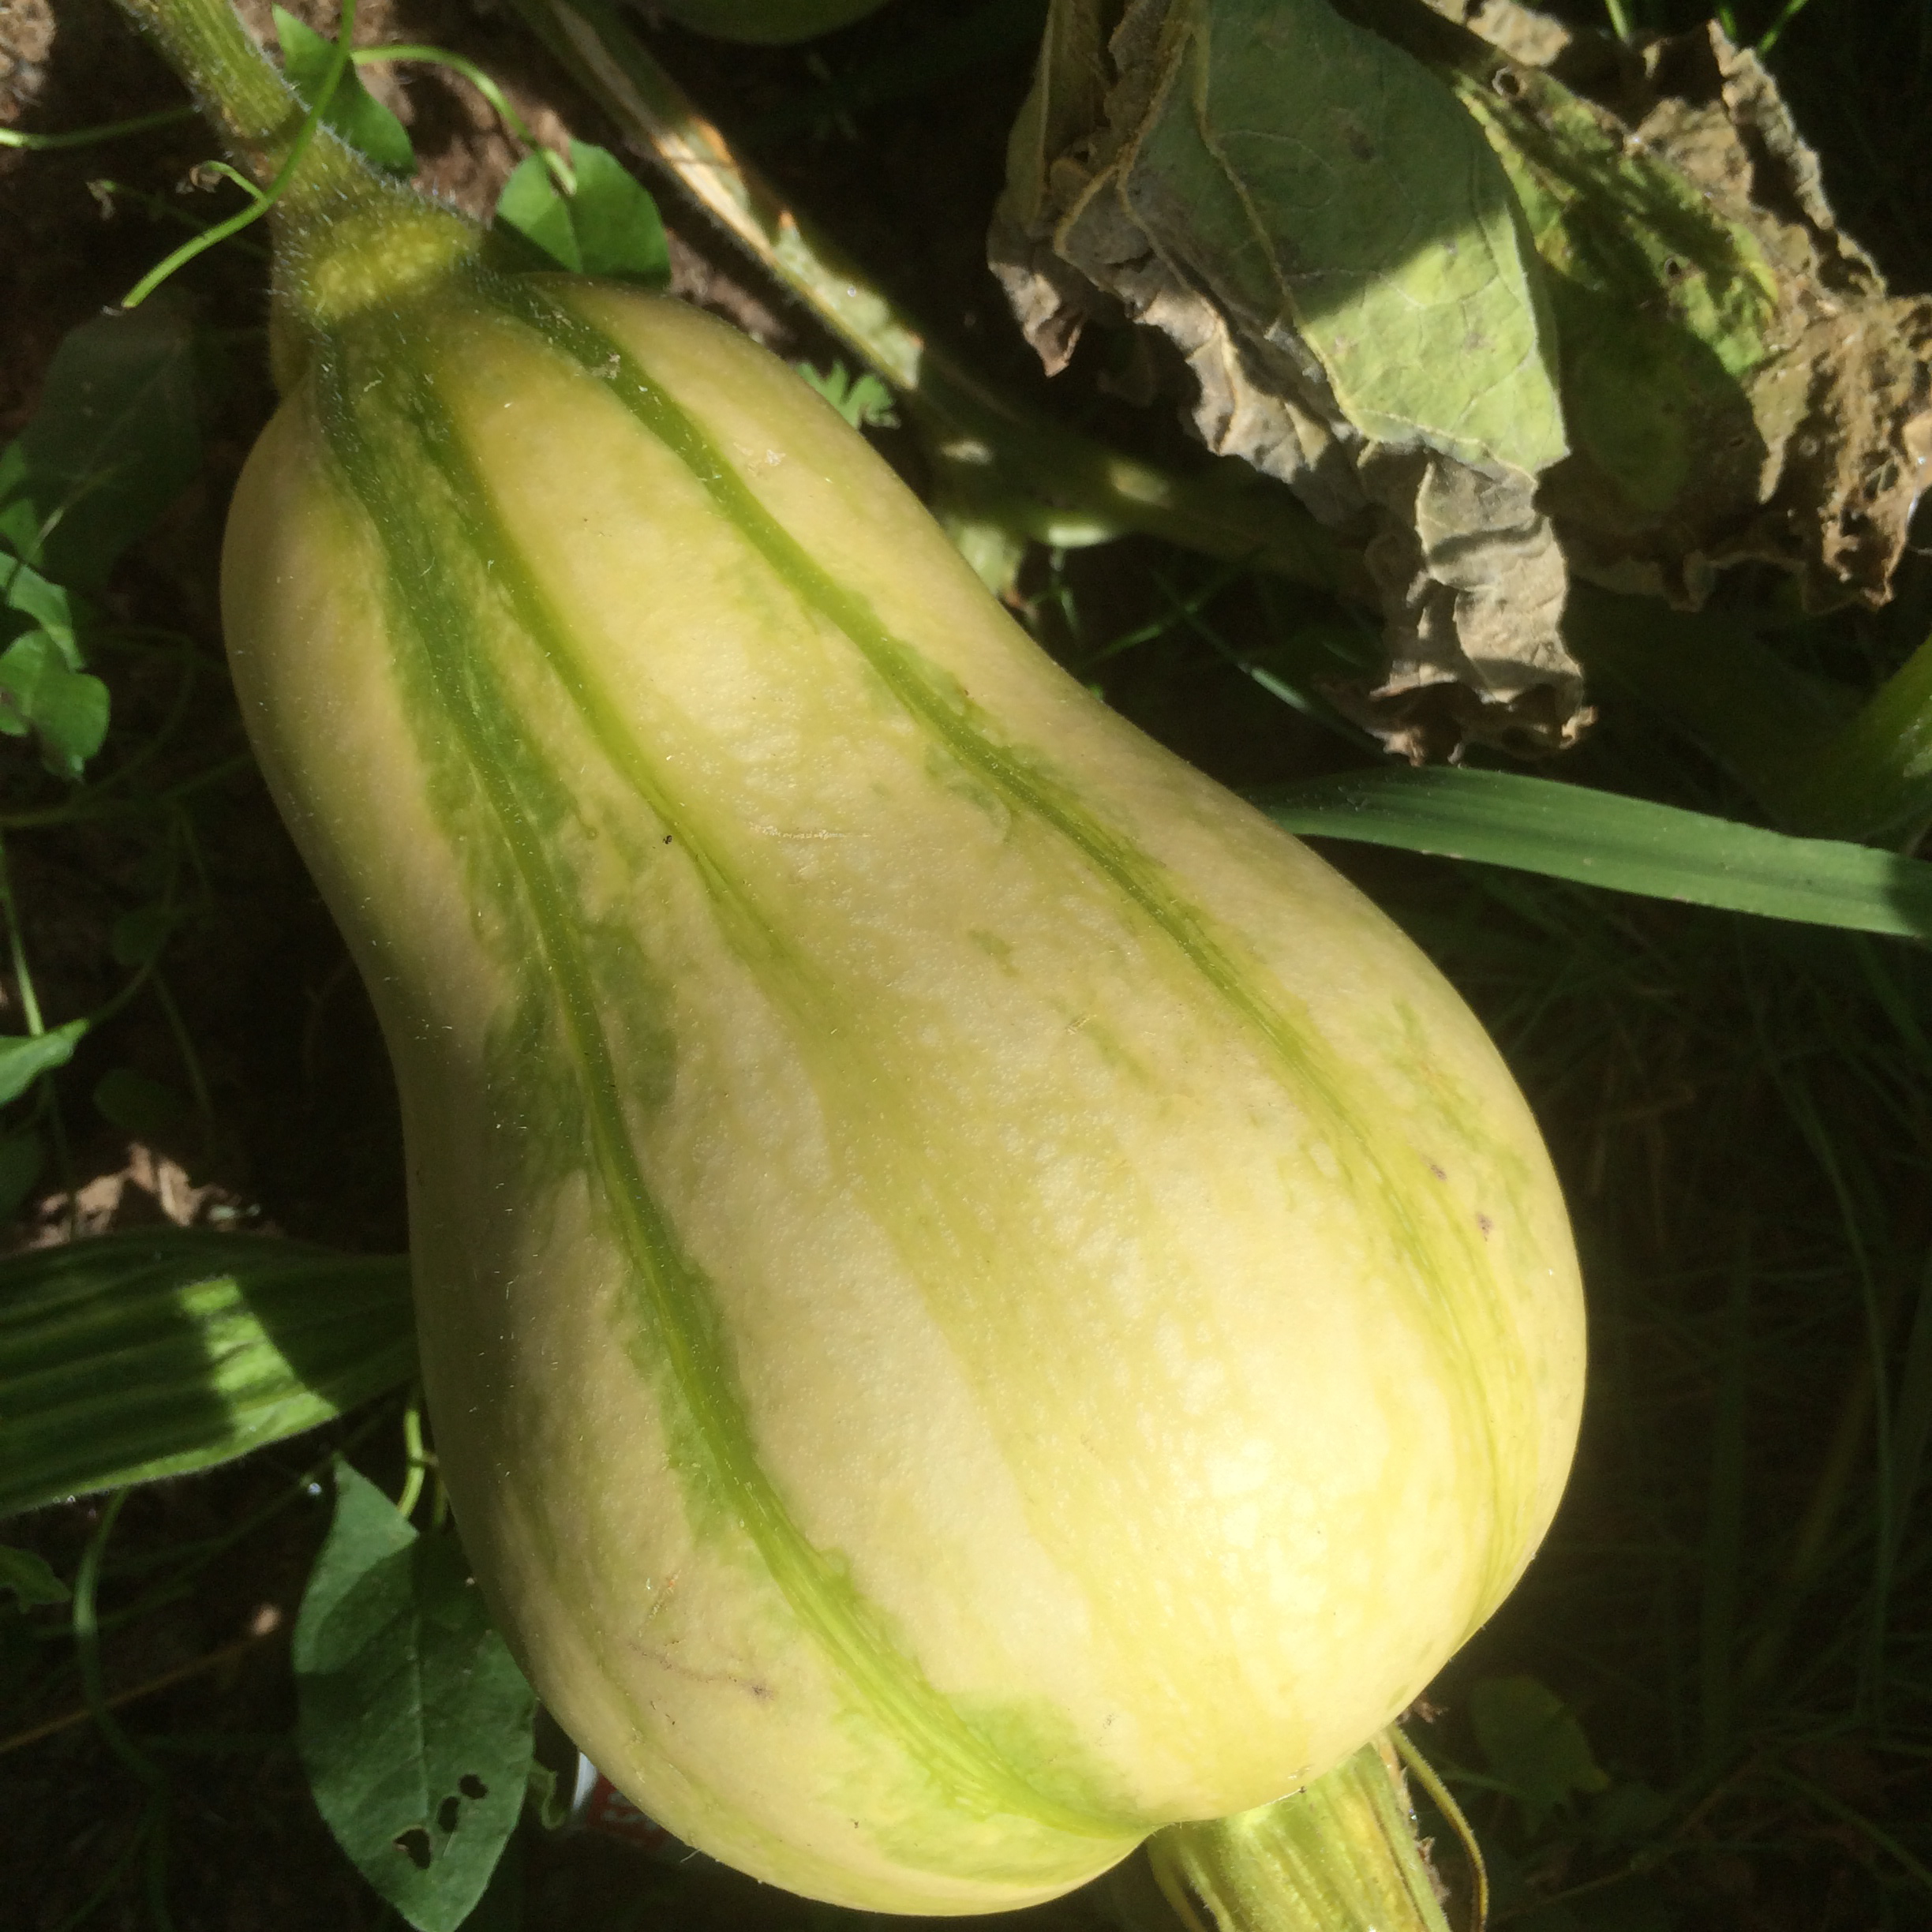
Butternut Squash

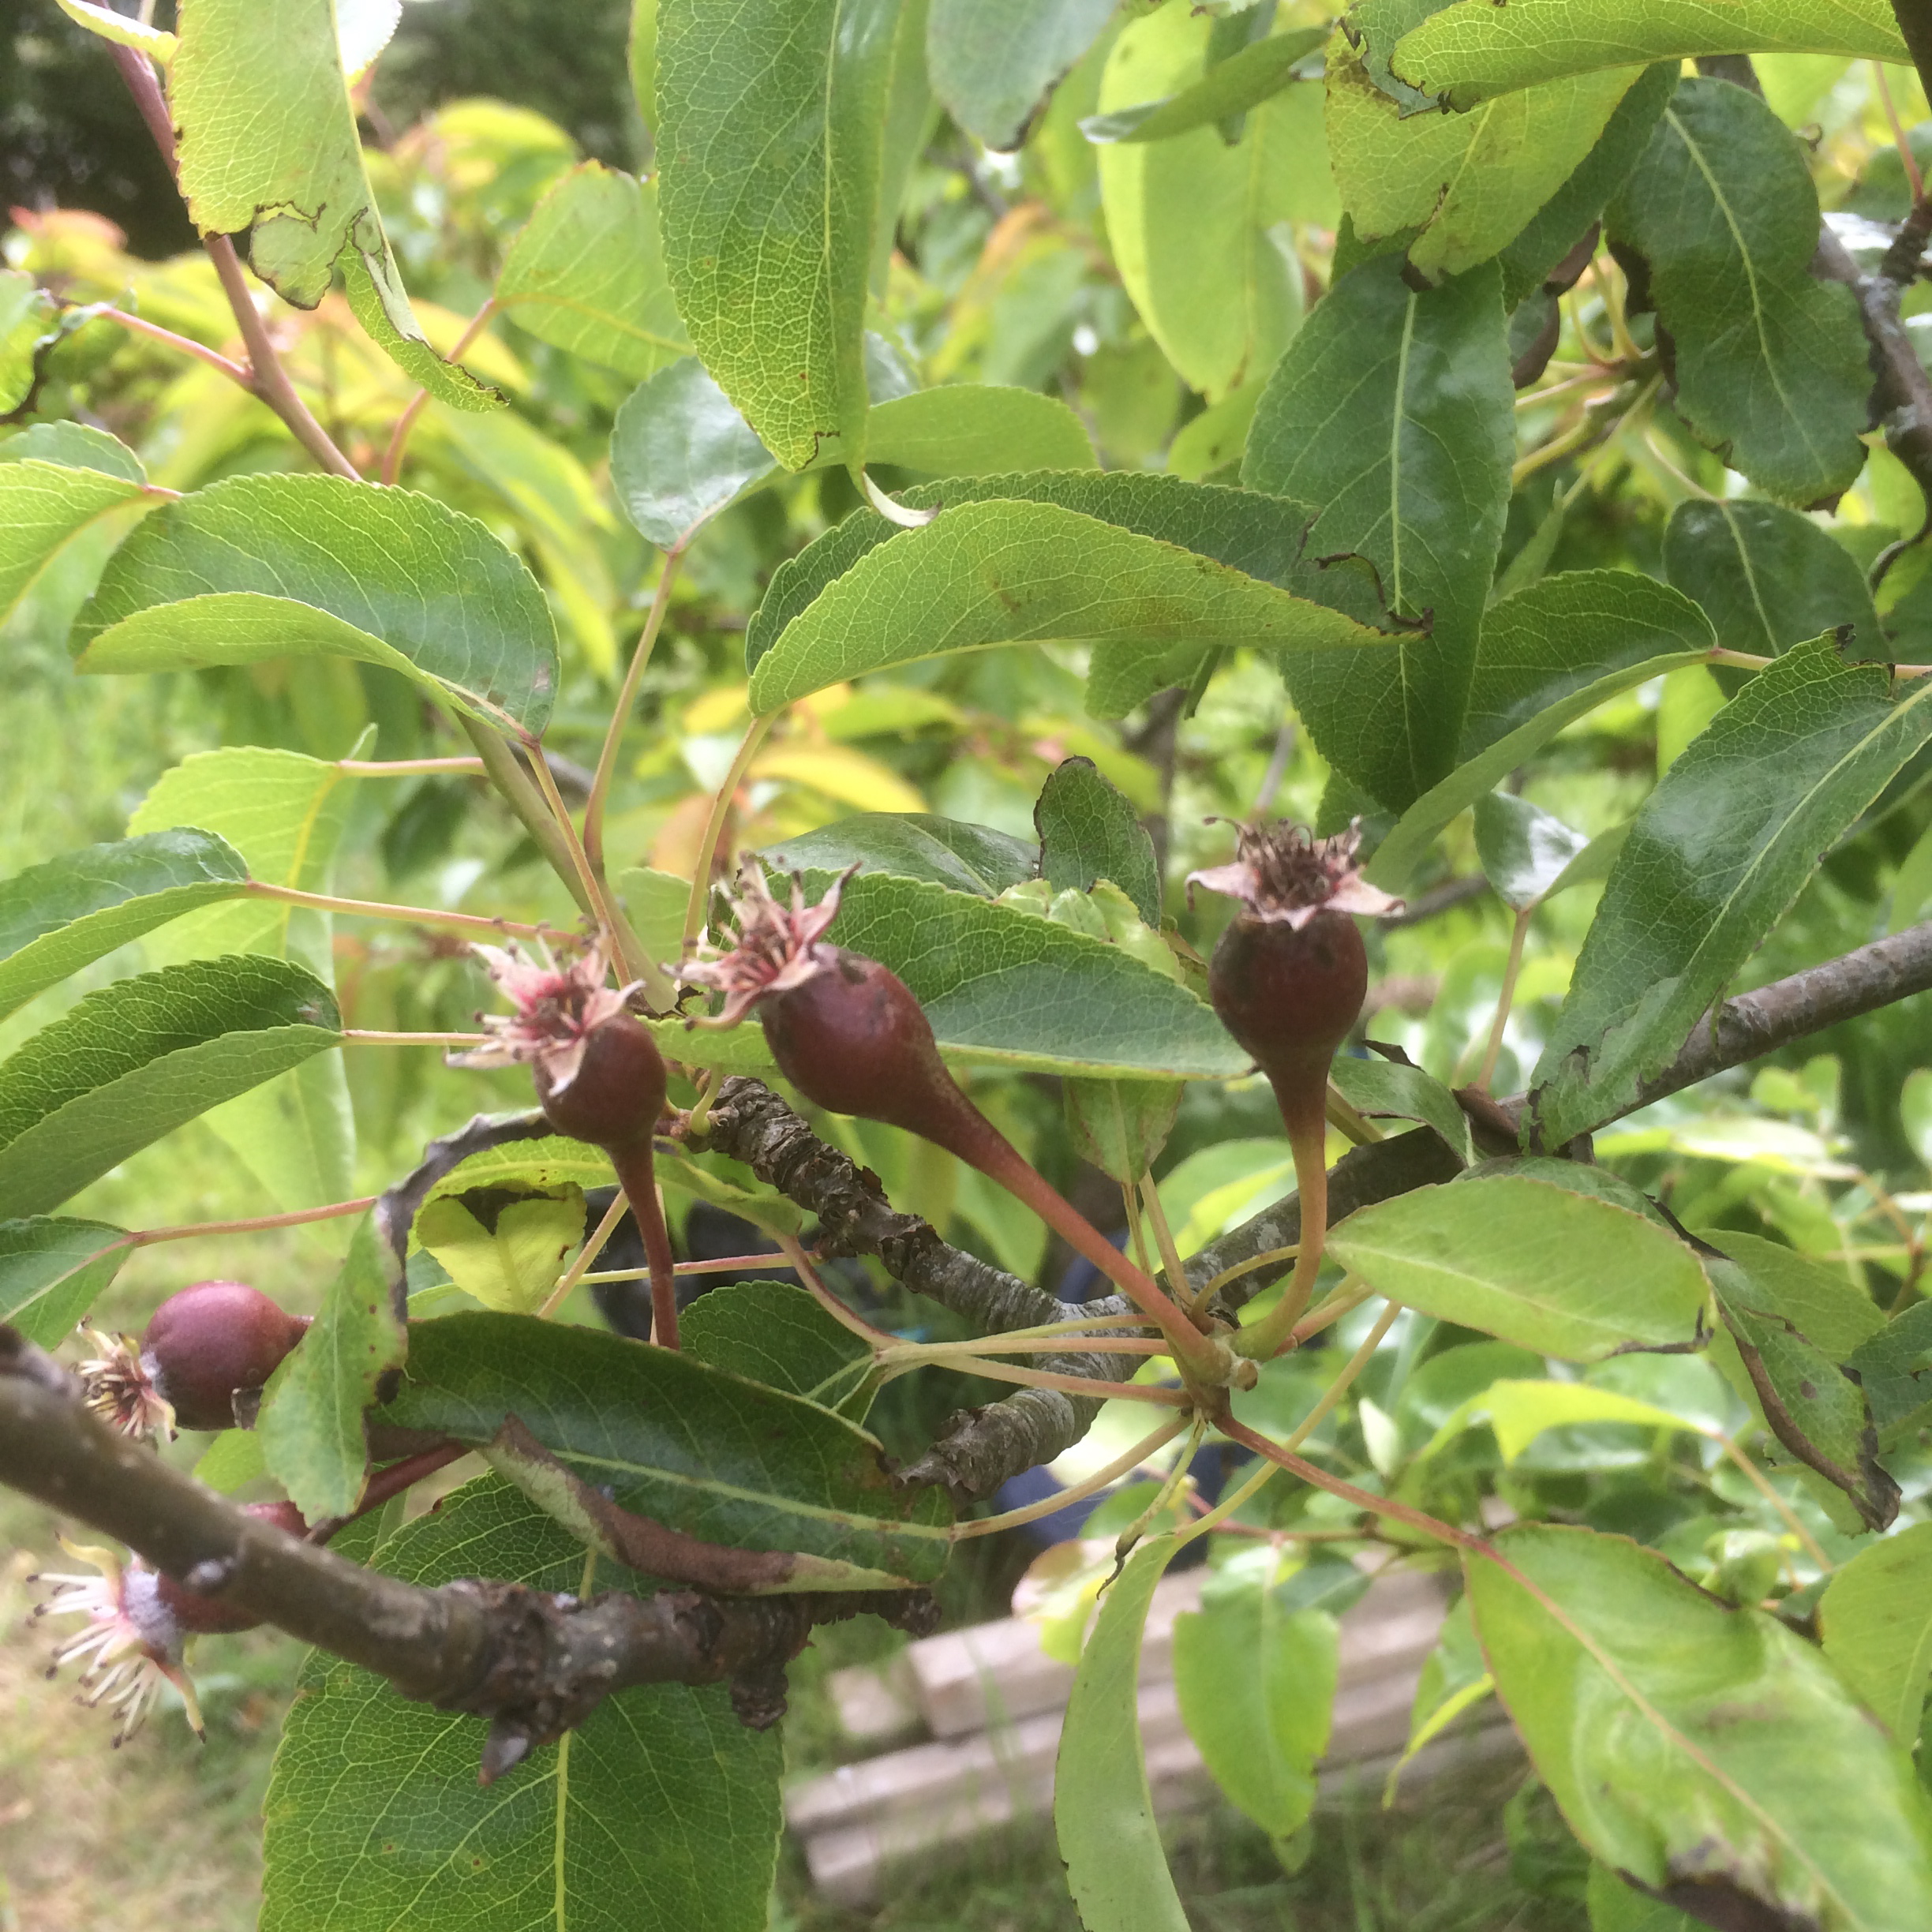
Discarded small round butternut squashes
All the butternut squash plants produced these small round squashes, it was rather odd. However, recently they have started to produce some proper shaped squashes, so we decided to remove all the small round ones.
Butternut squash, plot 2
Each plant has around 4 or 5 squashes, and we’re growing 4 plants. That should keep us going through out the winter months!
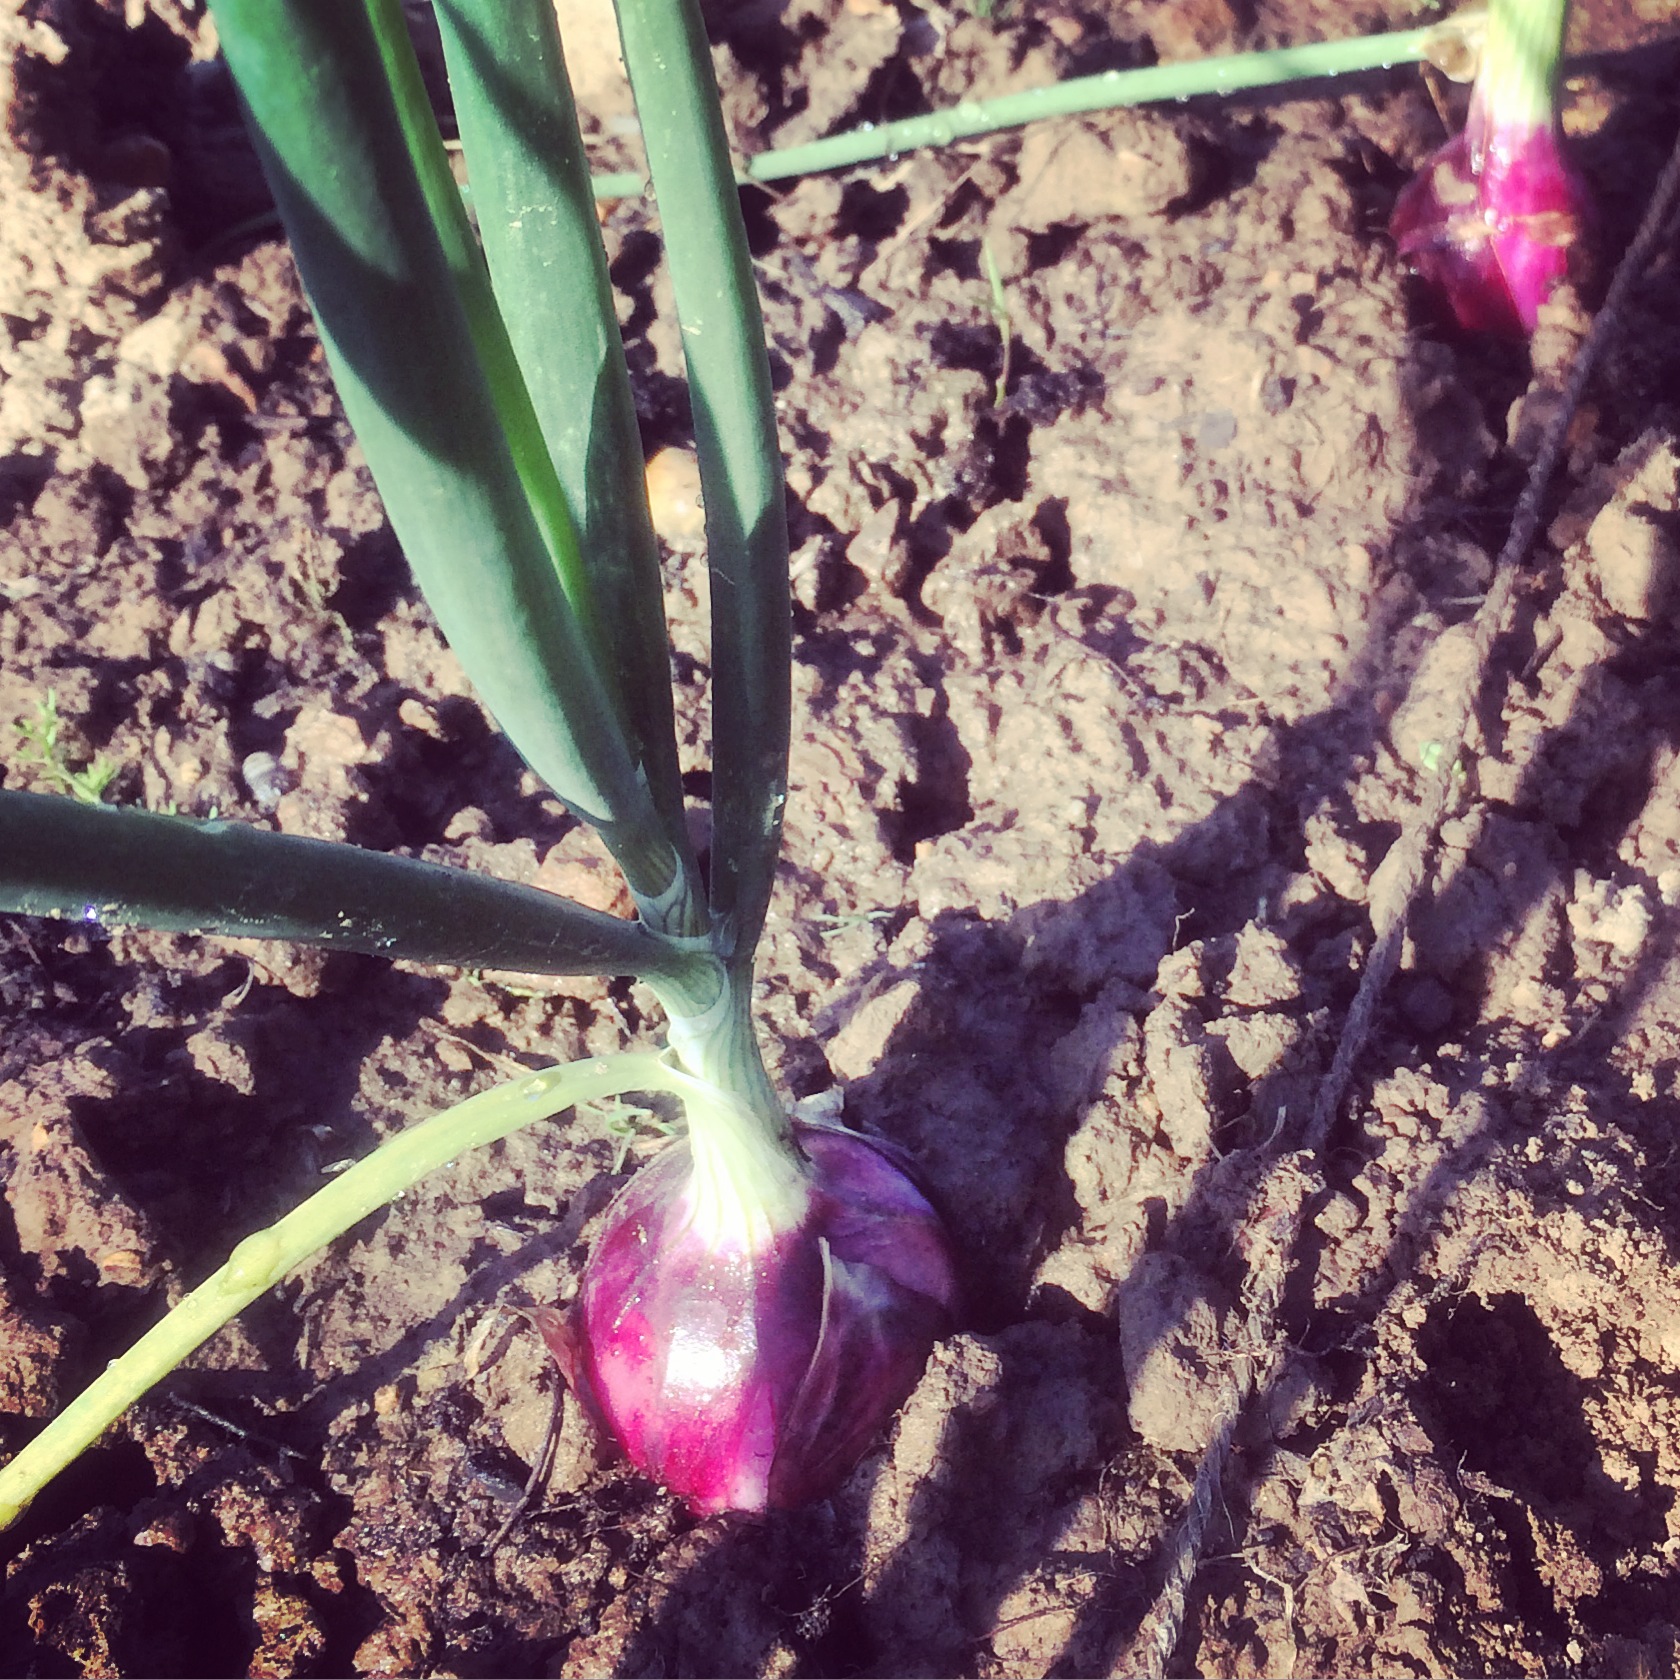
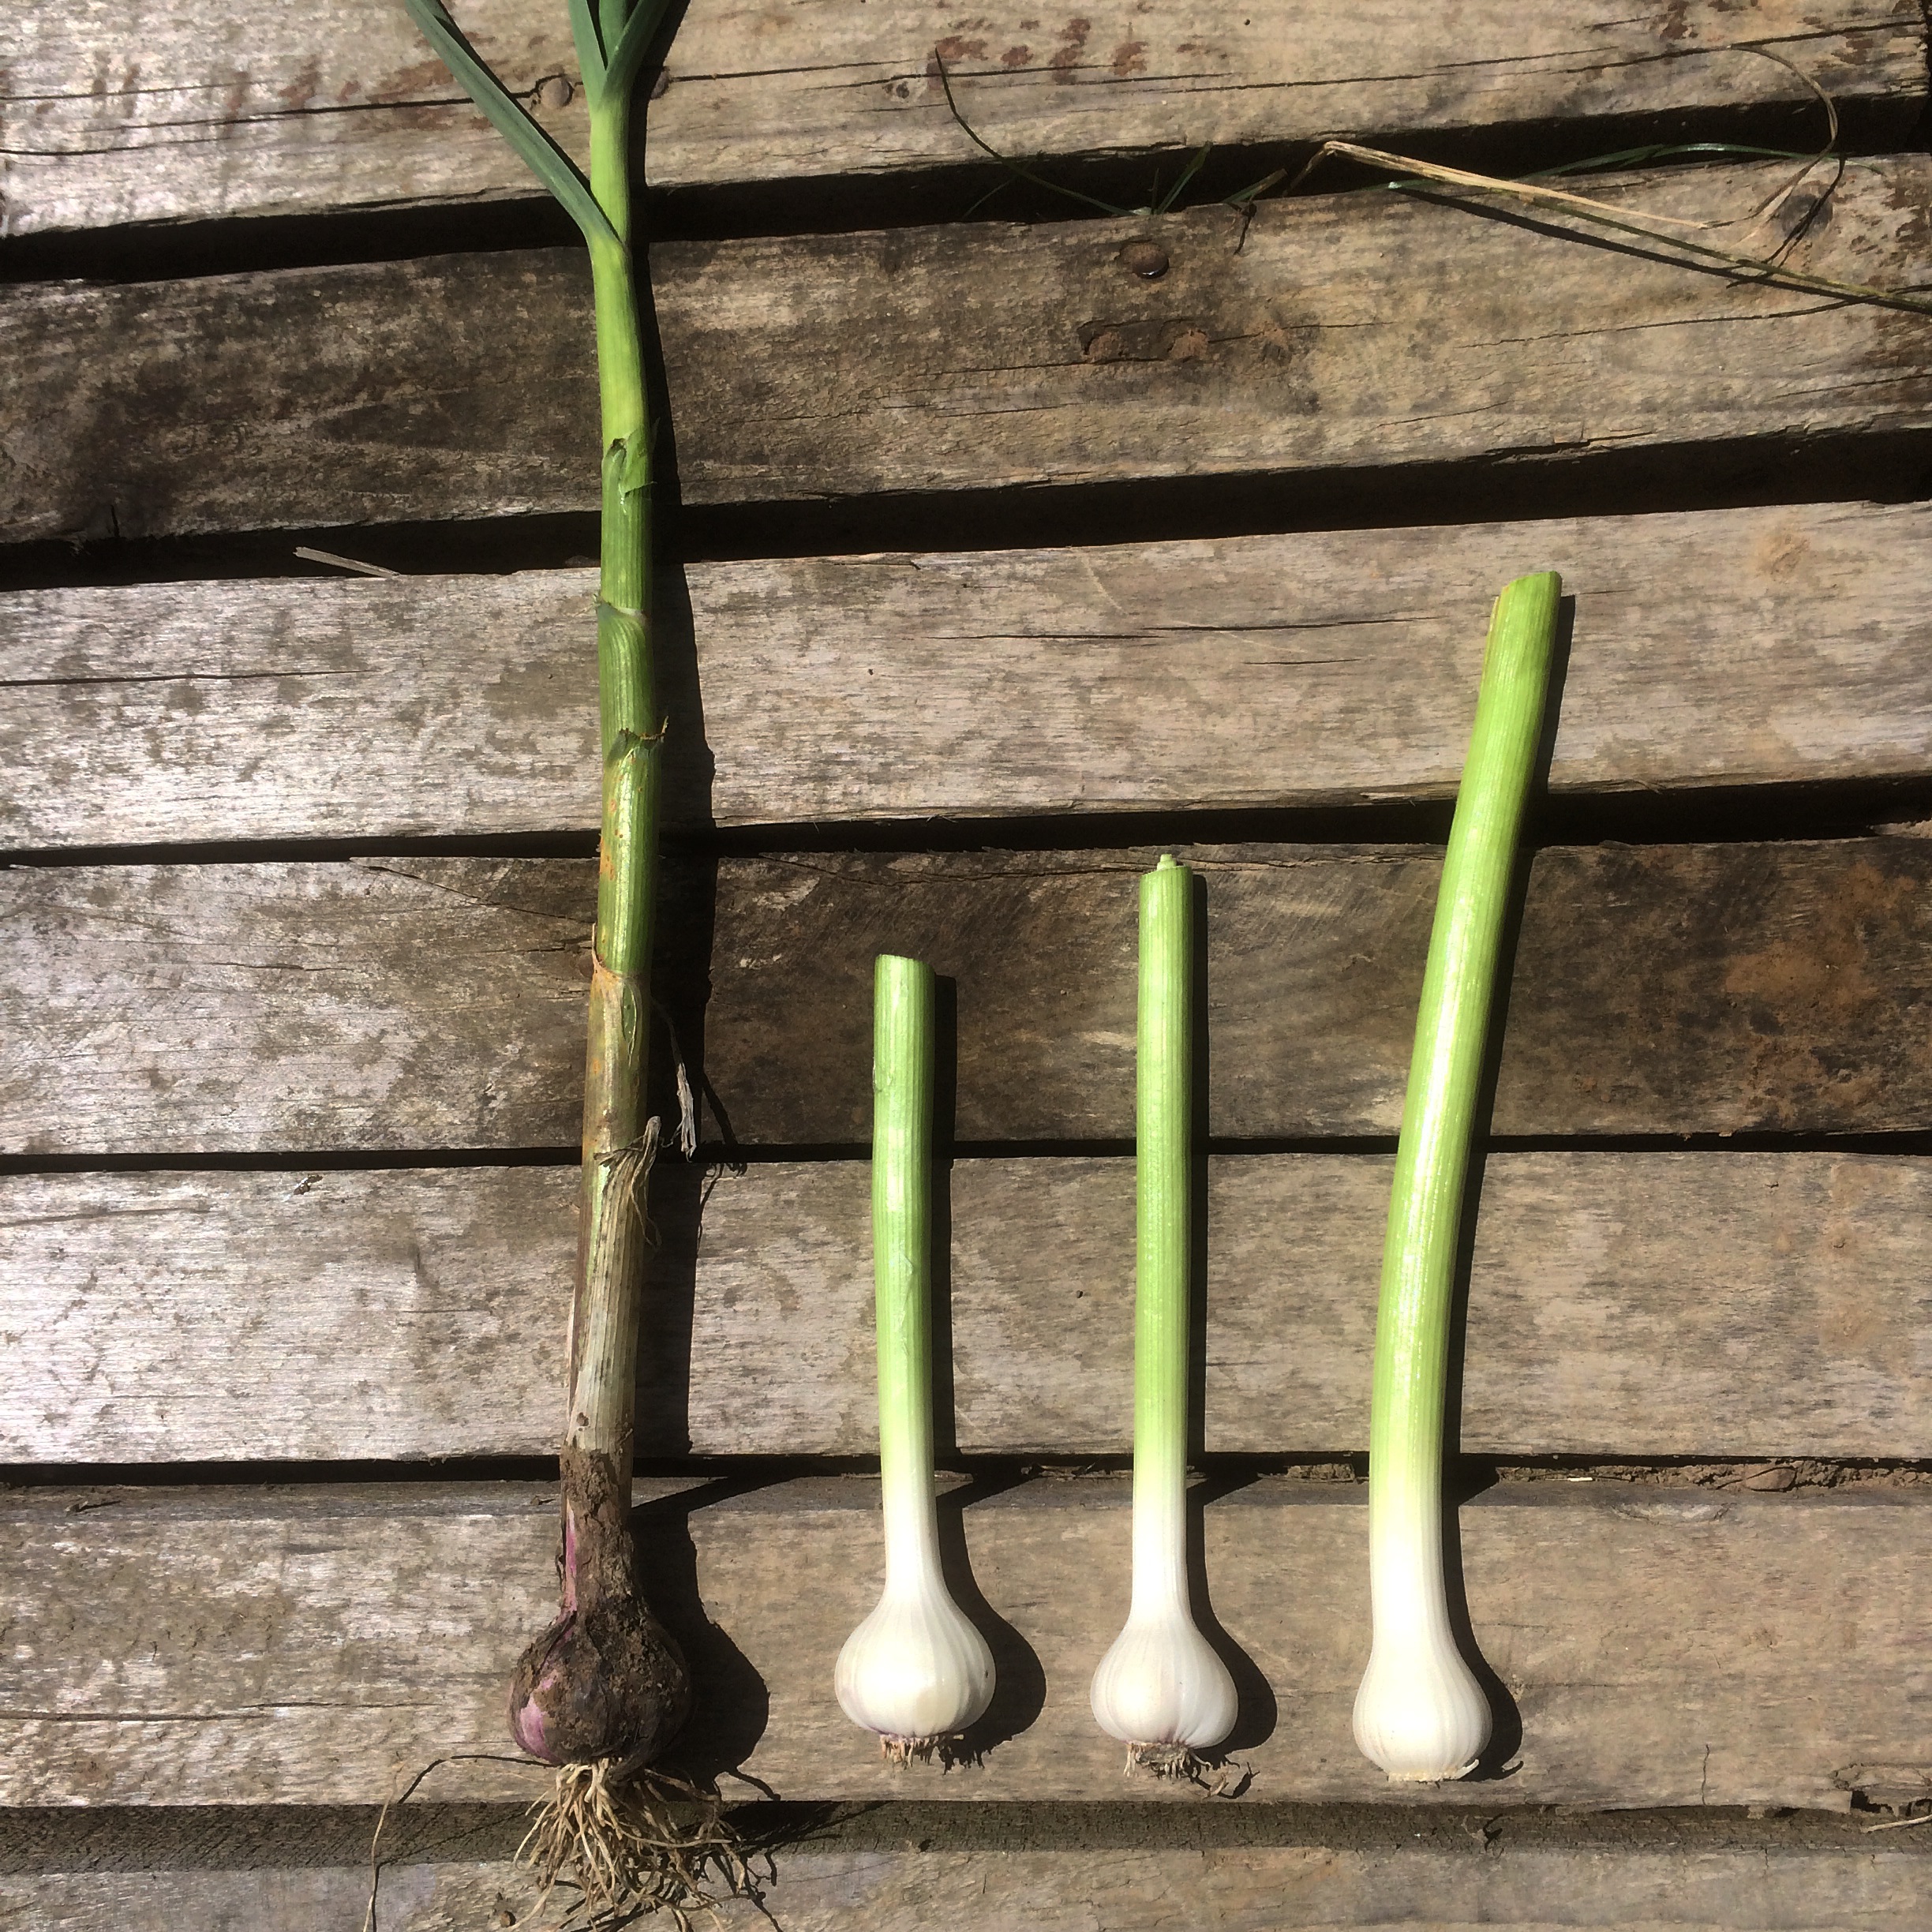
Onions: Record Rosso Tondo Tropea
The foliage had become either horribly nibbled by the slugs or it had keeled over, so it was definitely time to harvest the red onions. Not a bad crop, but I’ve realised we didn’t grow enough.
The Long Red Florence onions are still growing. I suspect we’ll be harvesting them within the next month or so.

Record Rosso Tondo Tropea harvest
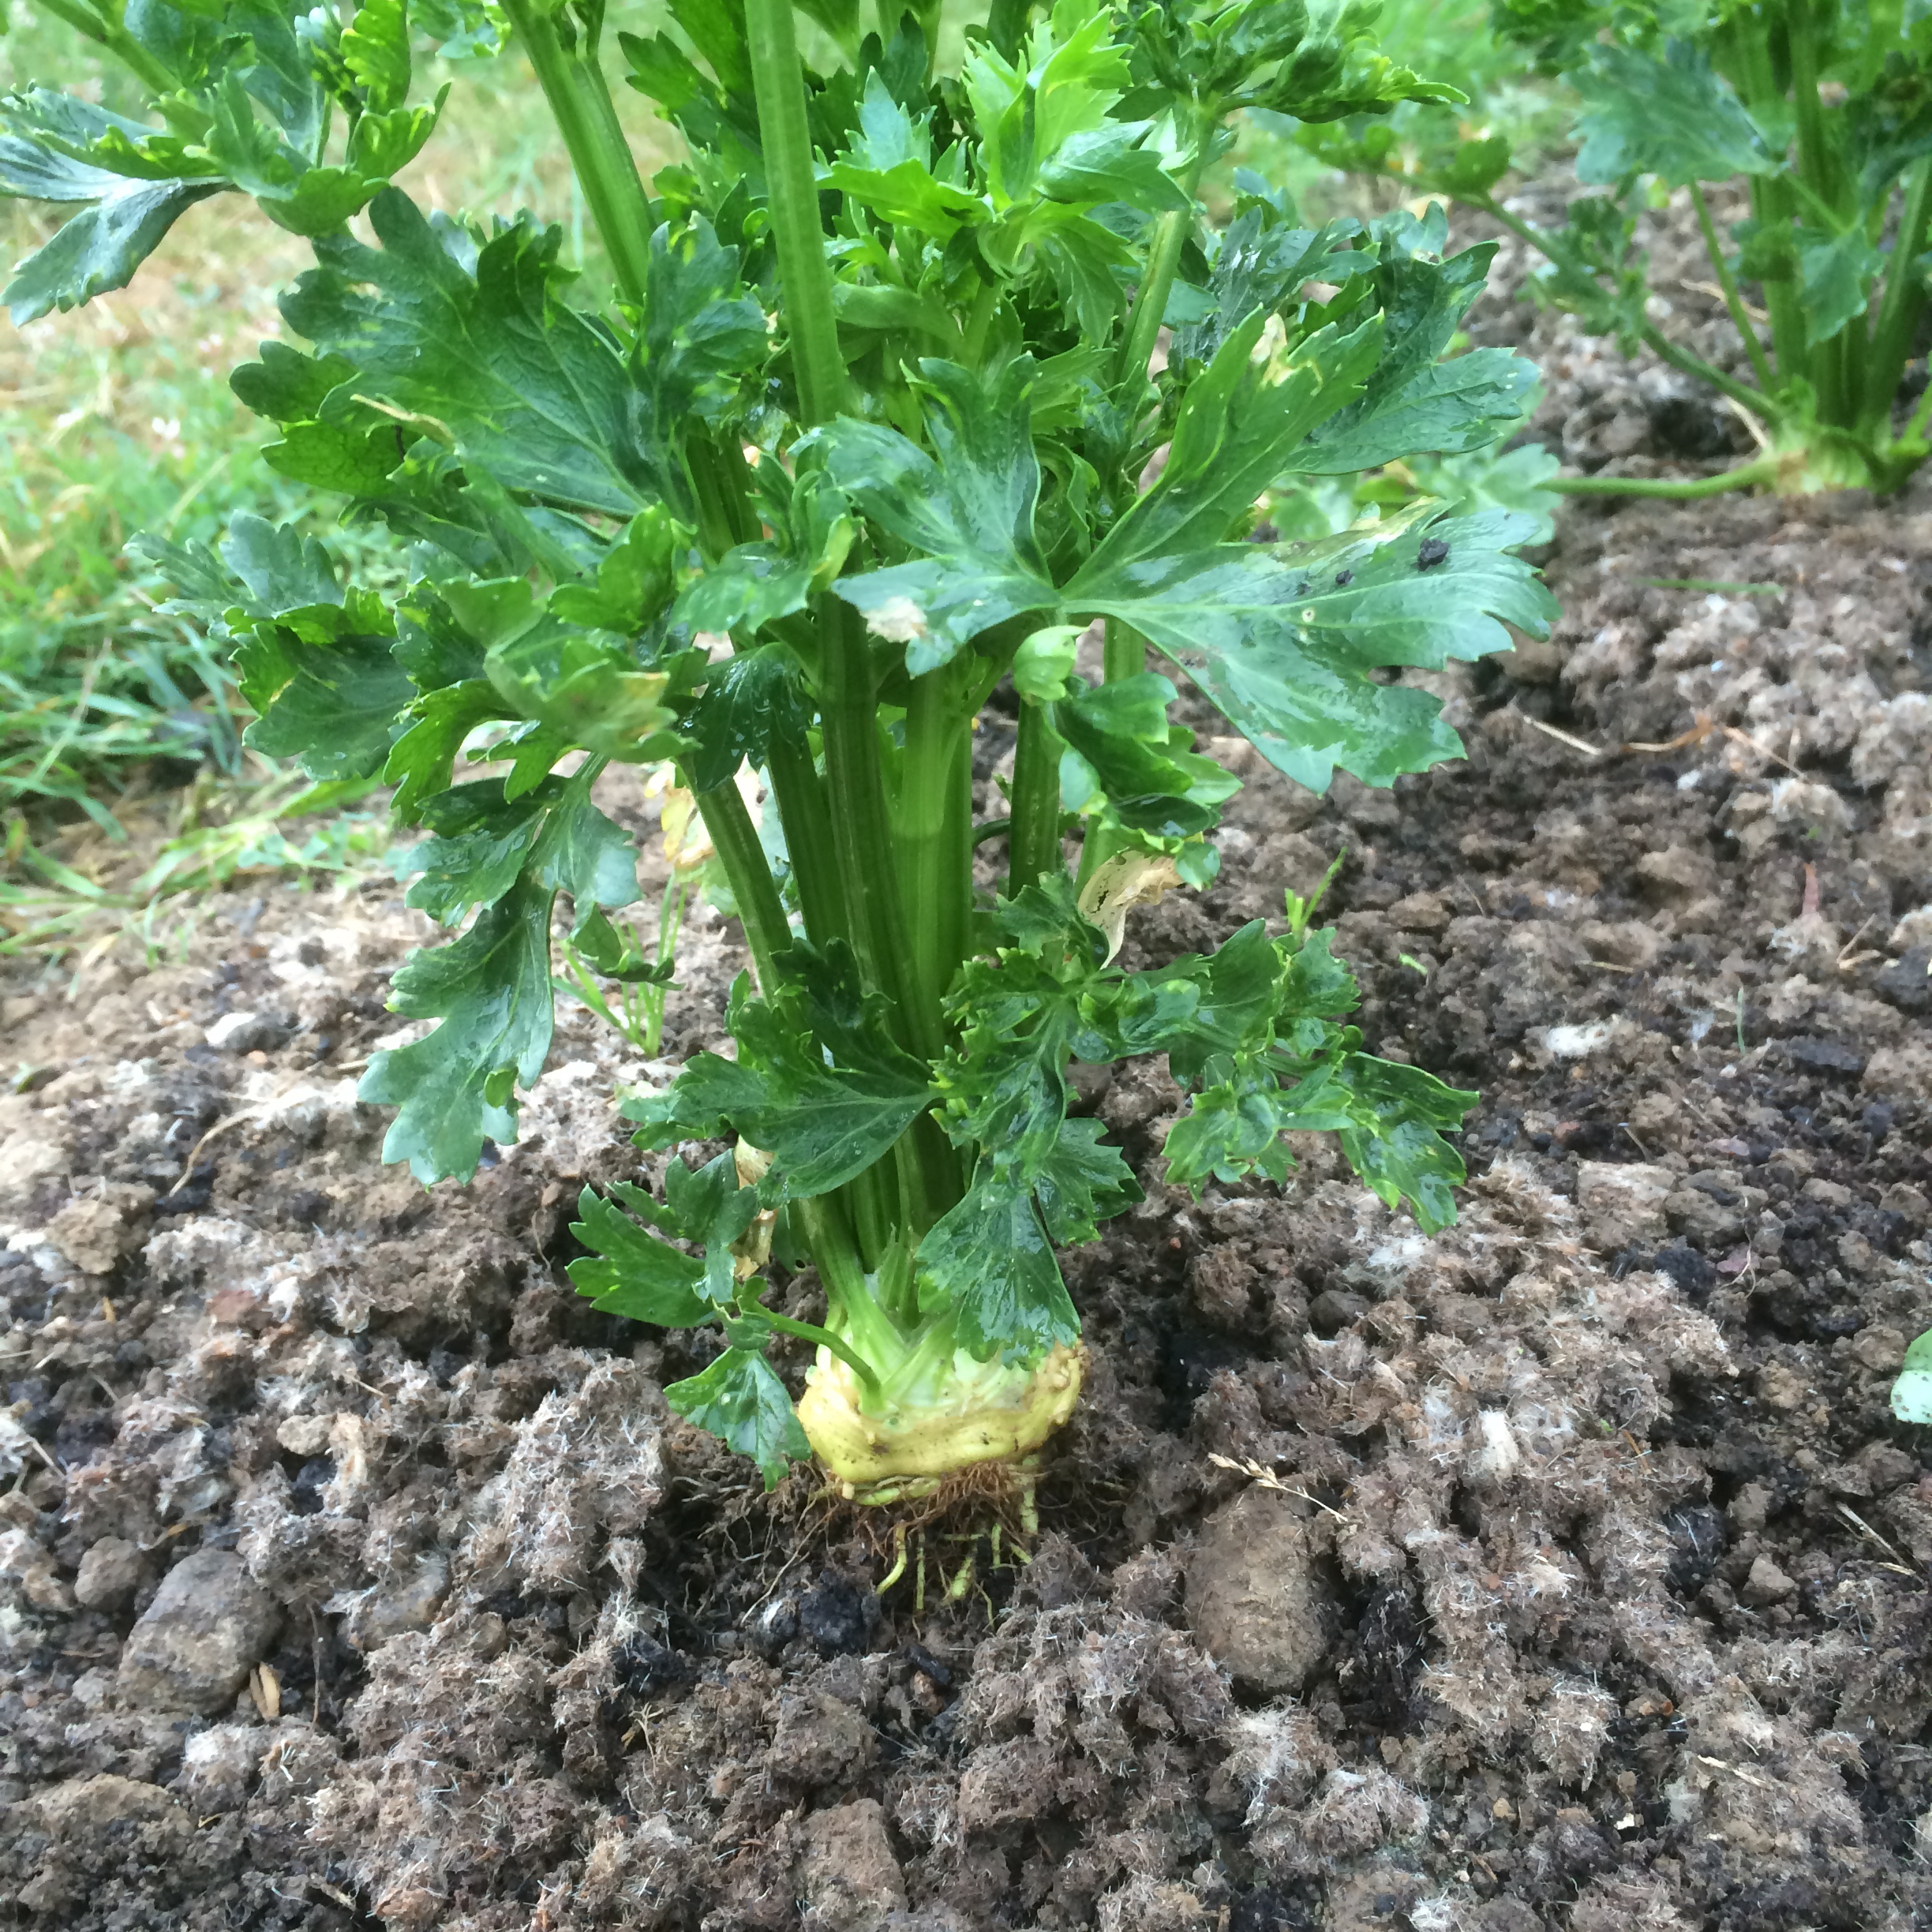
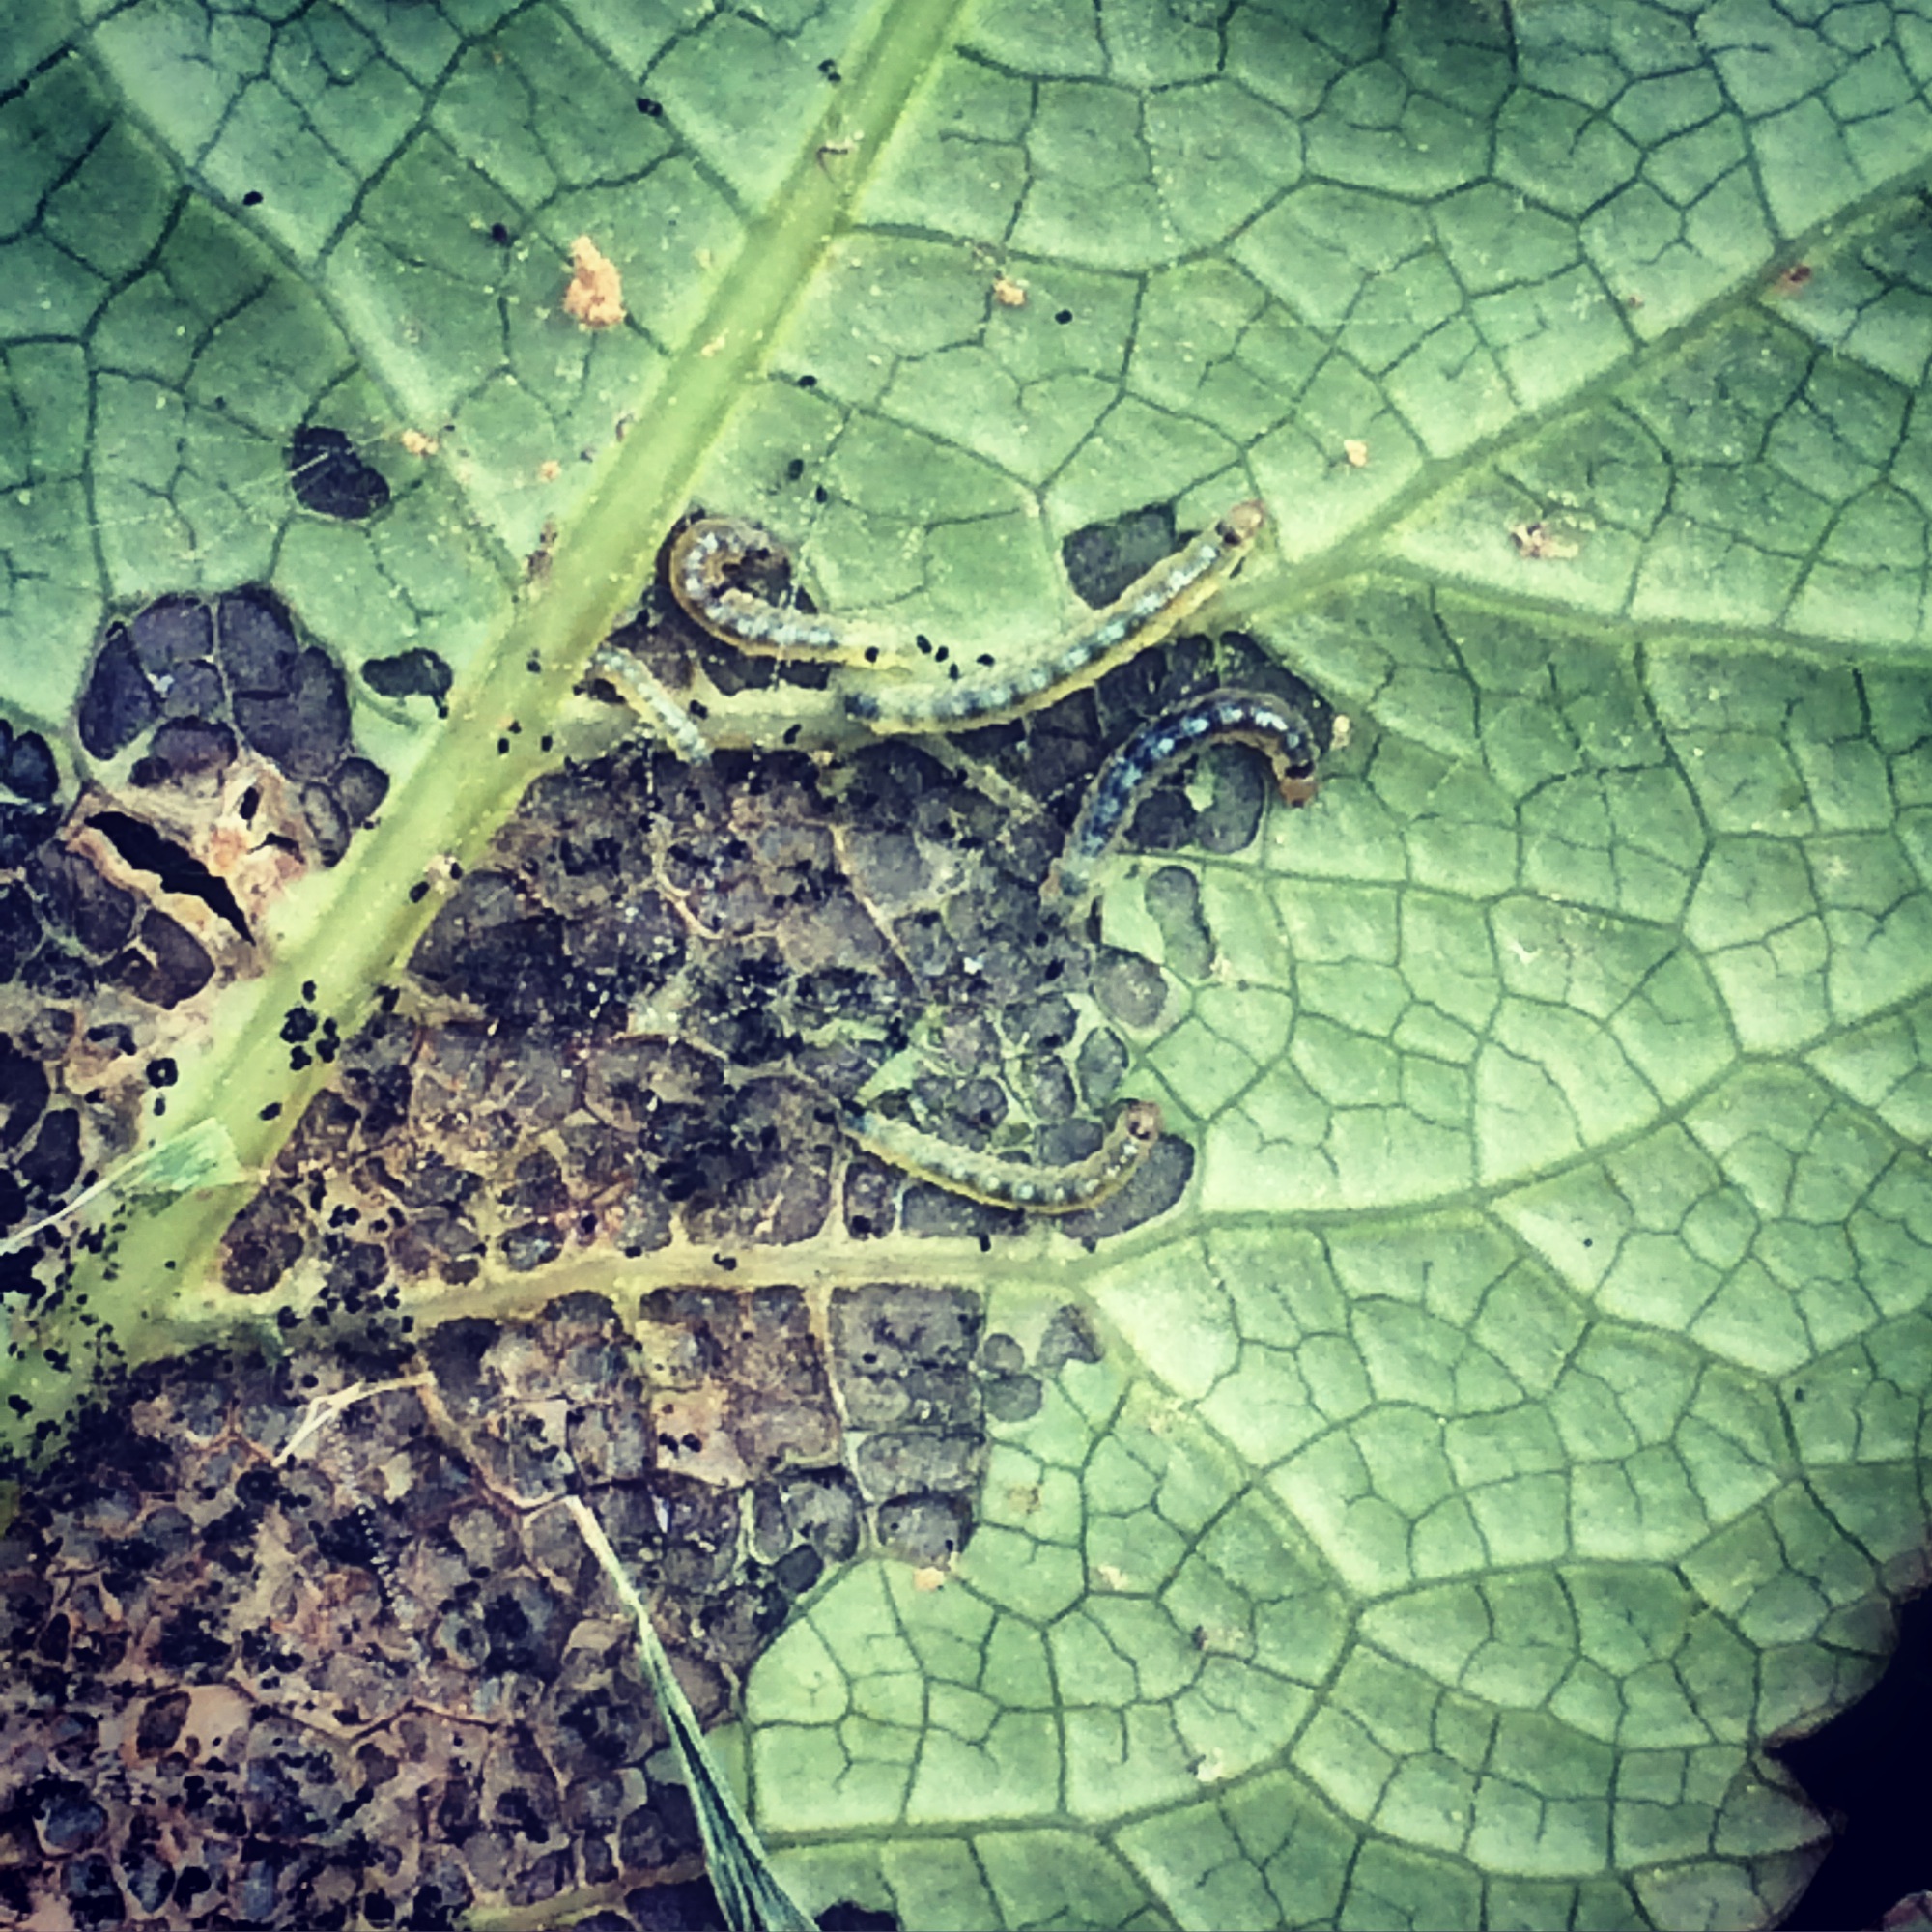
Celeriac
We’ve been keeping the celeriac fairly well watered, especially during the hot, dry spells. However, there has been one small problem!
We discovered some of the celeriac on plot 1 had collaspsed
Collapsed celeriac, plot 1
On closer inspection it became apparent why
Devoured root, celeriac, plot 1
The small whitish/ grey field slugs had eaten their way through 6 of these. Slightly disappointing to lose so many, but that’s the problem with gardening organically. We still have 10 plants left on plot 1, and a further 21 plants on plot 4. The roots are still fairly immature, but they’re slowly swelling,..celeriac certainly isn’t one to grow for the impatient gardener.
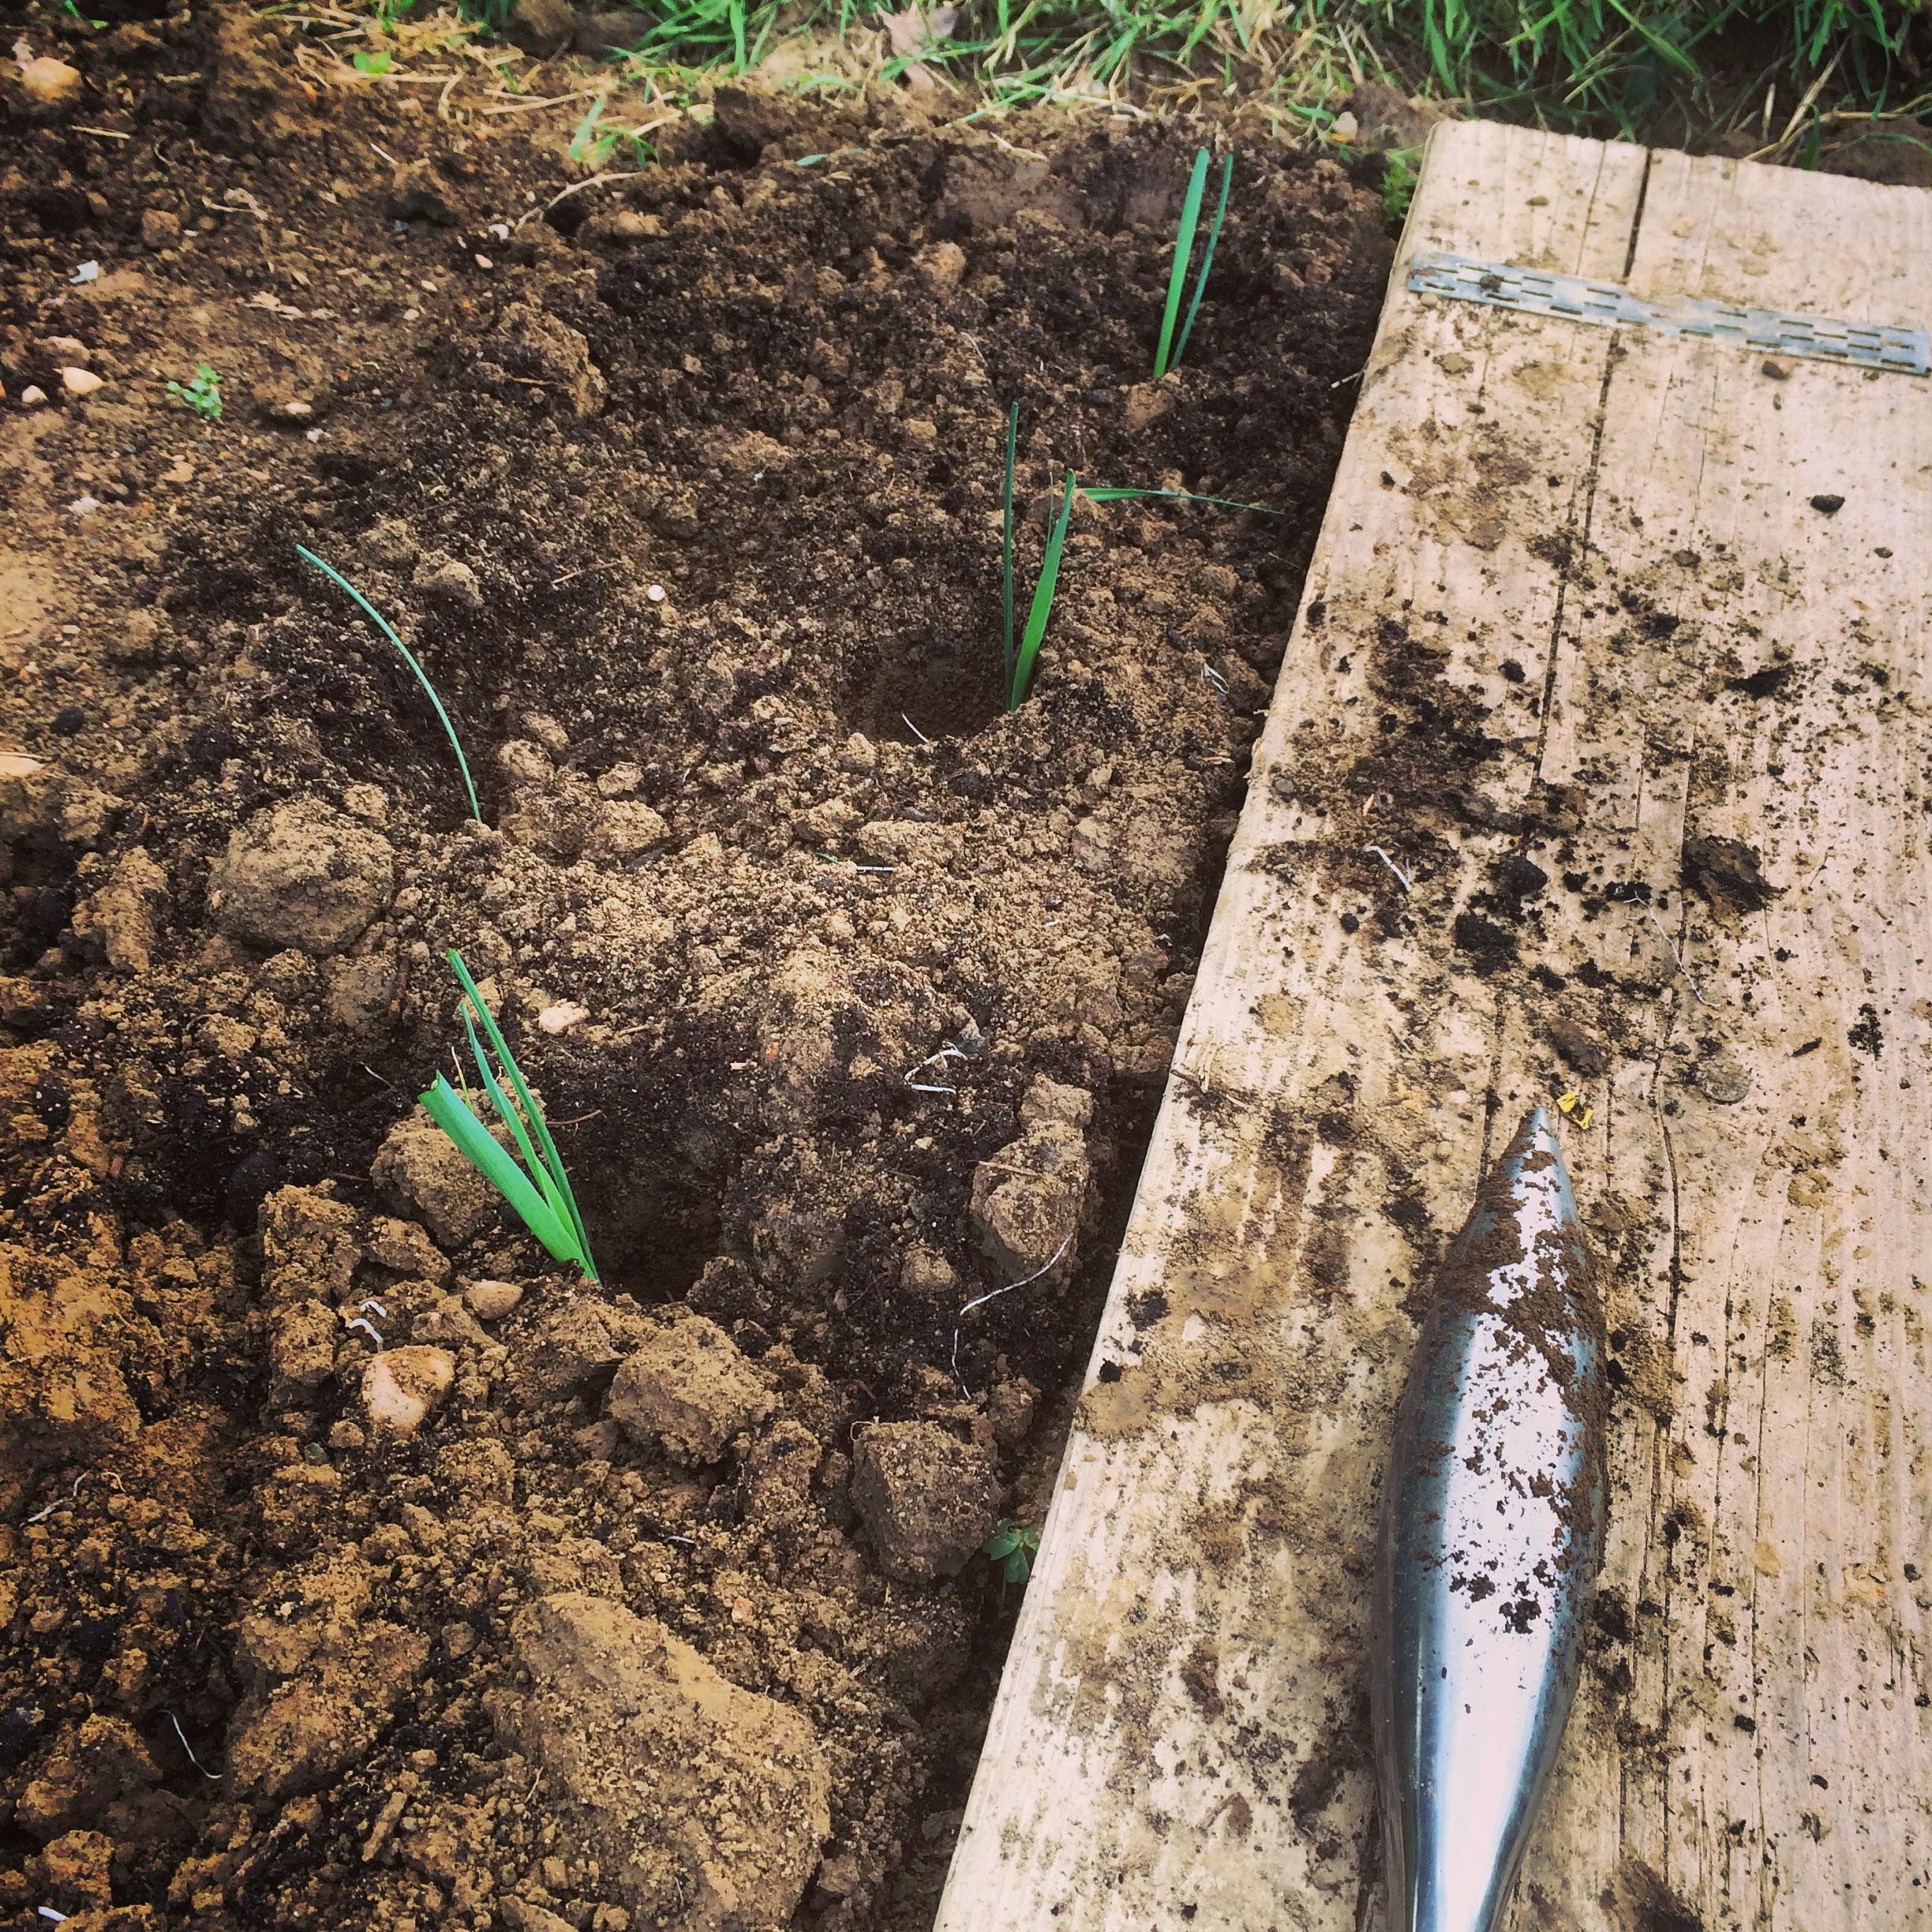
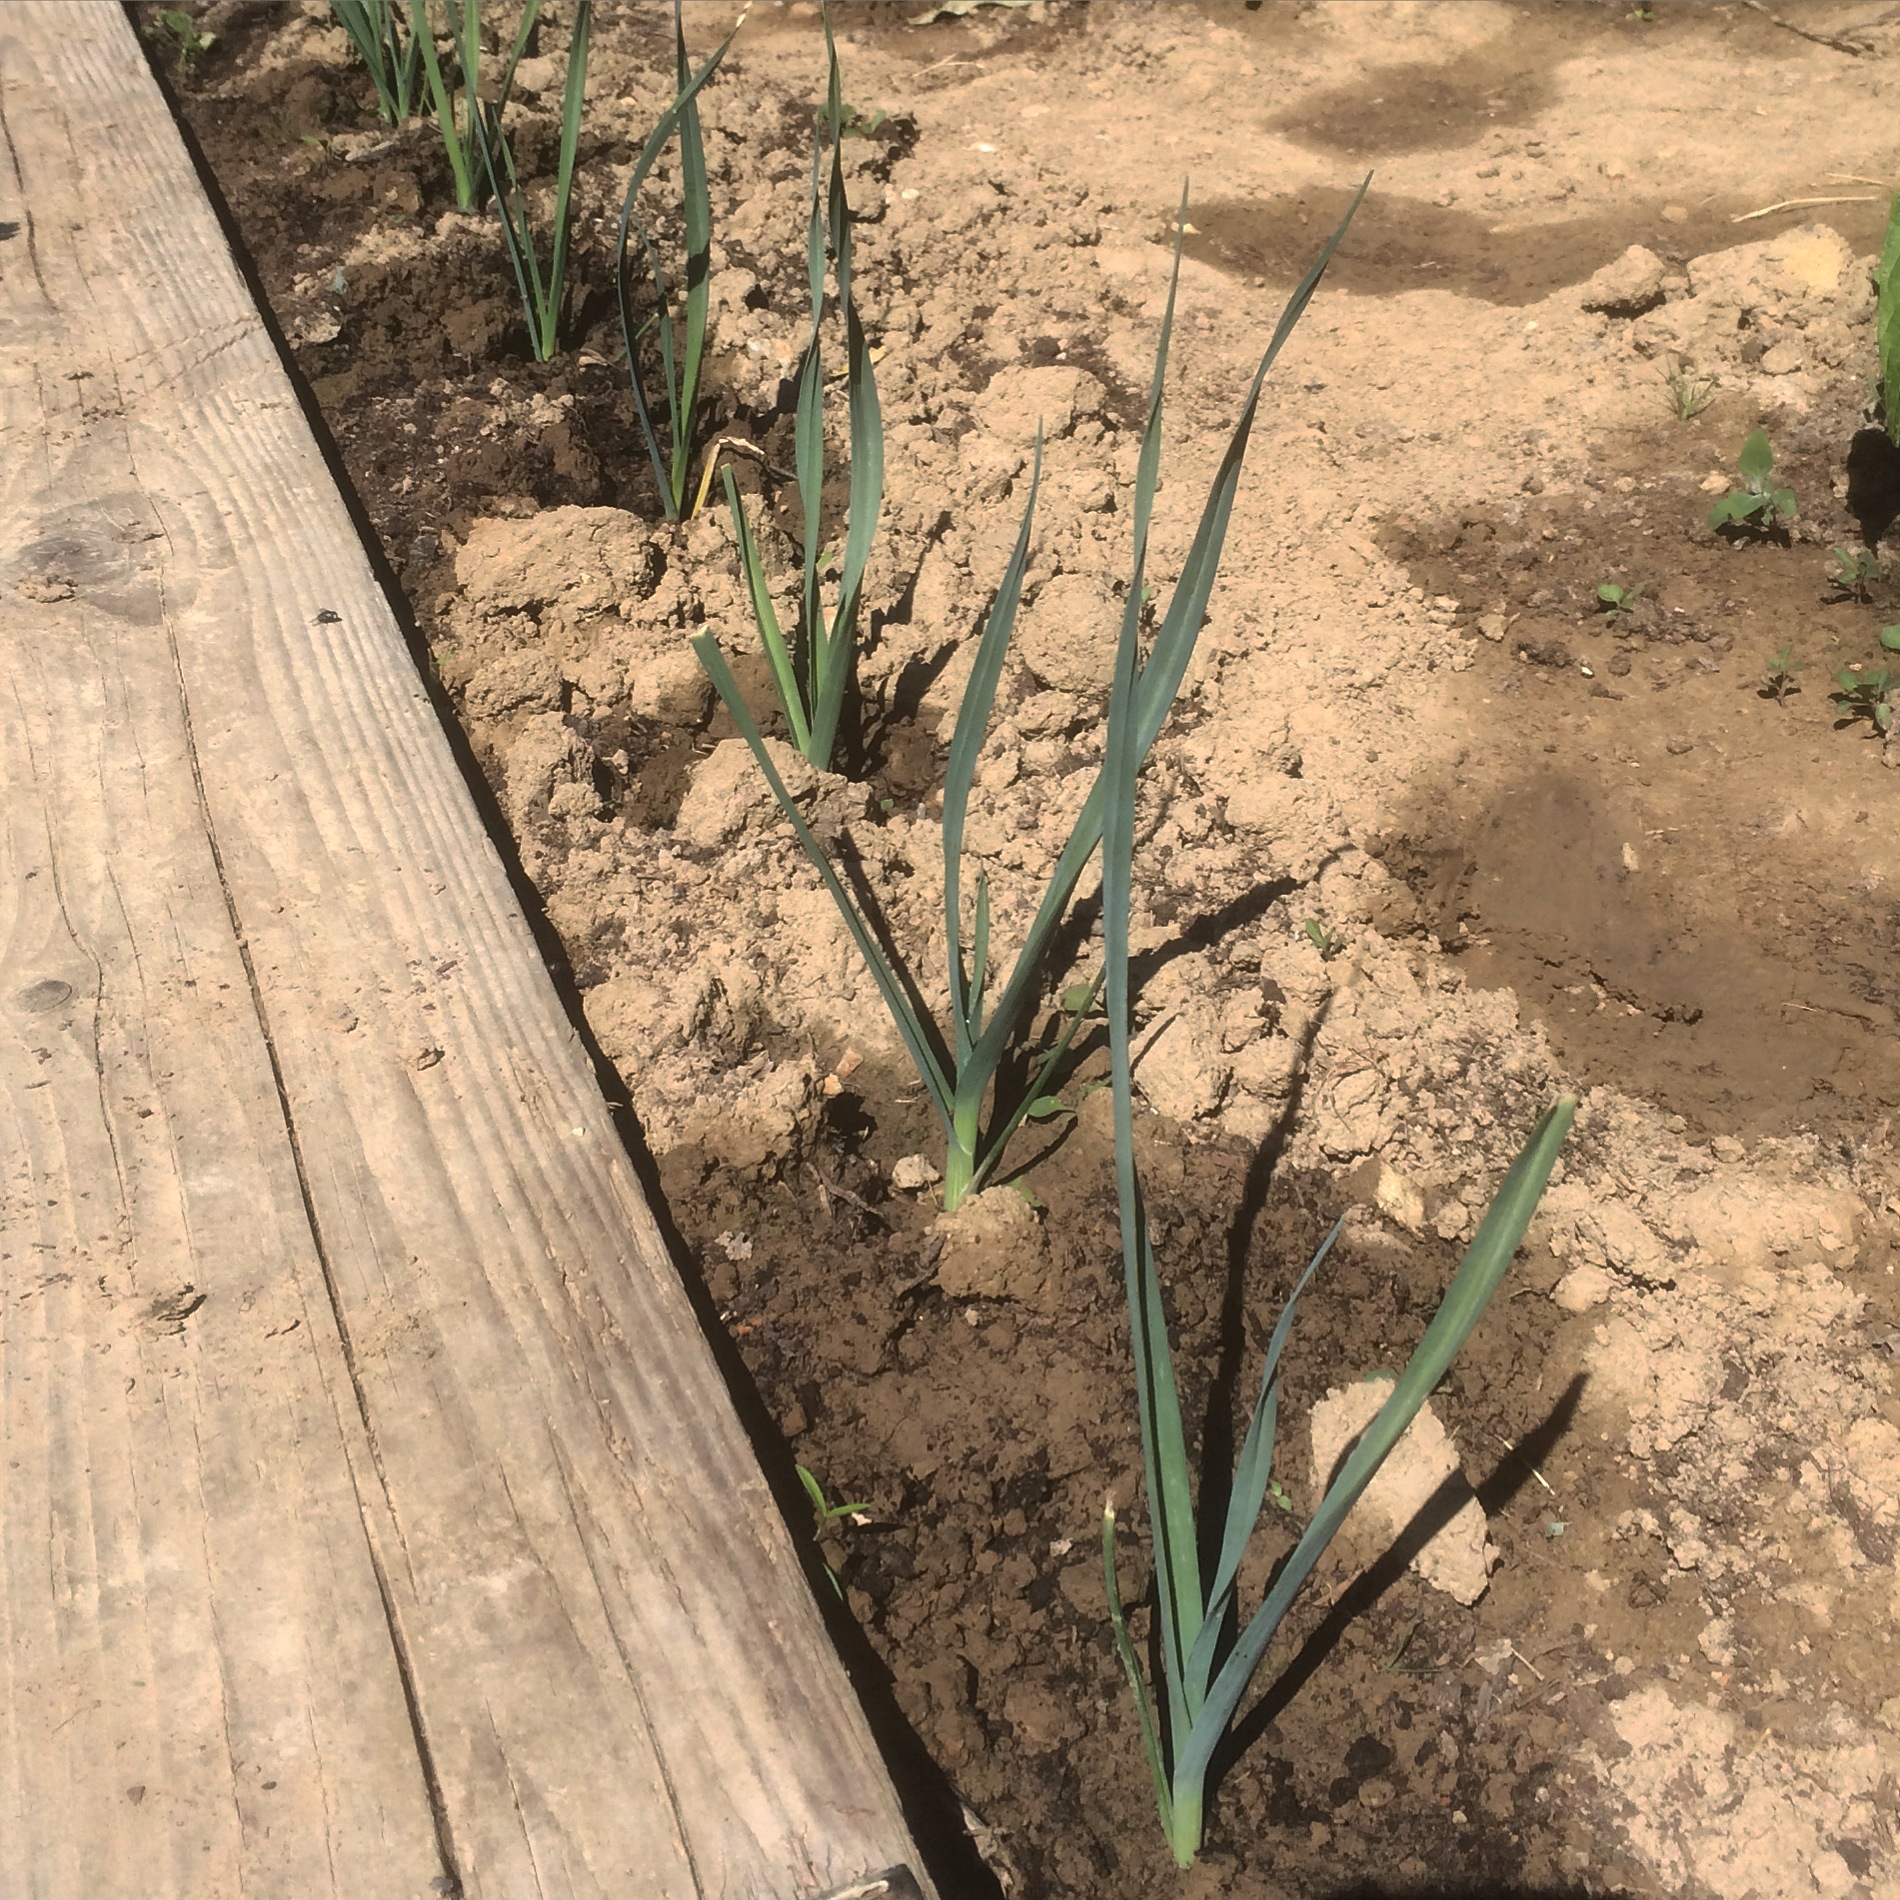
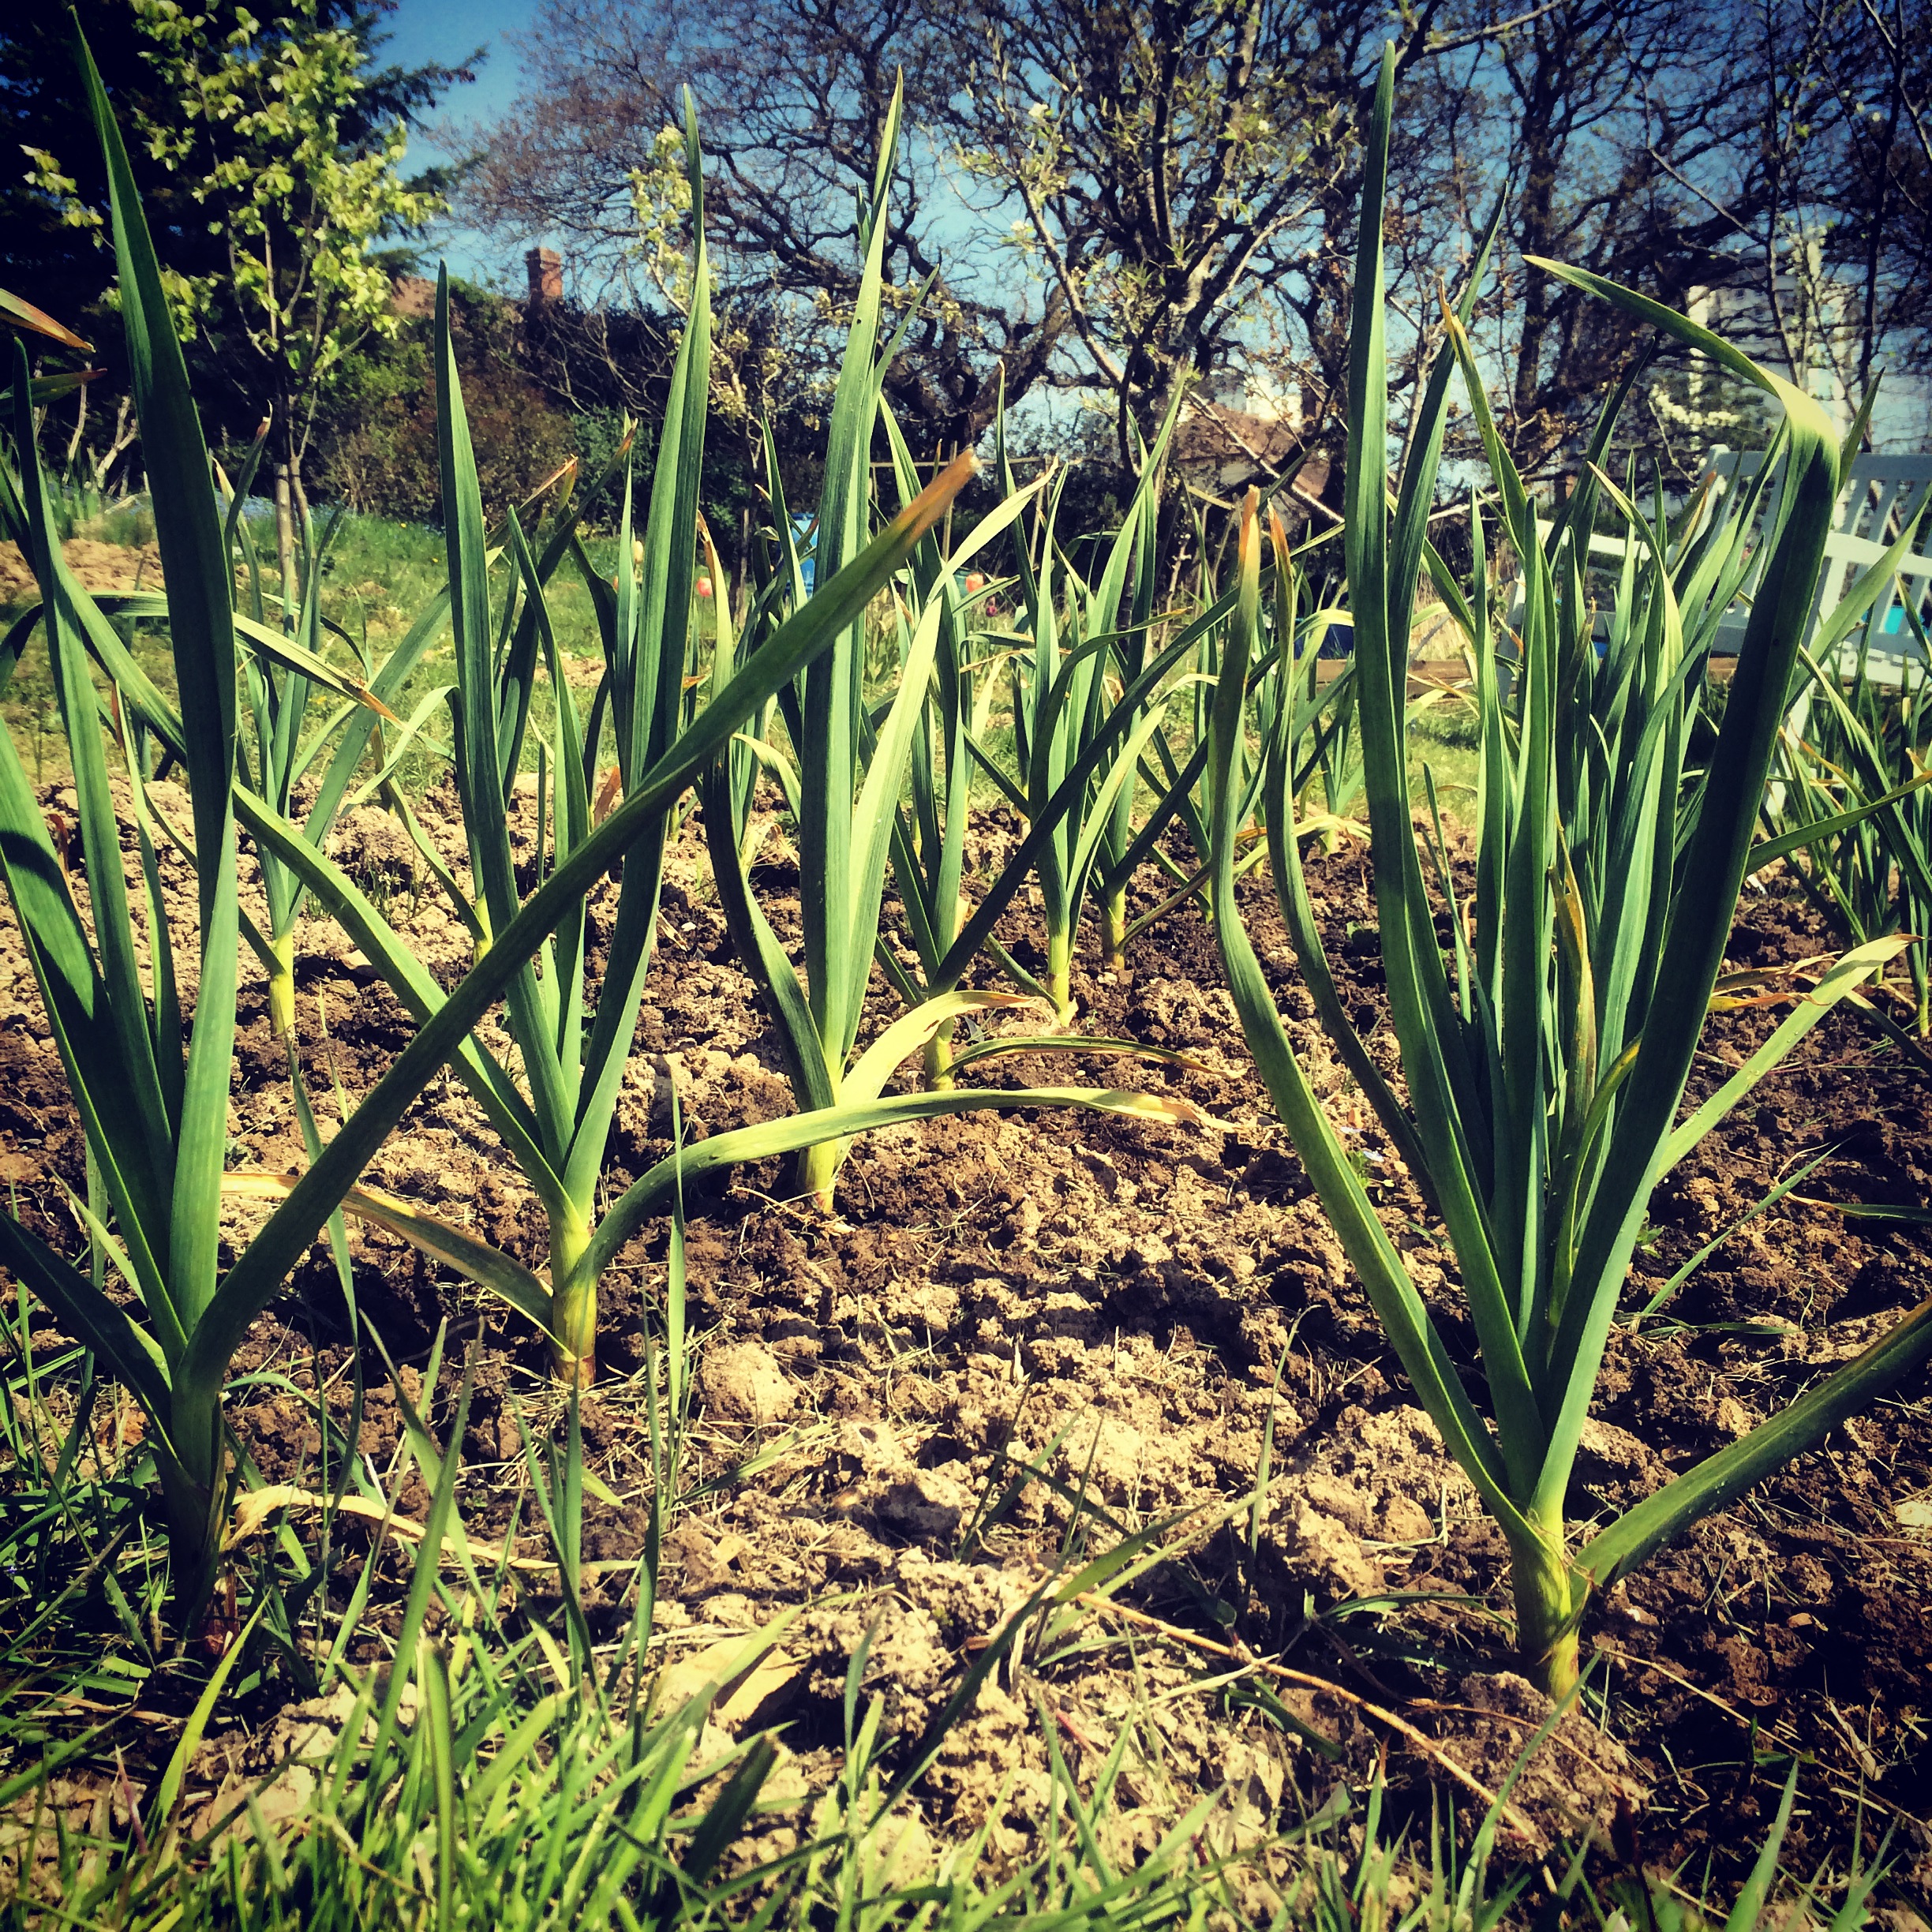
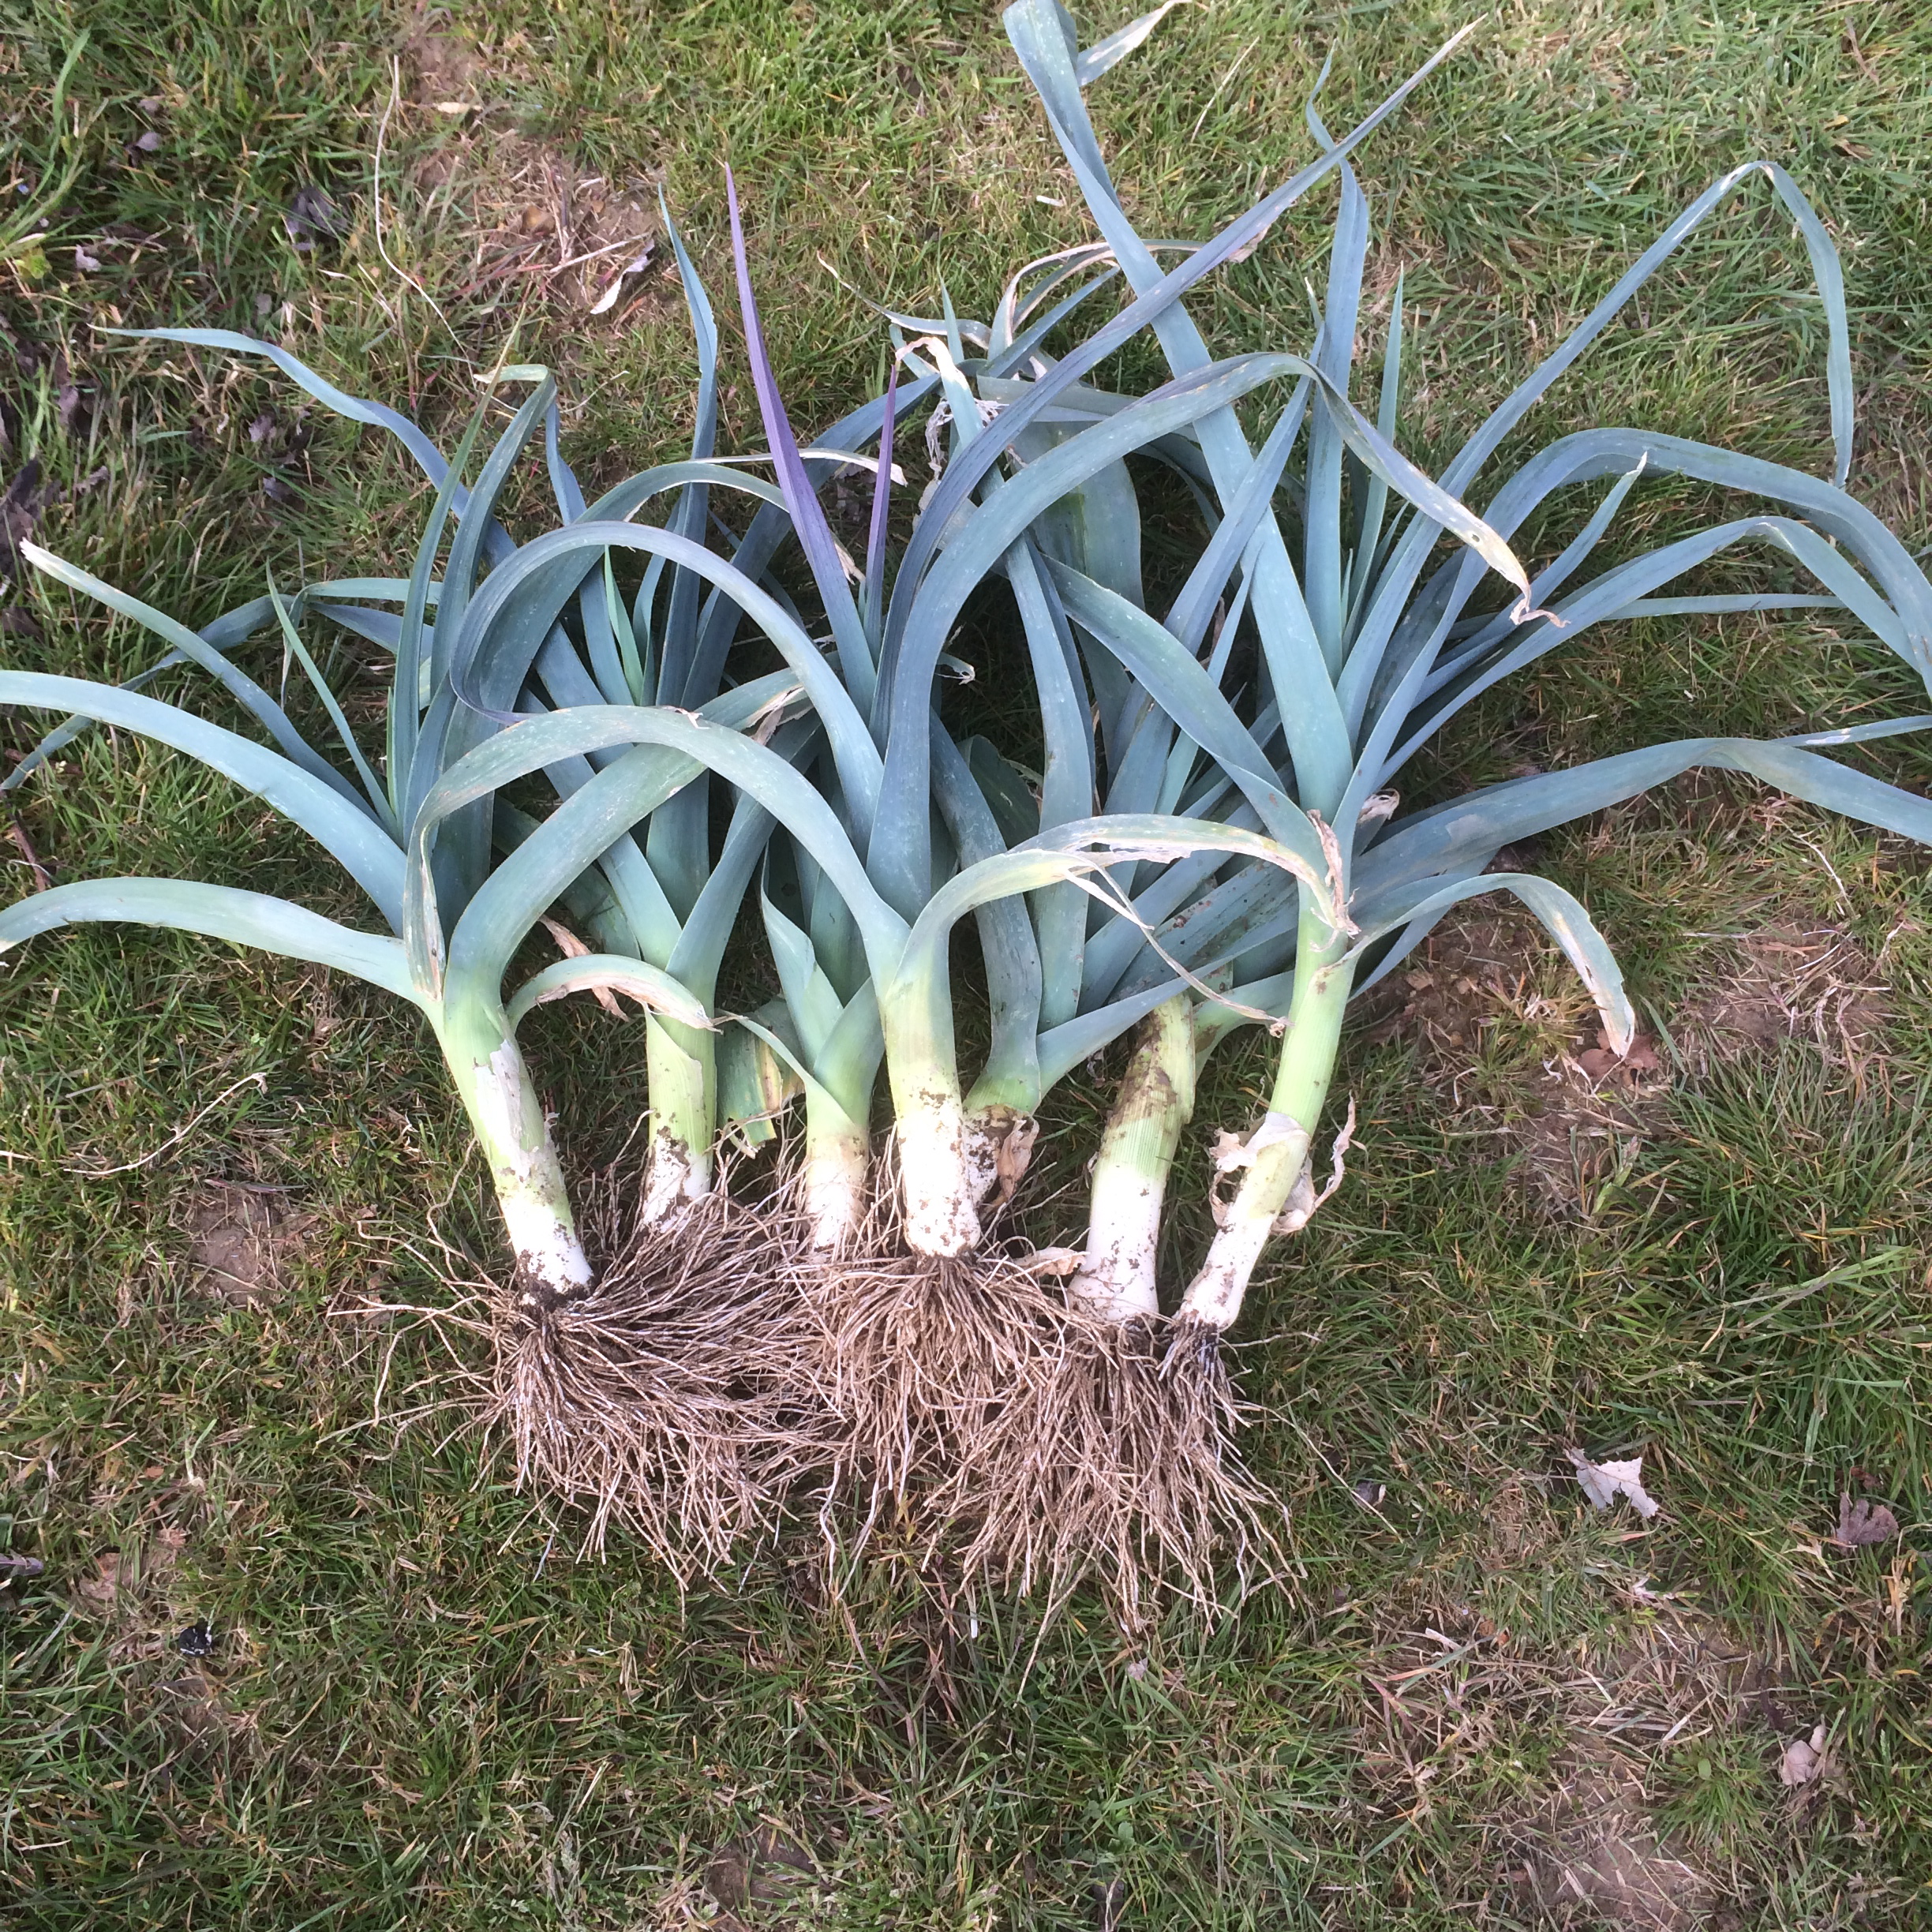
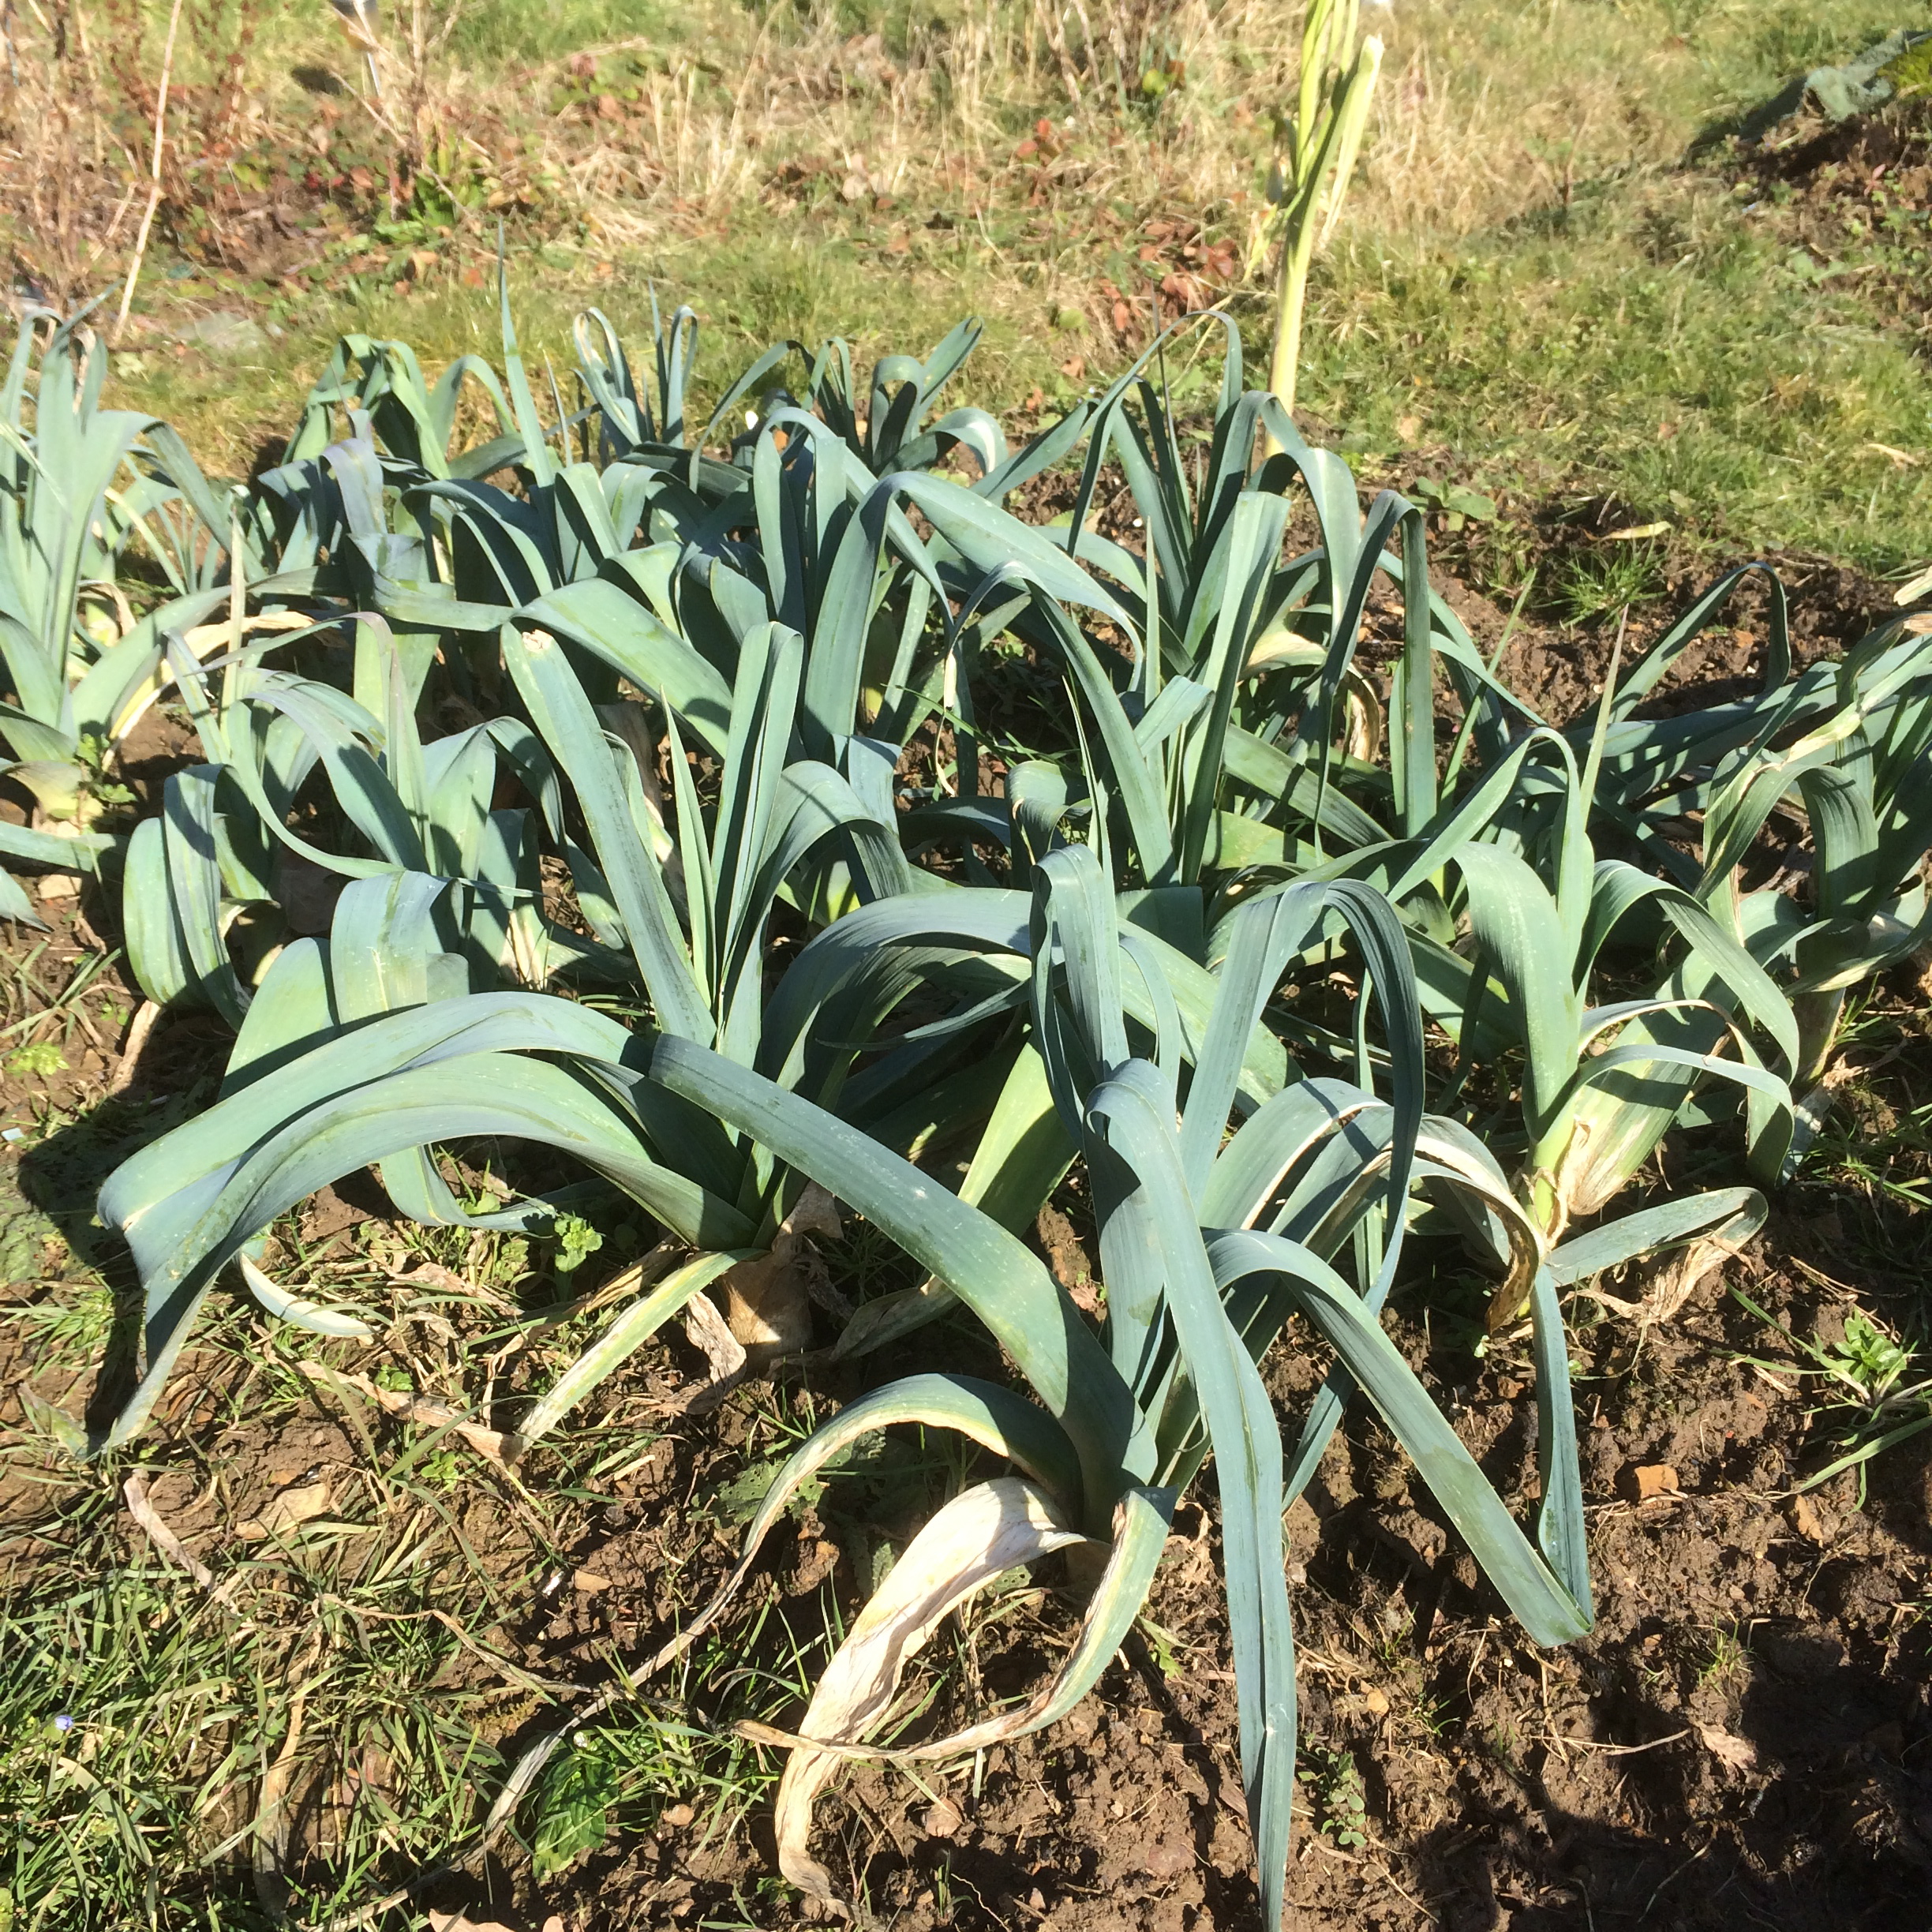
Leeks : Bleu de Solaise
In mid July we planted a further 50 leeks on the orchard plot.

Bleu de Solaise leek seedlings, orchard plot
Within less than a month they have already grown tremendously.

Bleu de Solaise leeks, orchard plot
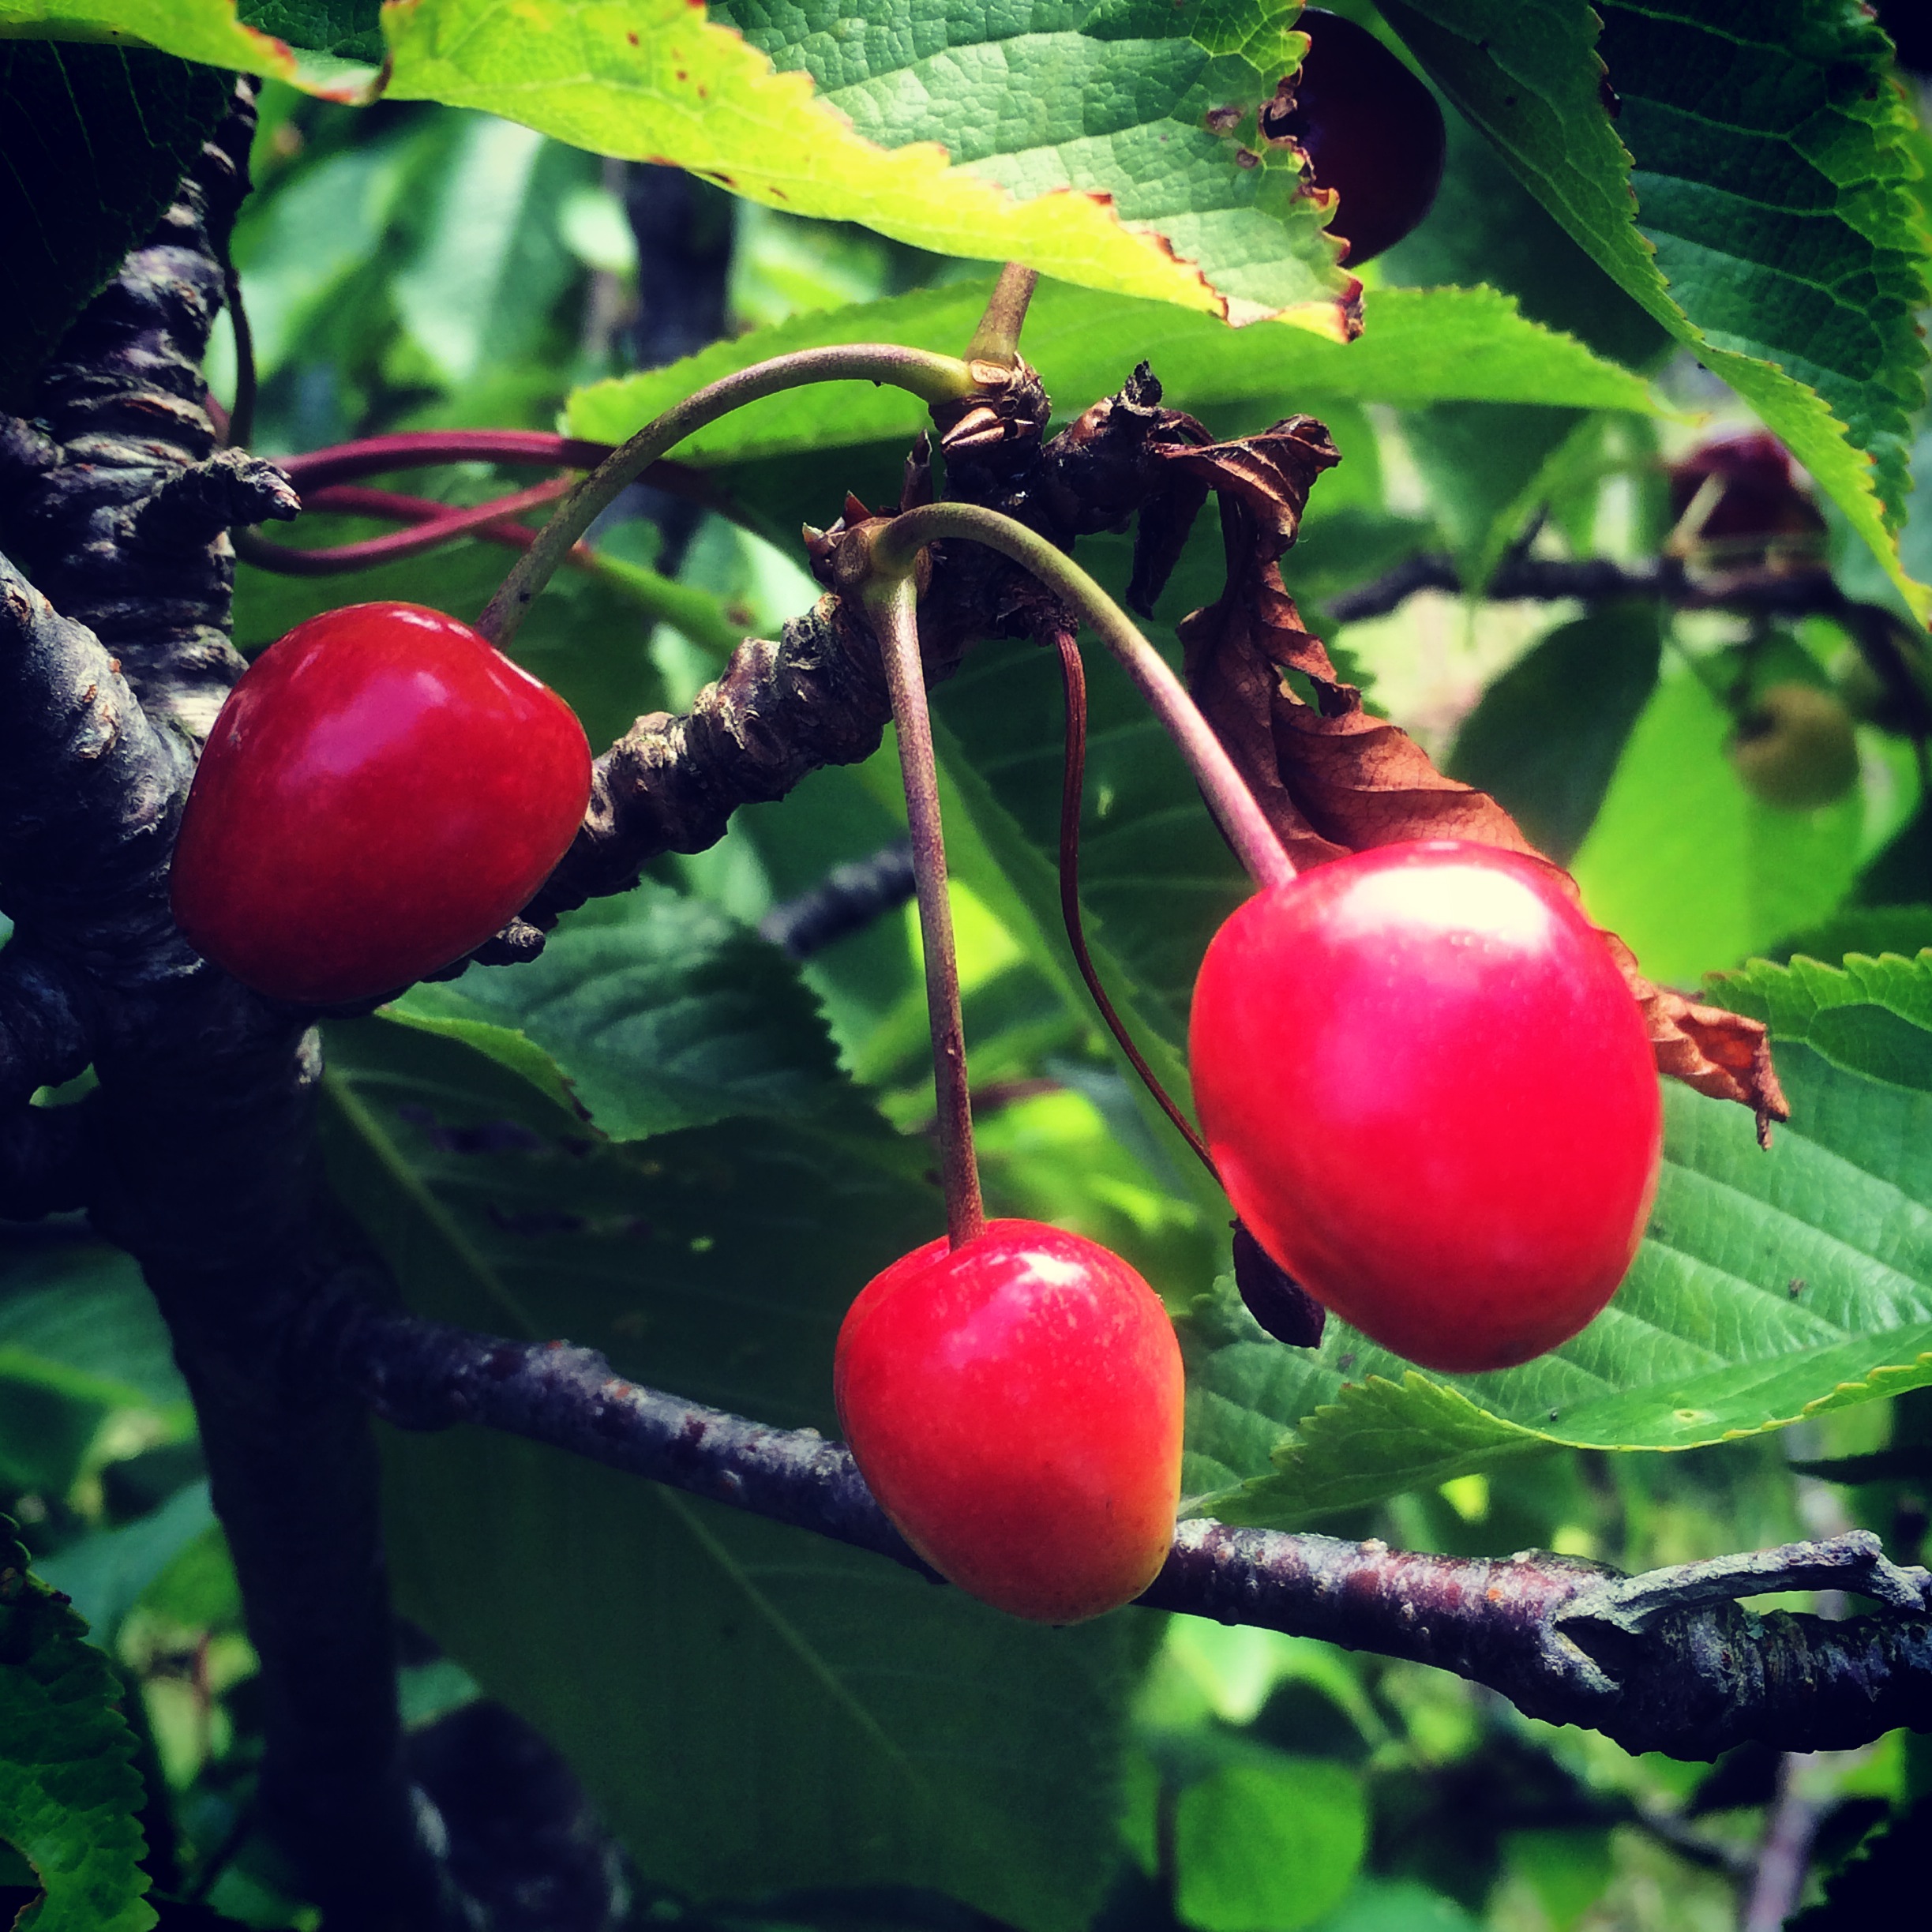
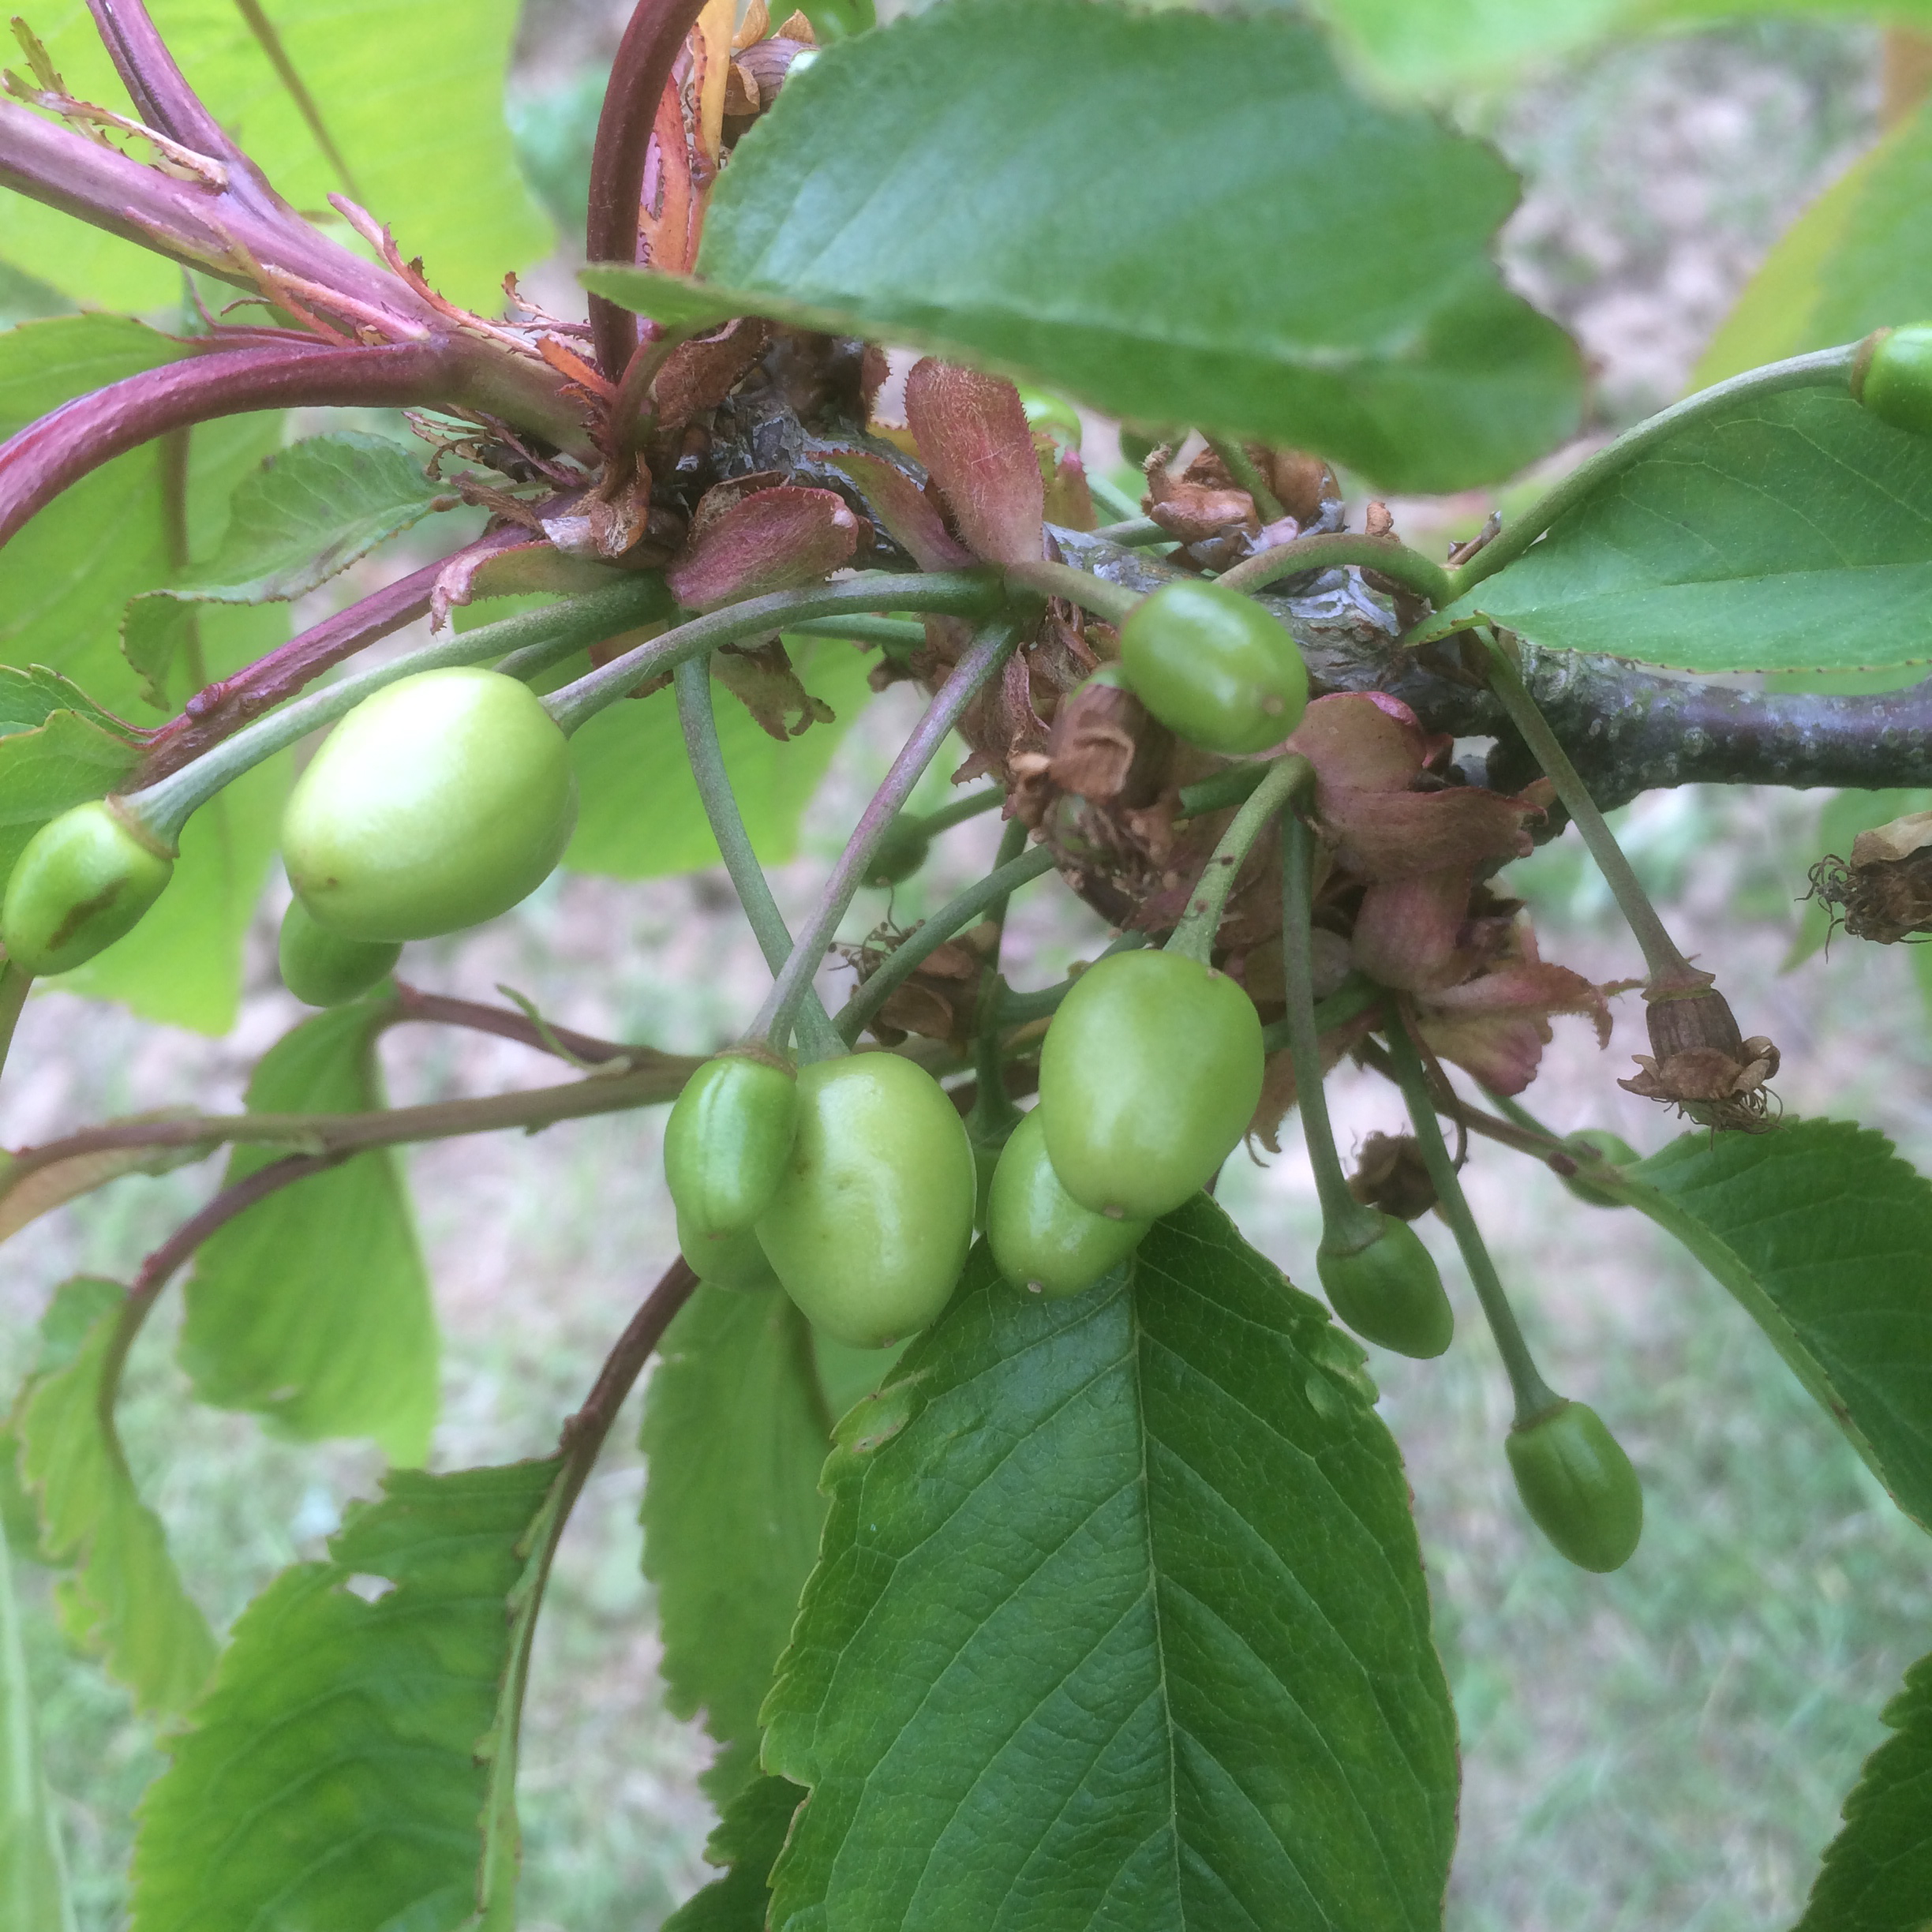
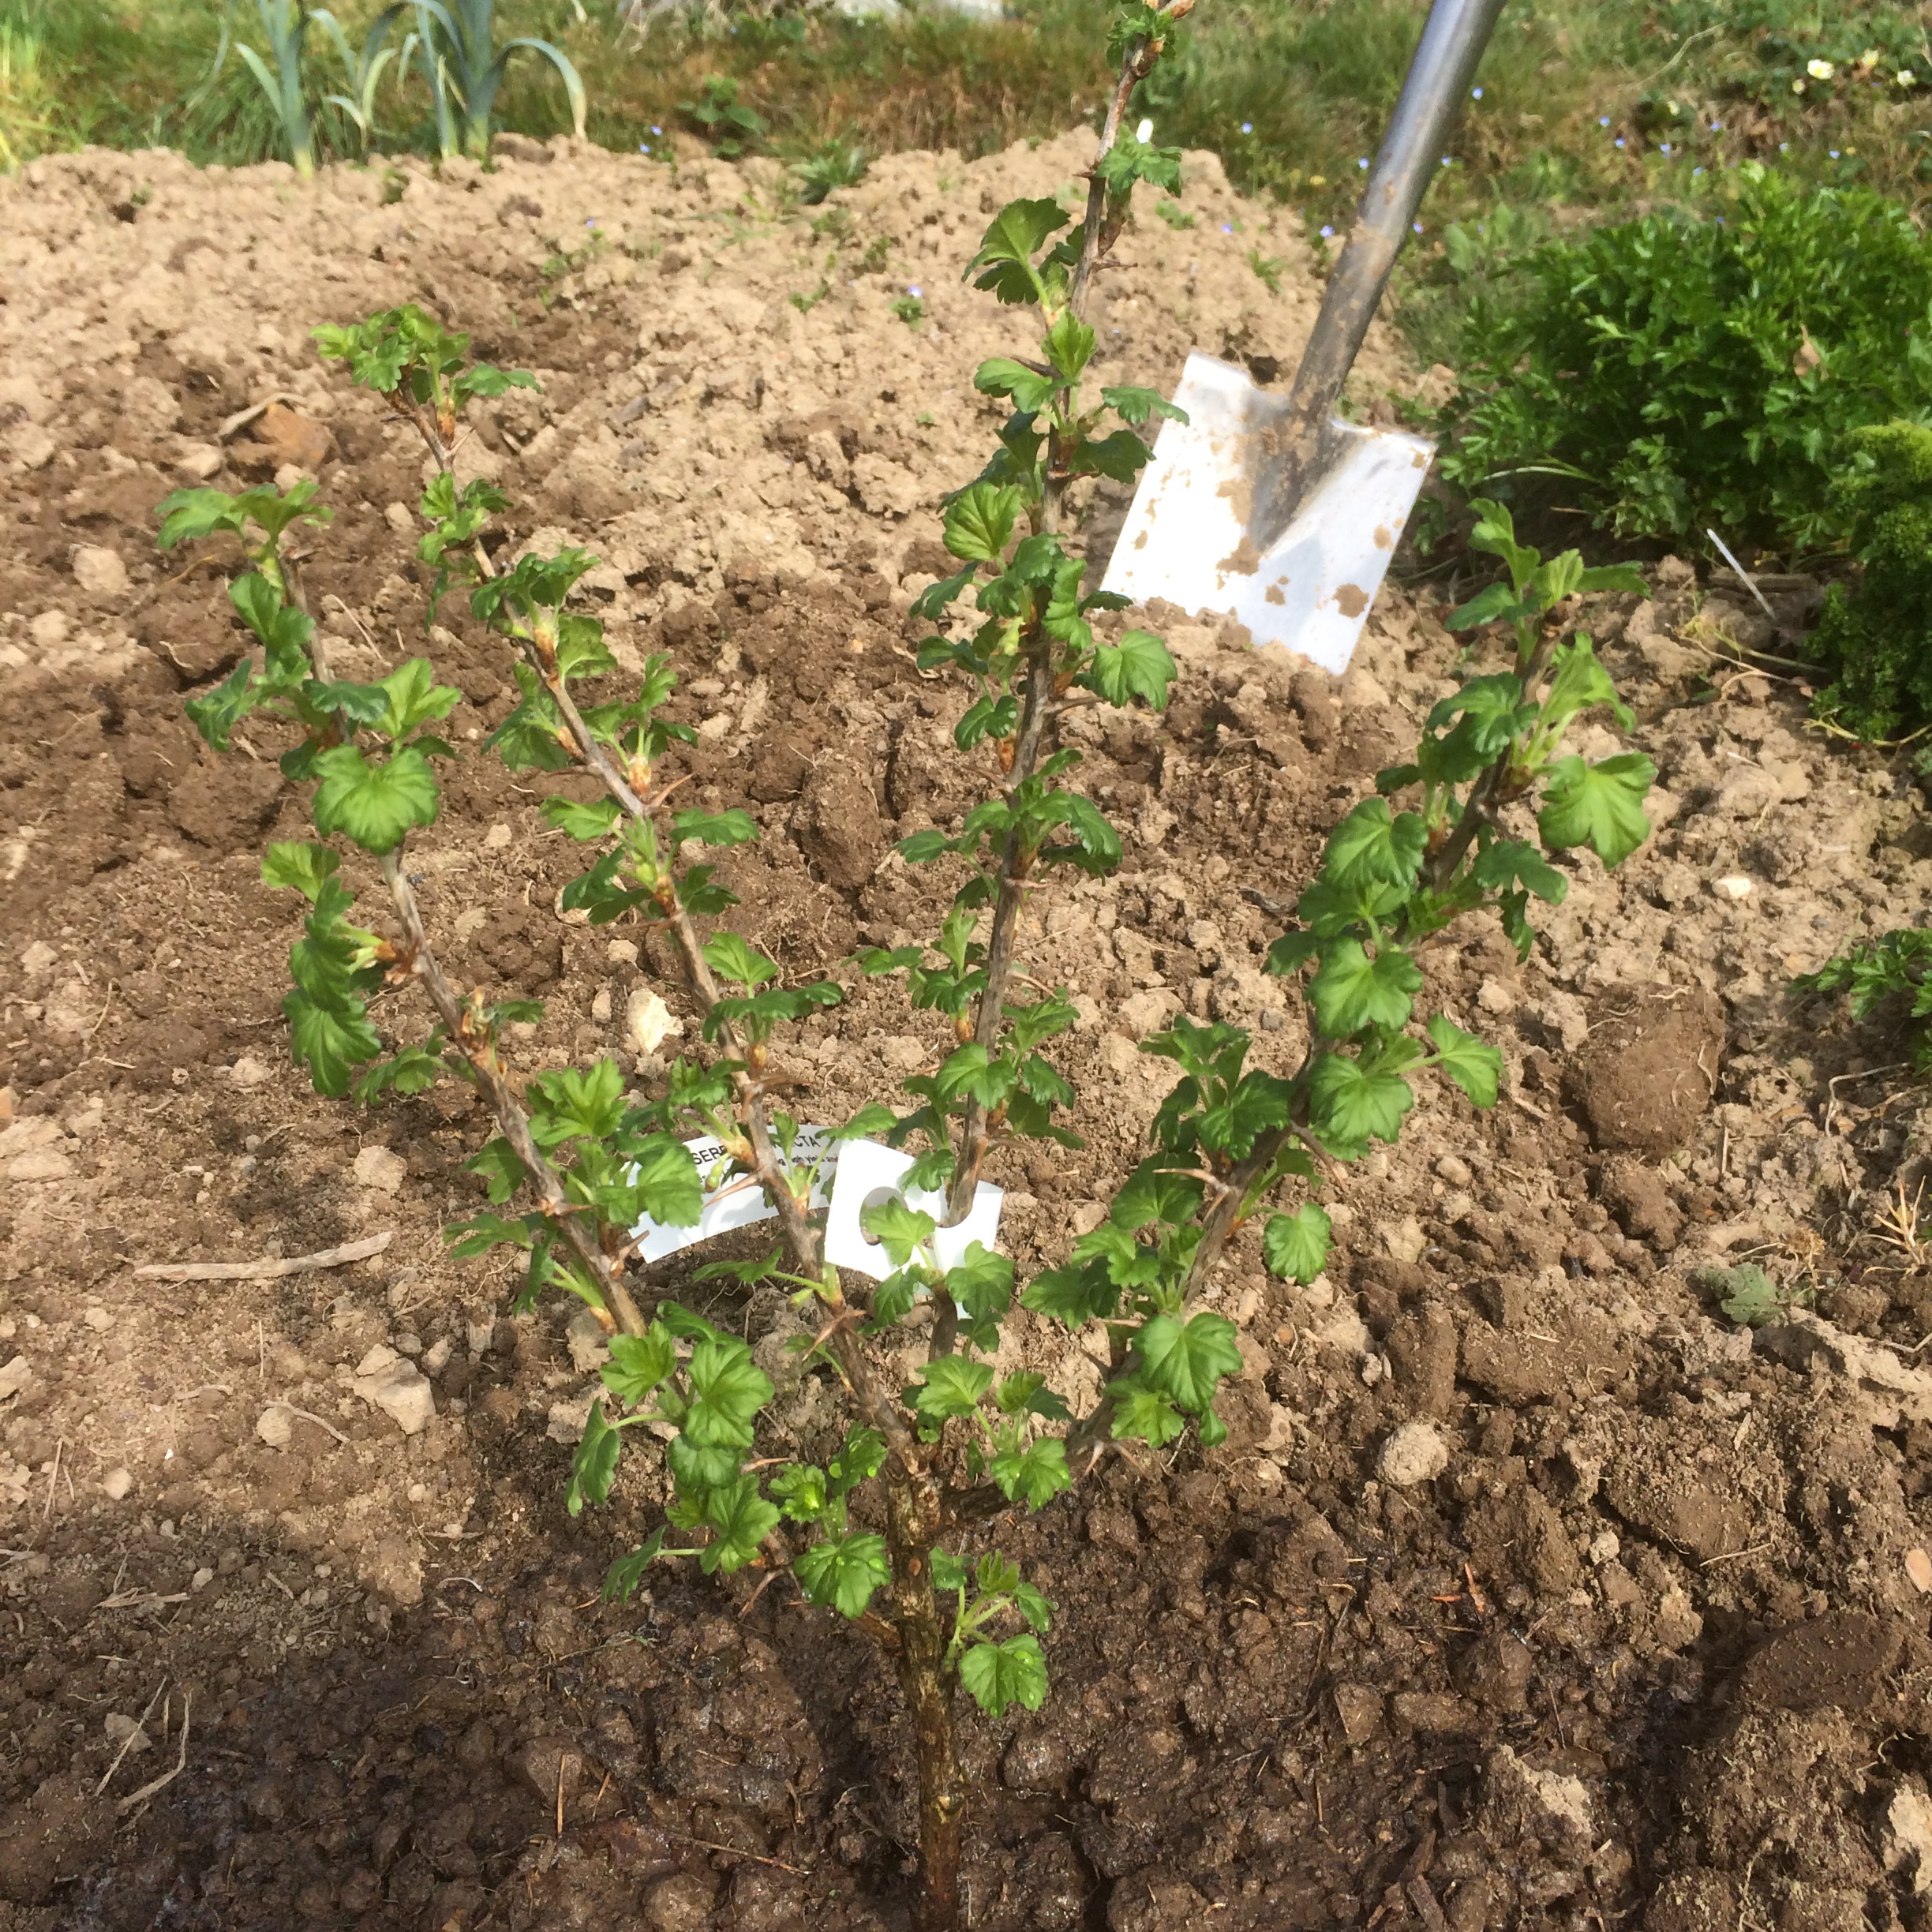
Blackcurrents
On plot 4 there are a number of well established blackcurrent bushes, and they were laden with fruit.
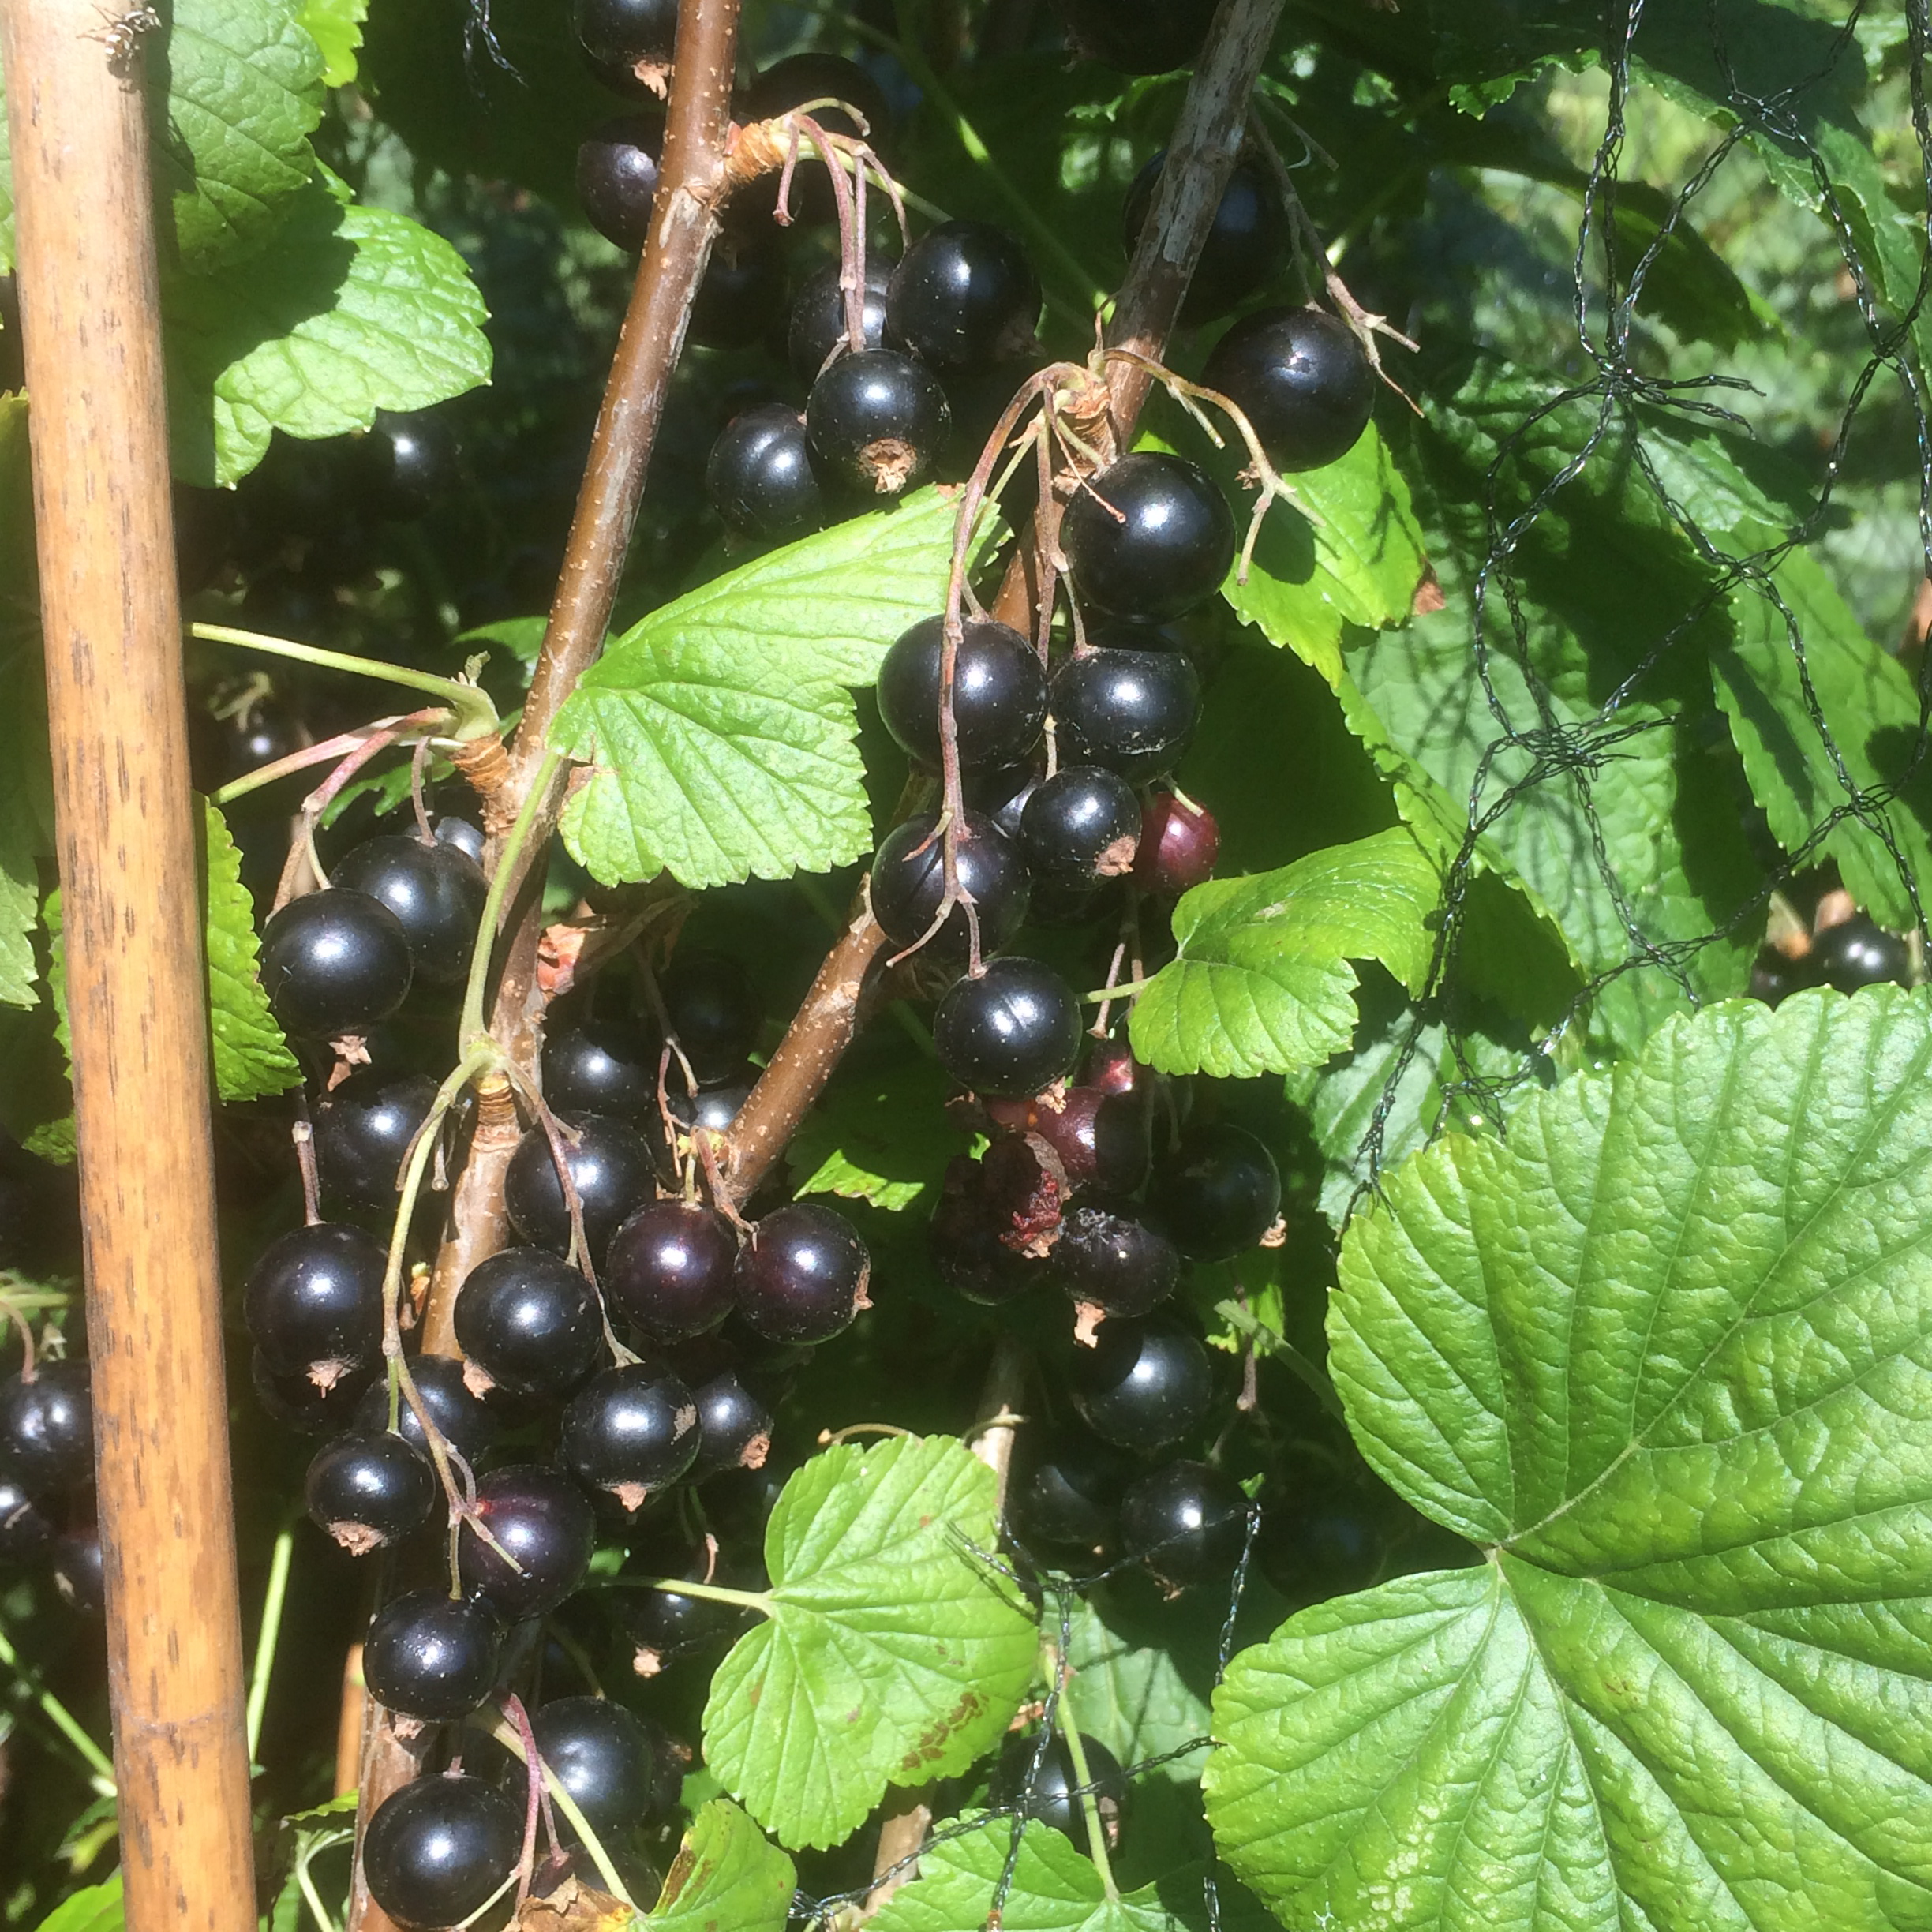
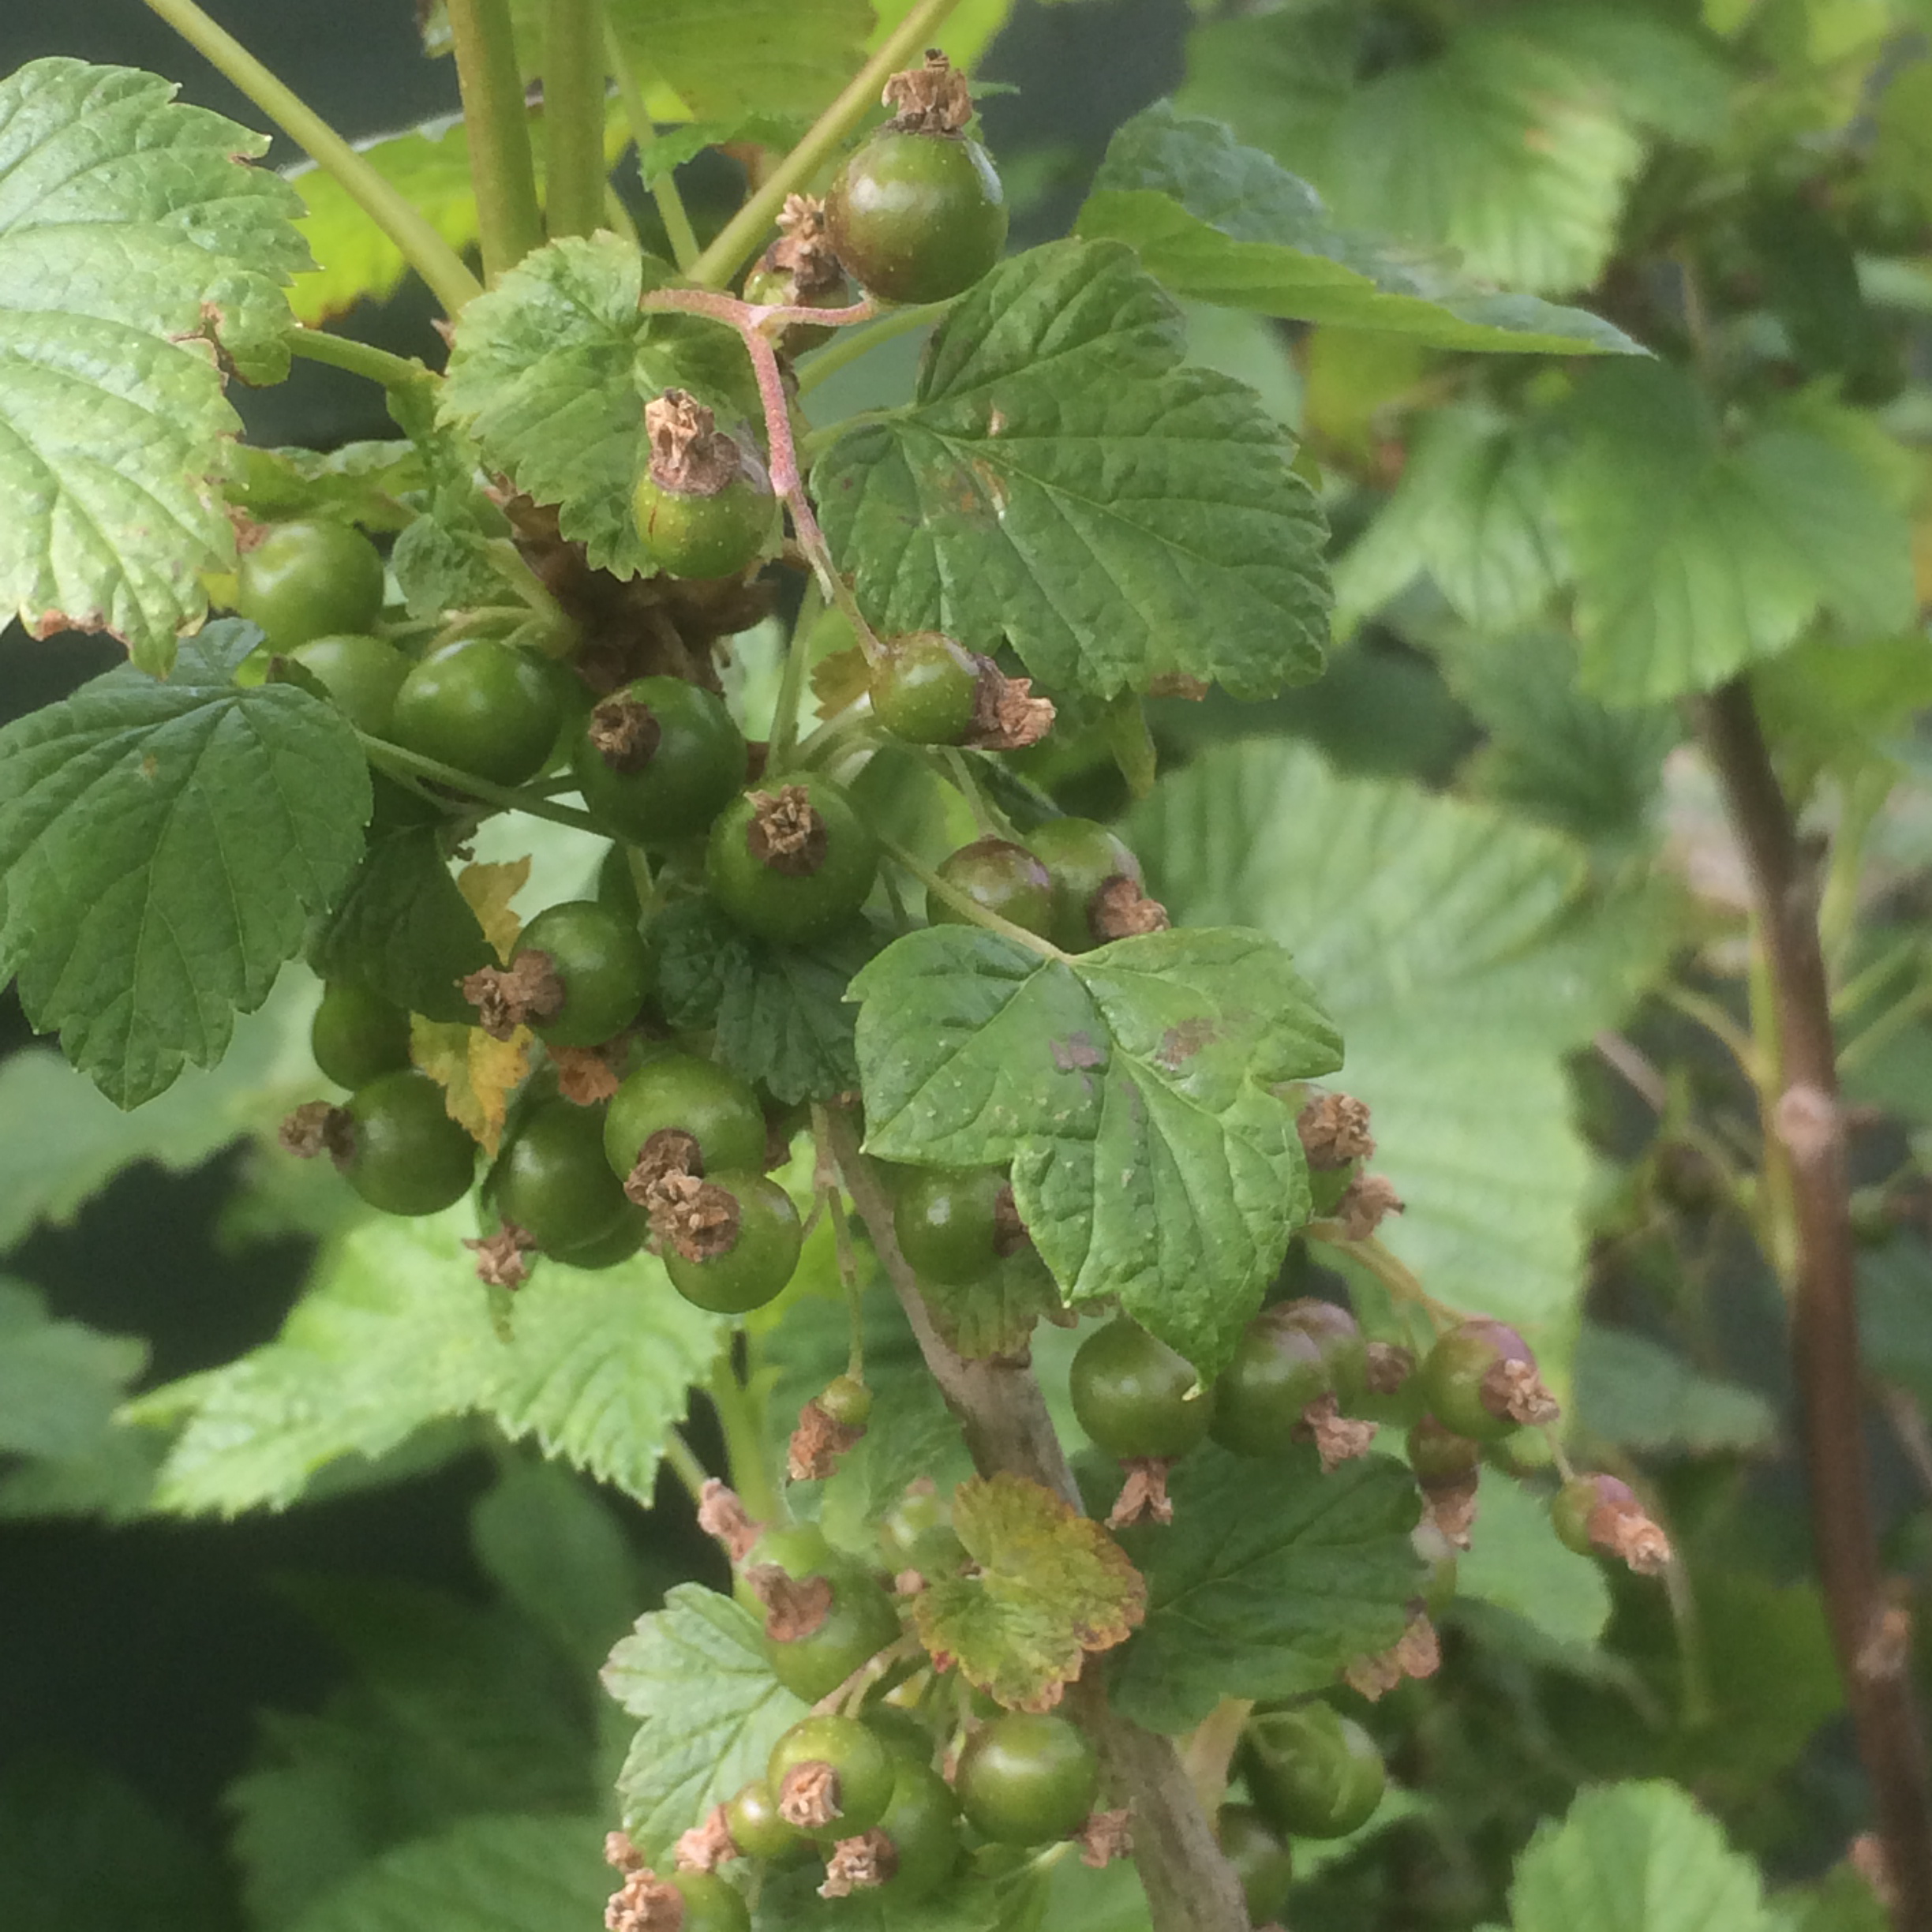
Blackcurrents, plot 4
We harvested the blackcurrents on July 19th, they were perfectly ripe.

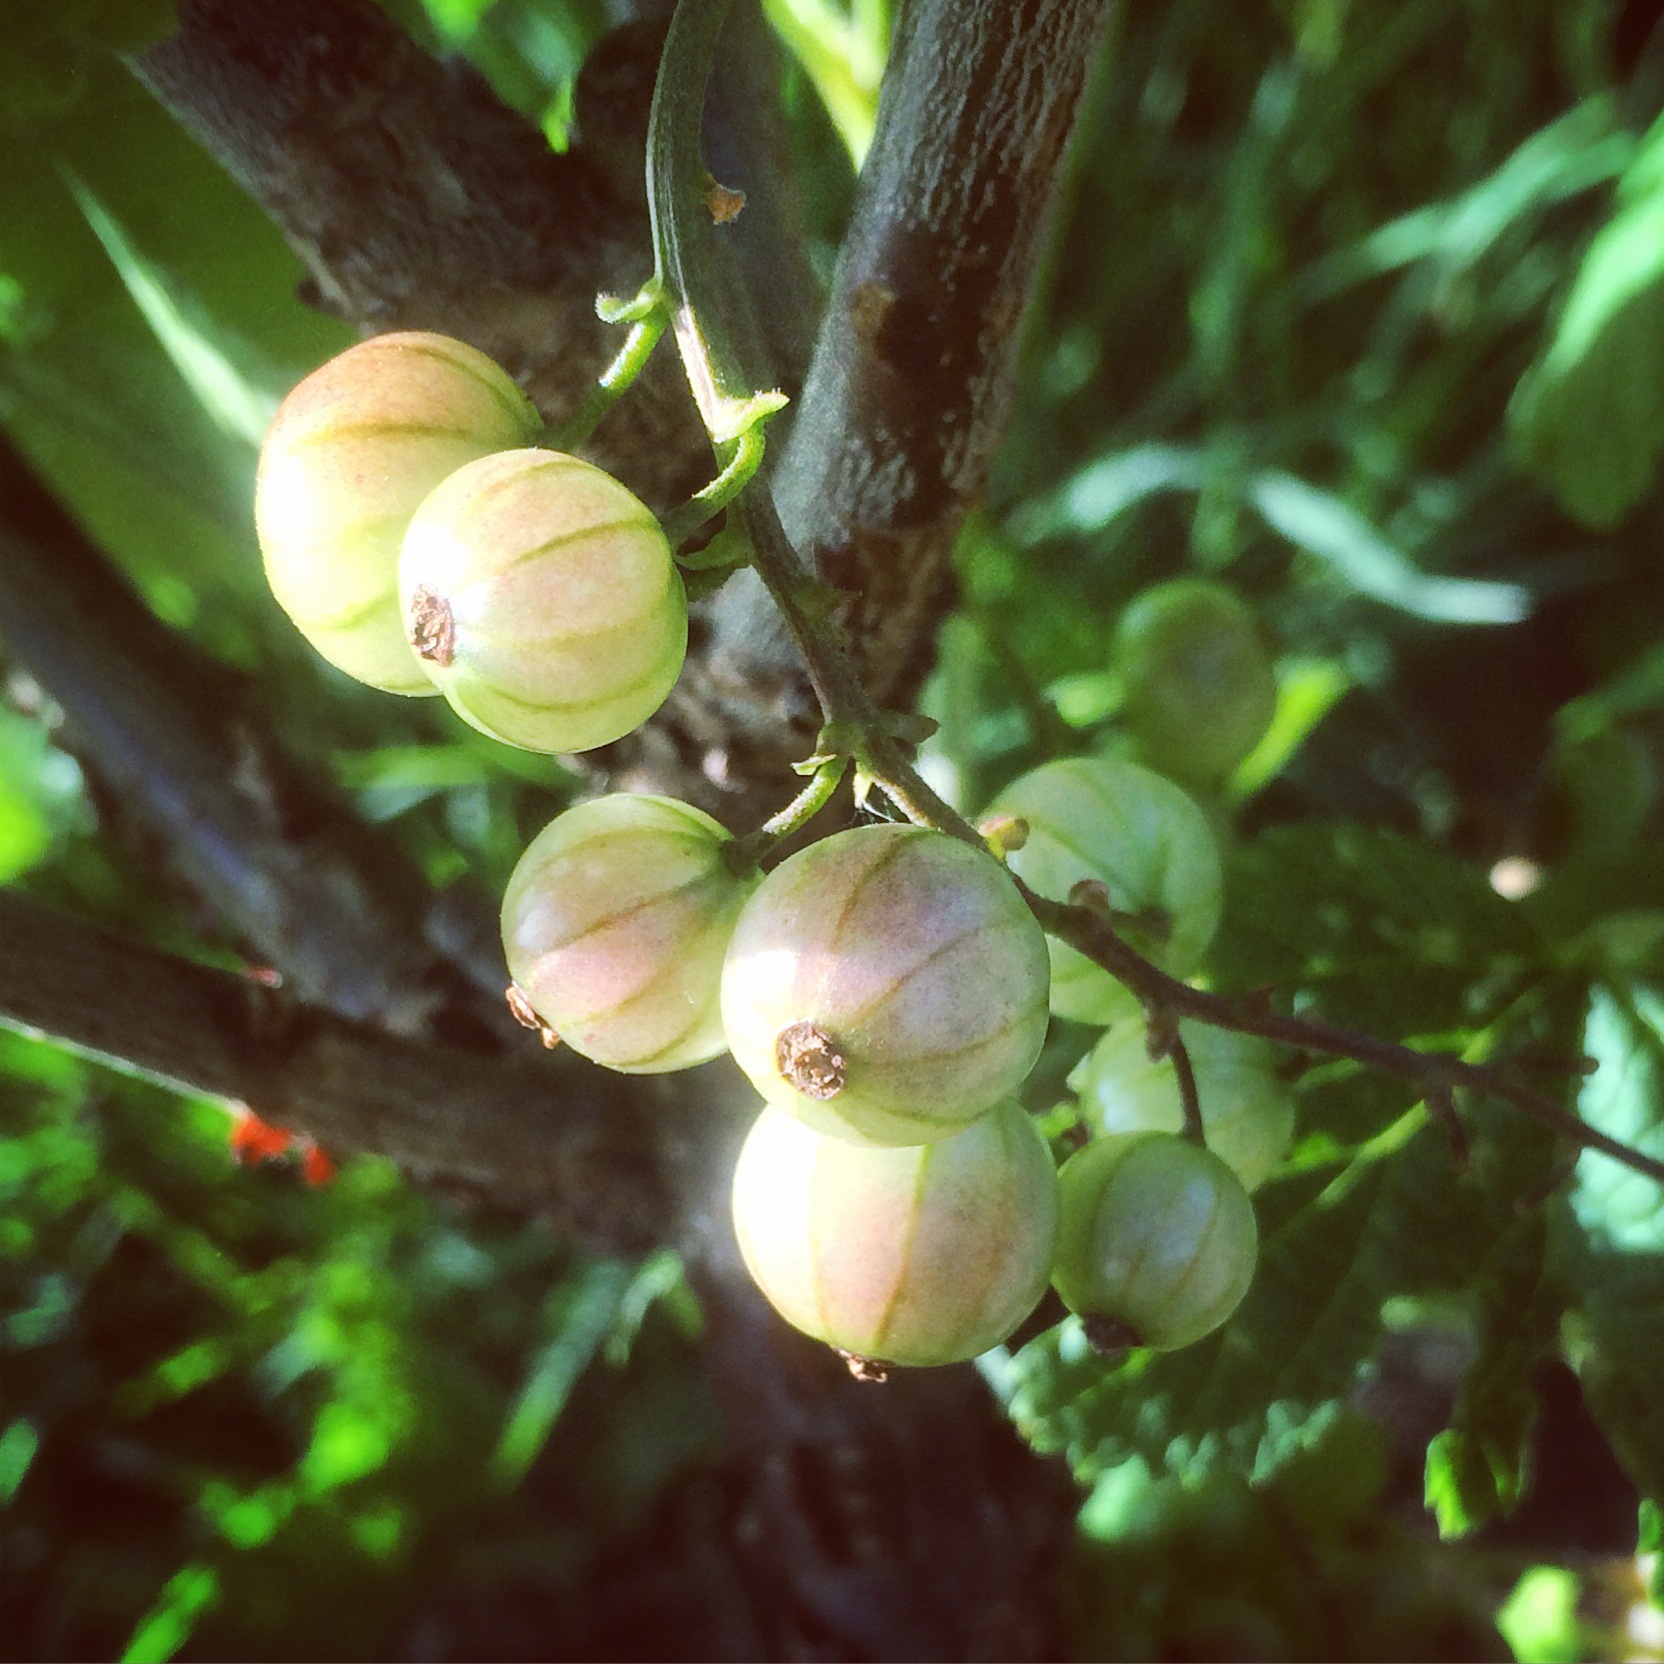
Blackcurrent harvest
Sal made some blackcurrent jelly with the produce. She had enough blackcurrents to make 6 jars of jelly. Mmmmm.
And finally we have a new plot!! I know, I know… it’s a long story, but this is what happened in a nutshell. About 3 months ago I became a committee member of the Choice Allotment Association, and then very shortly after that I became the assistant site secretary. After meeting with the council for a site inspection it became apparent that whilst there are no vacant plots, the waiting list for plots is rather short. By law the council has to provide residents an allotment site providing there is demand…. so this is where we’re going with this…
Next to the Orchard plot is a 10 rod plot, which has been abandoned for a long as I can remember. Grumpy Pete used to be the tenant but he left years ago. So I said if no one else will take it, I’ll have it. However, it had just been re-let, and I was offered plot 2, which is our plot 5! And here it is.
As you can see it’s horribly overgrown.
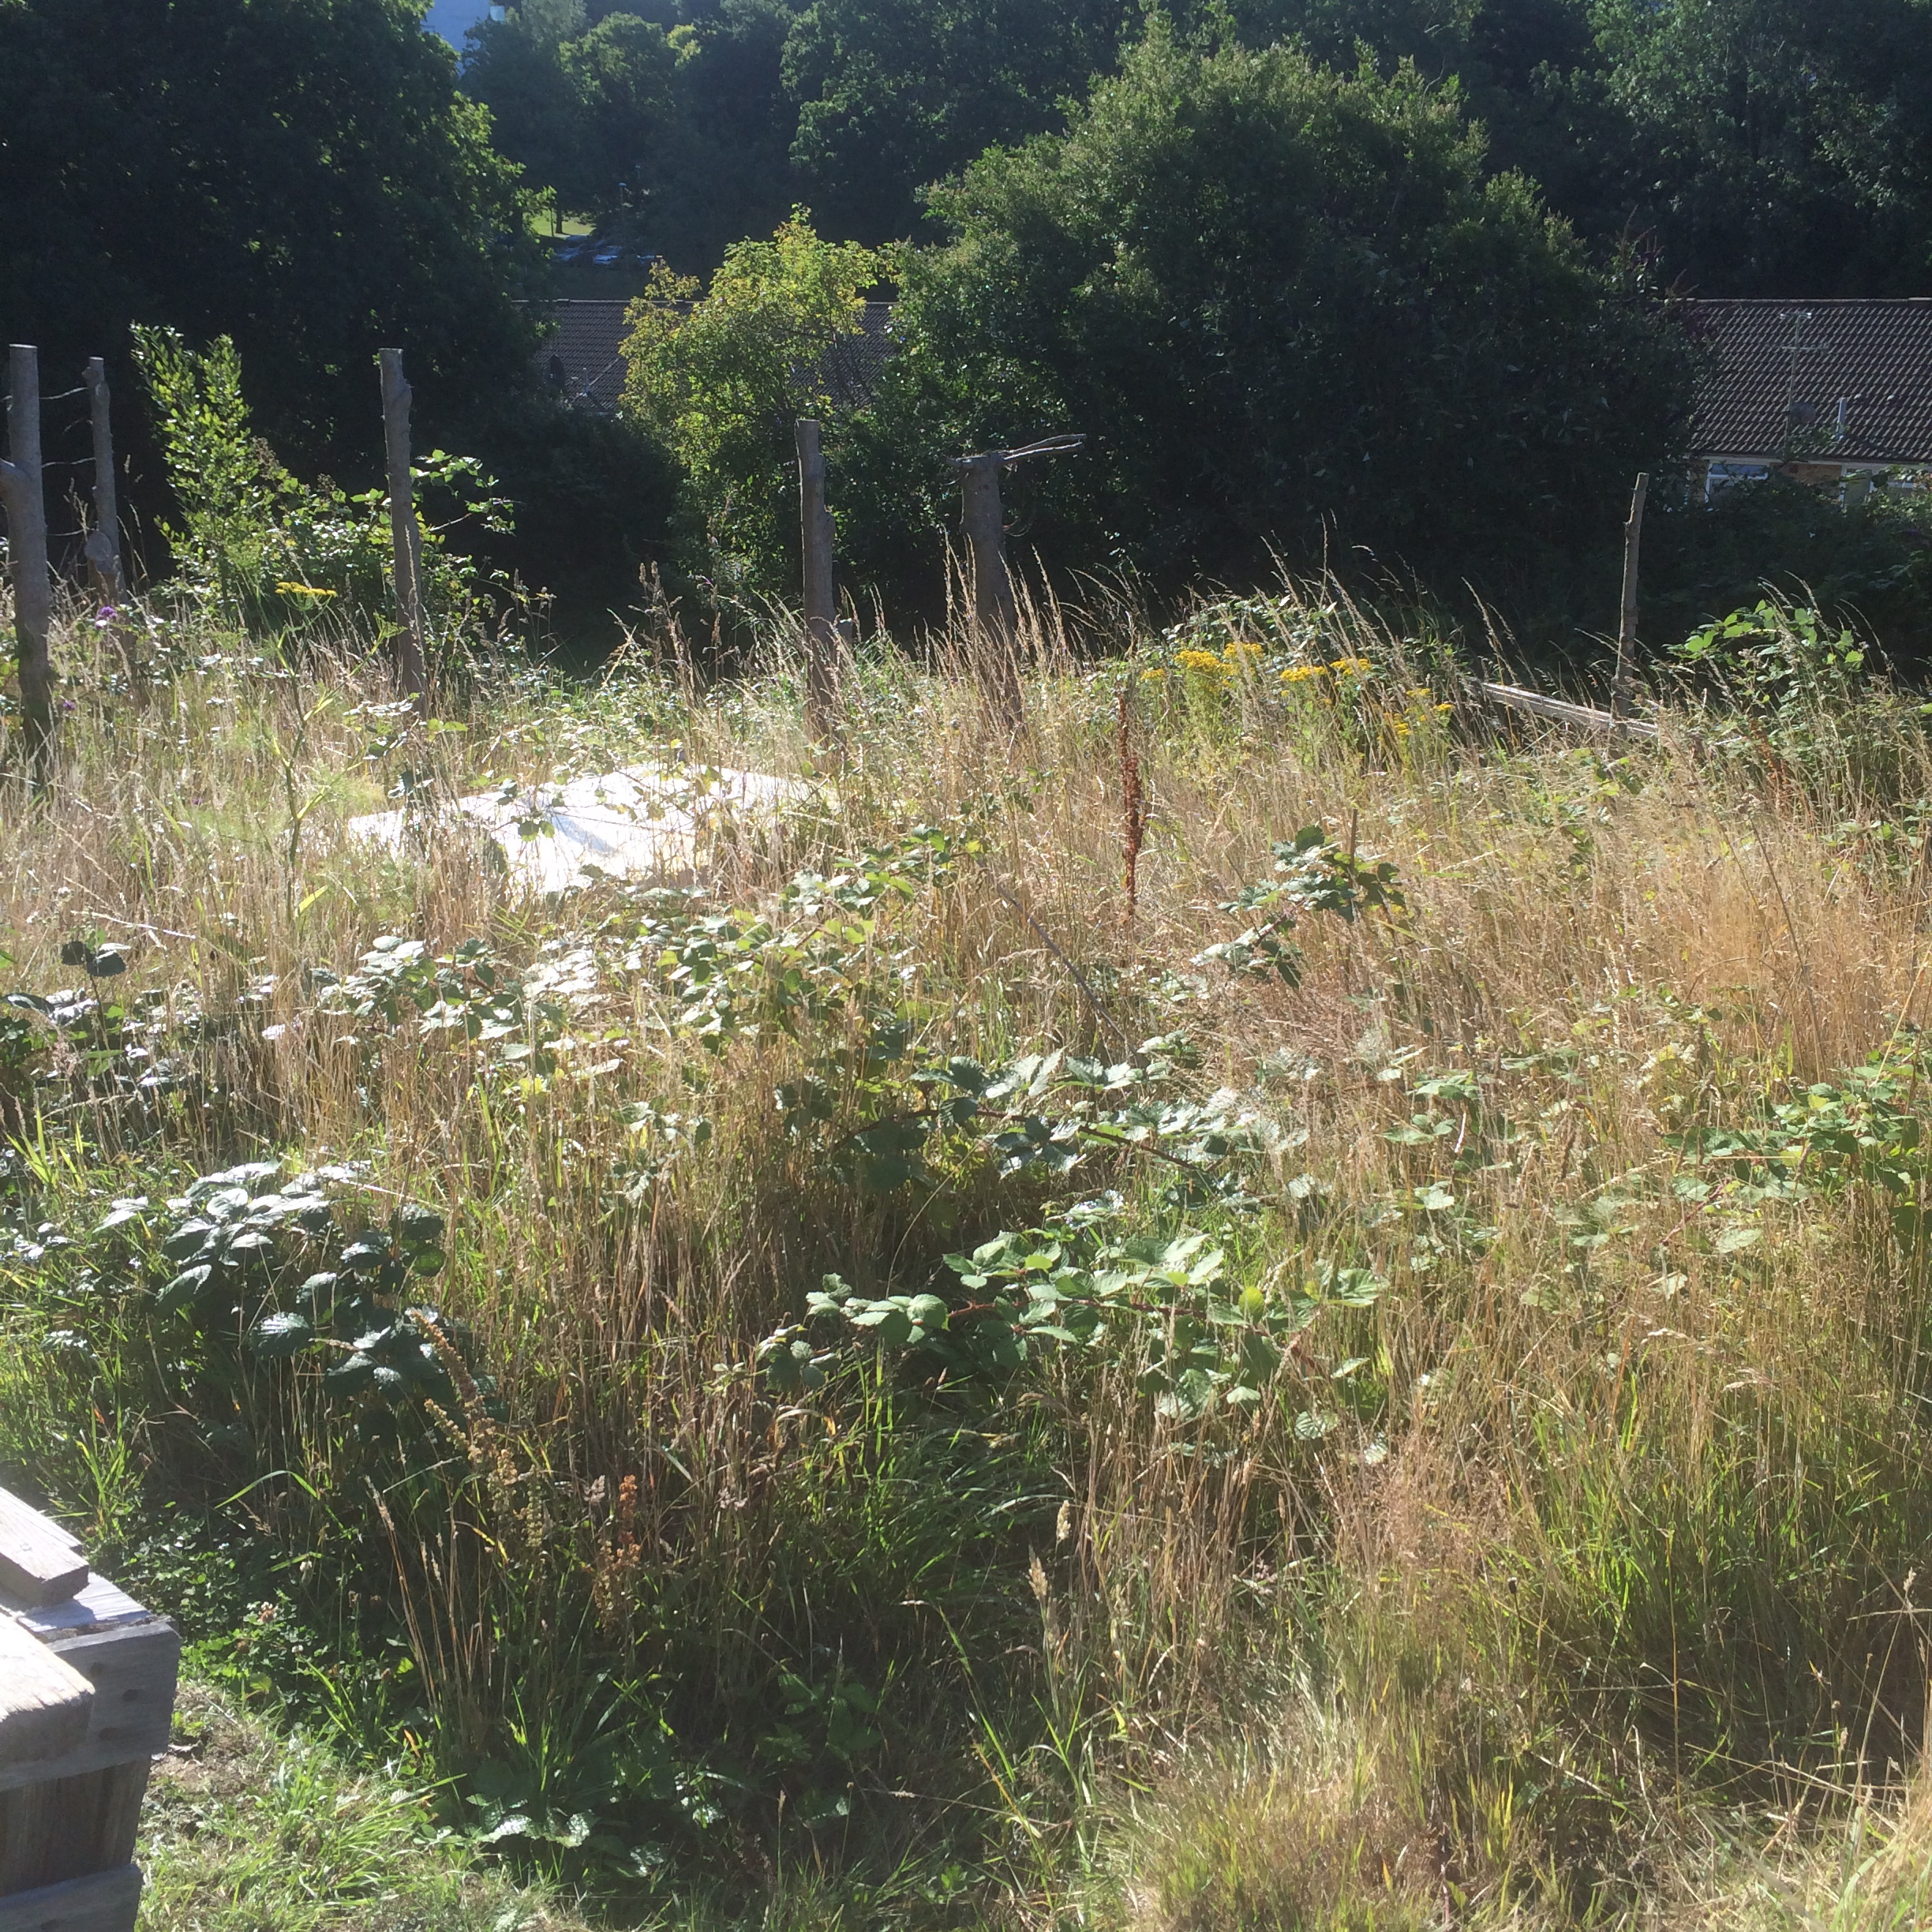
Plot 5
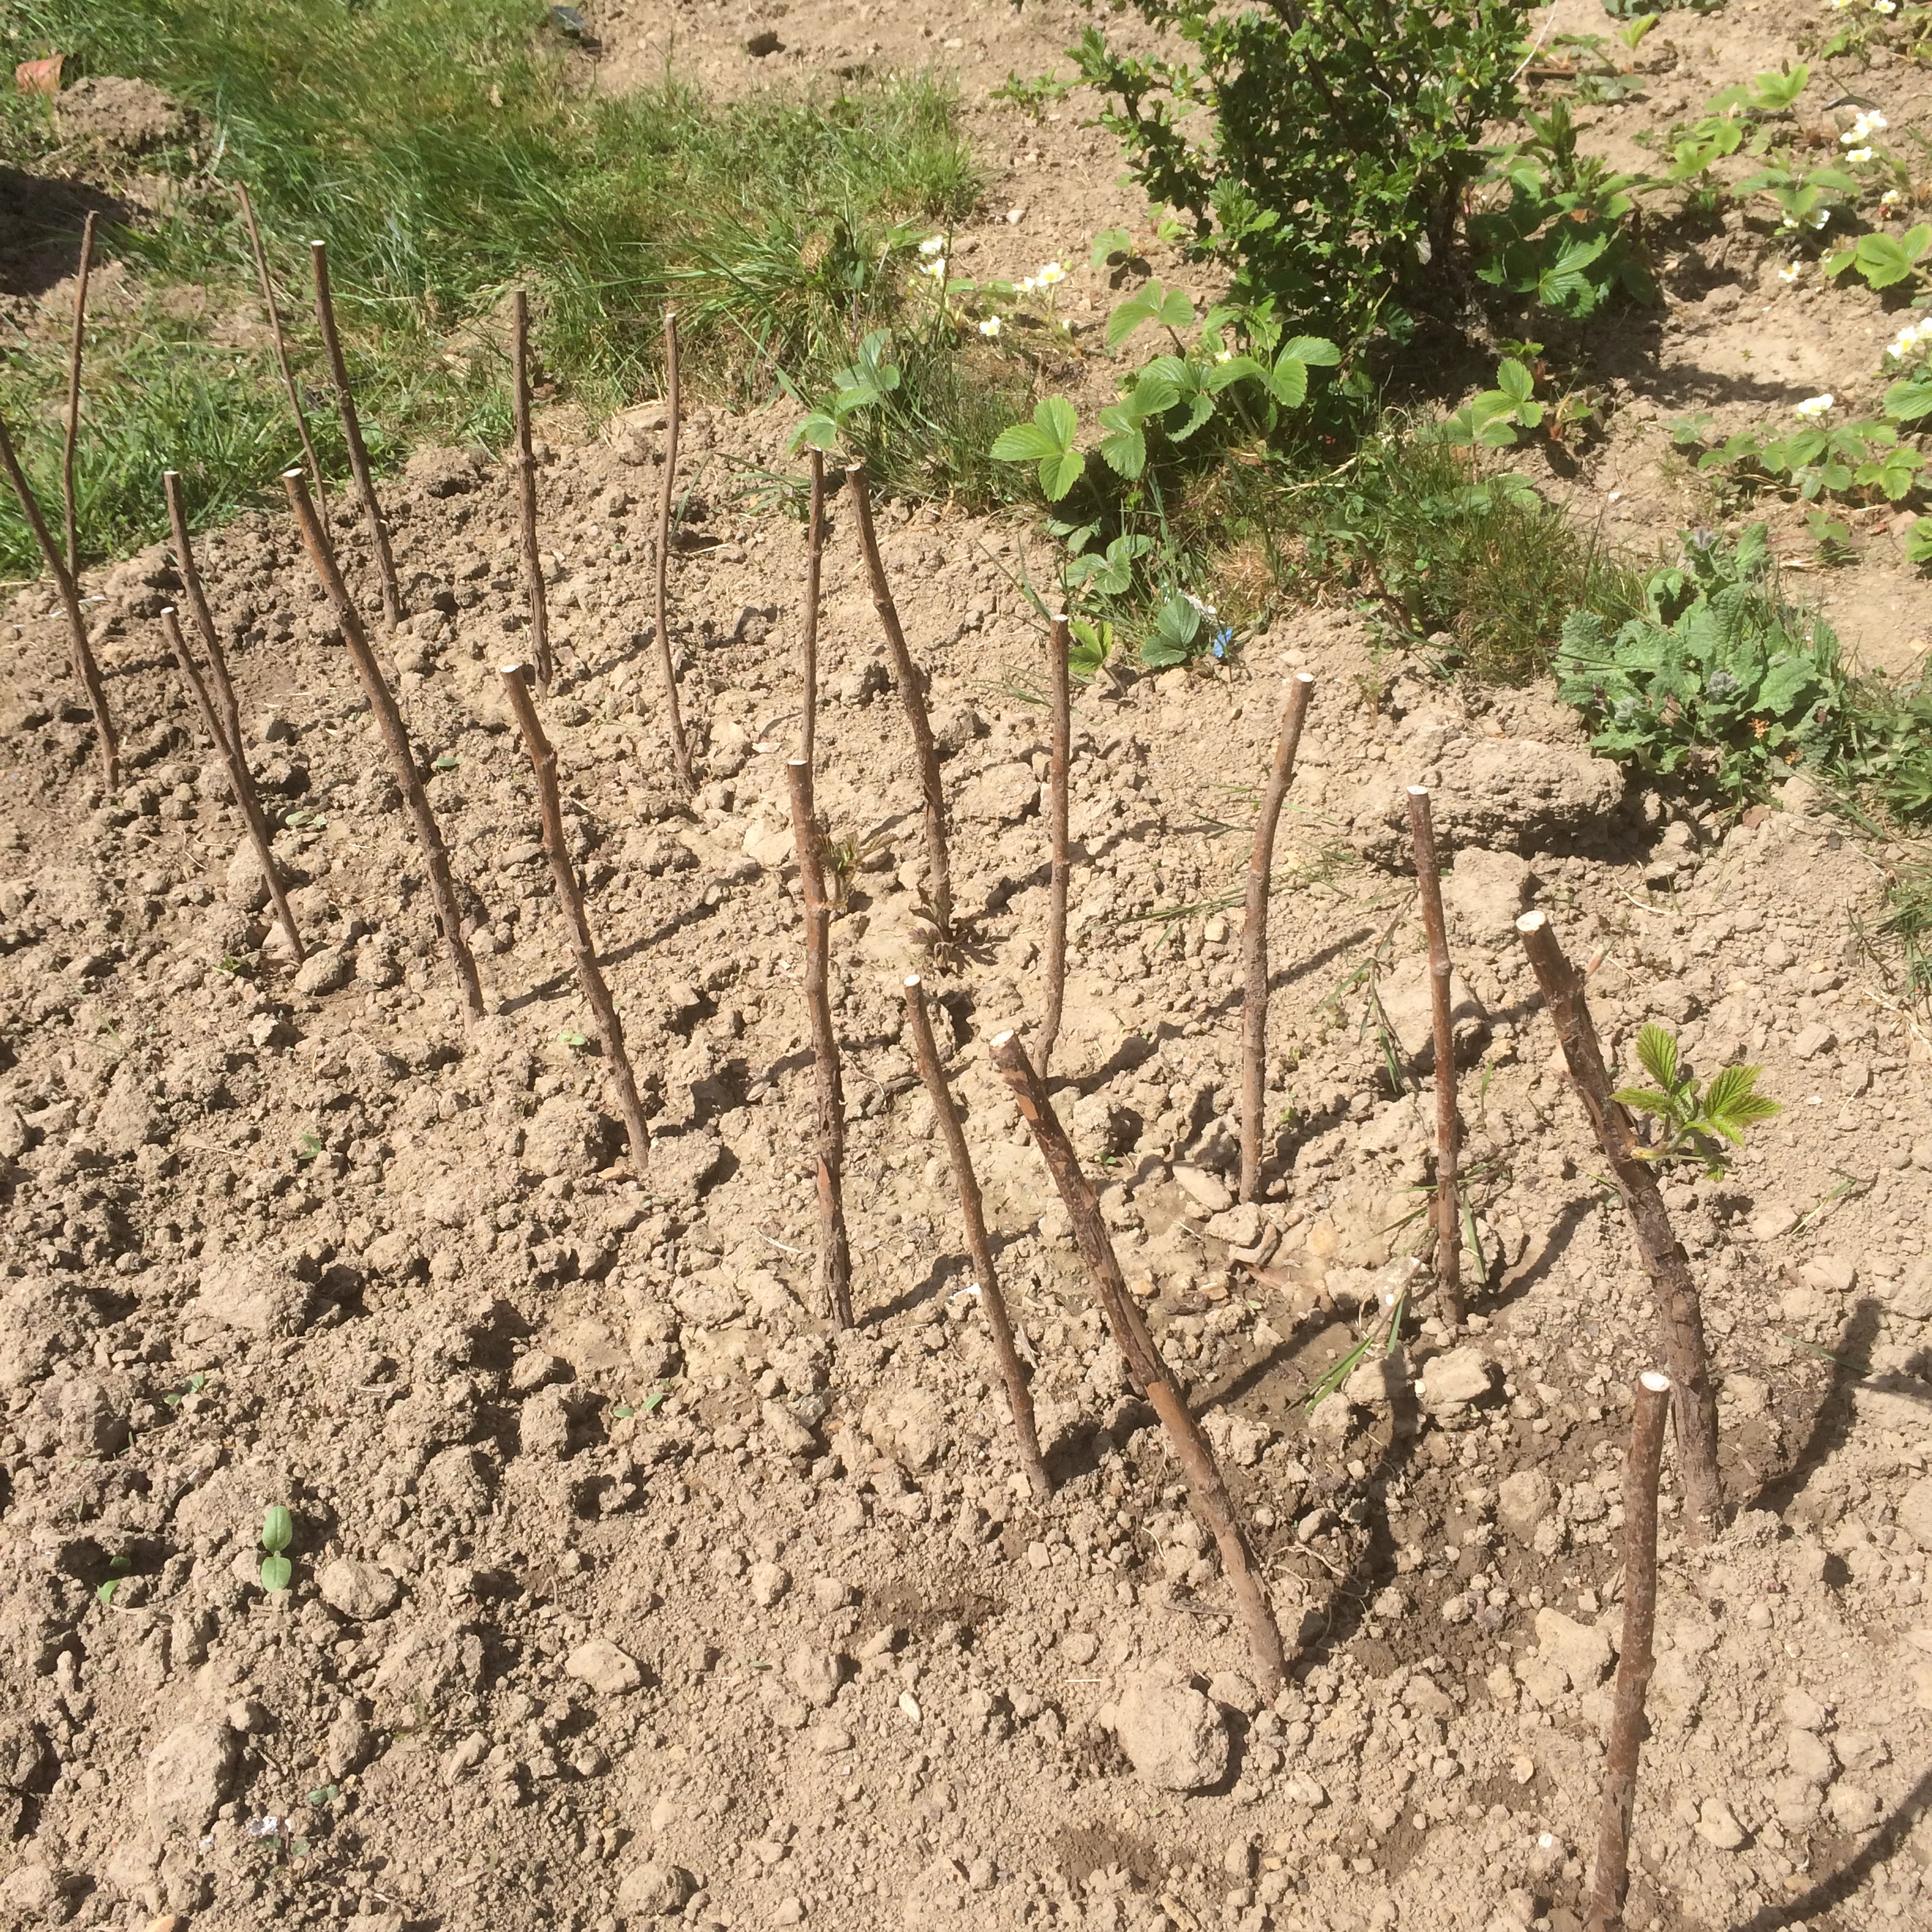
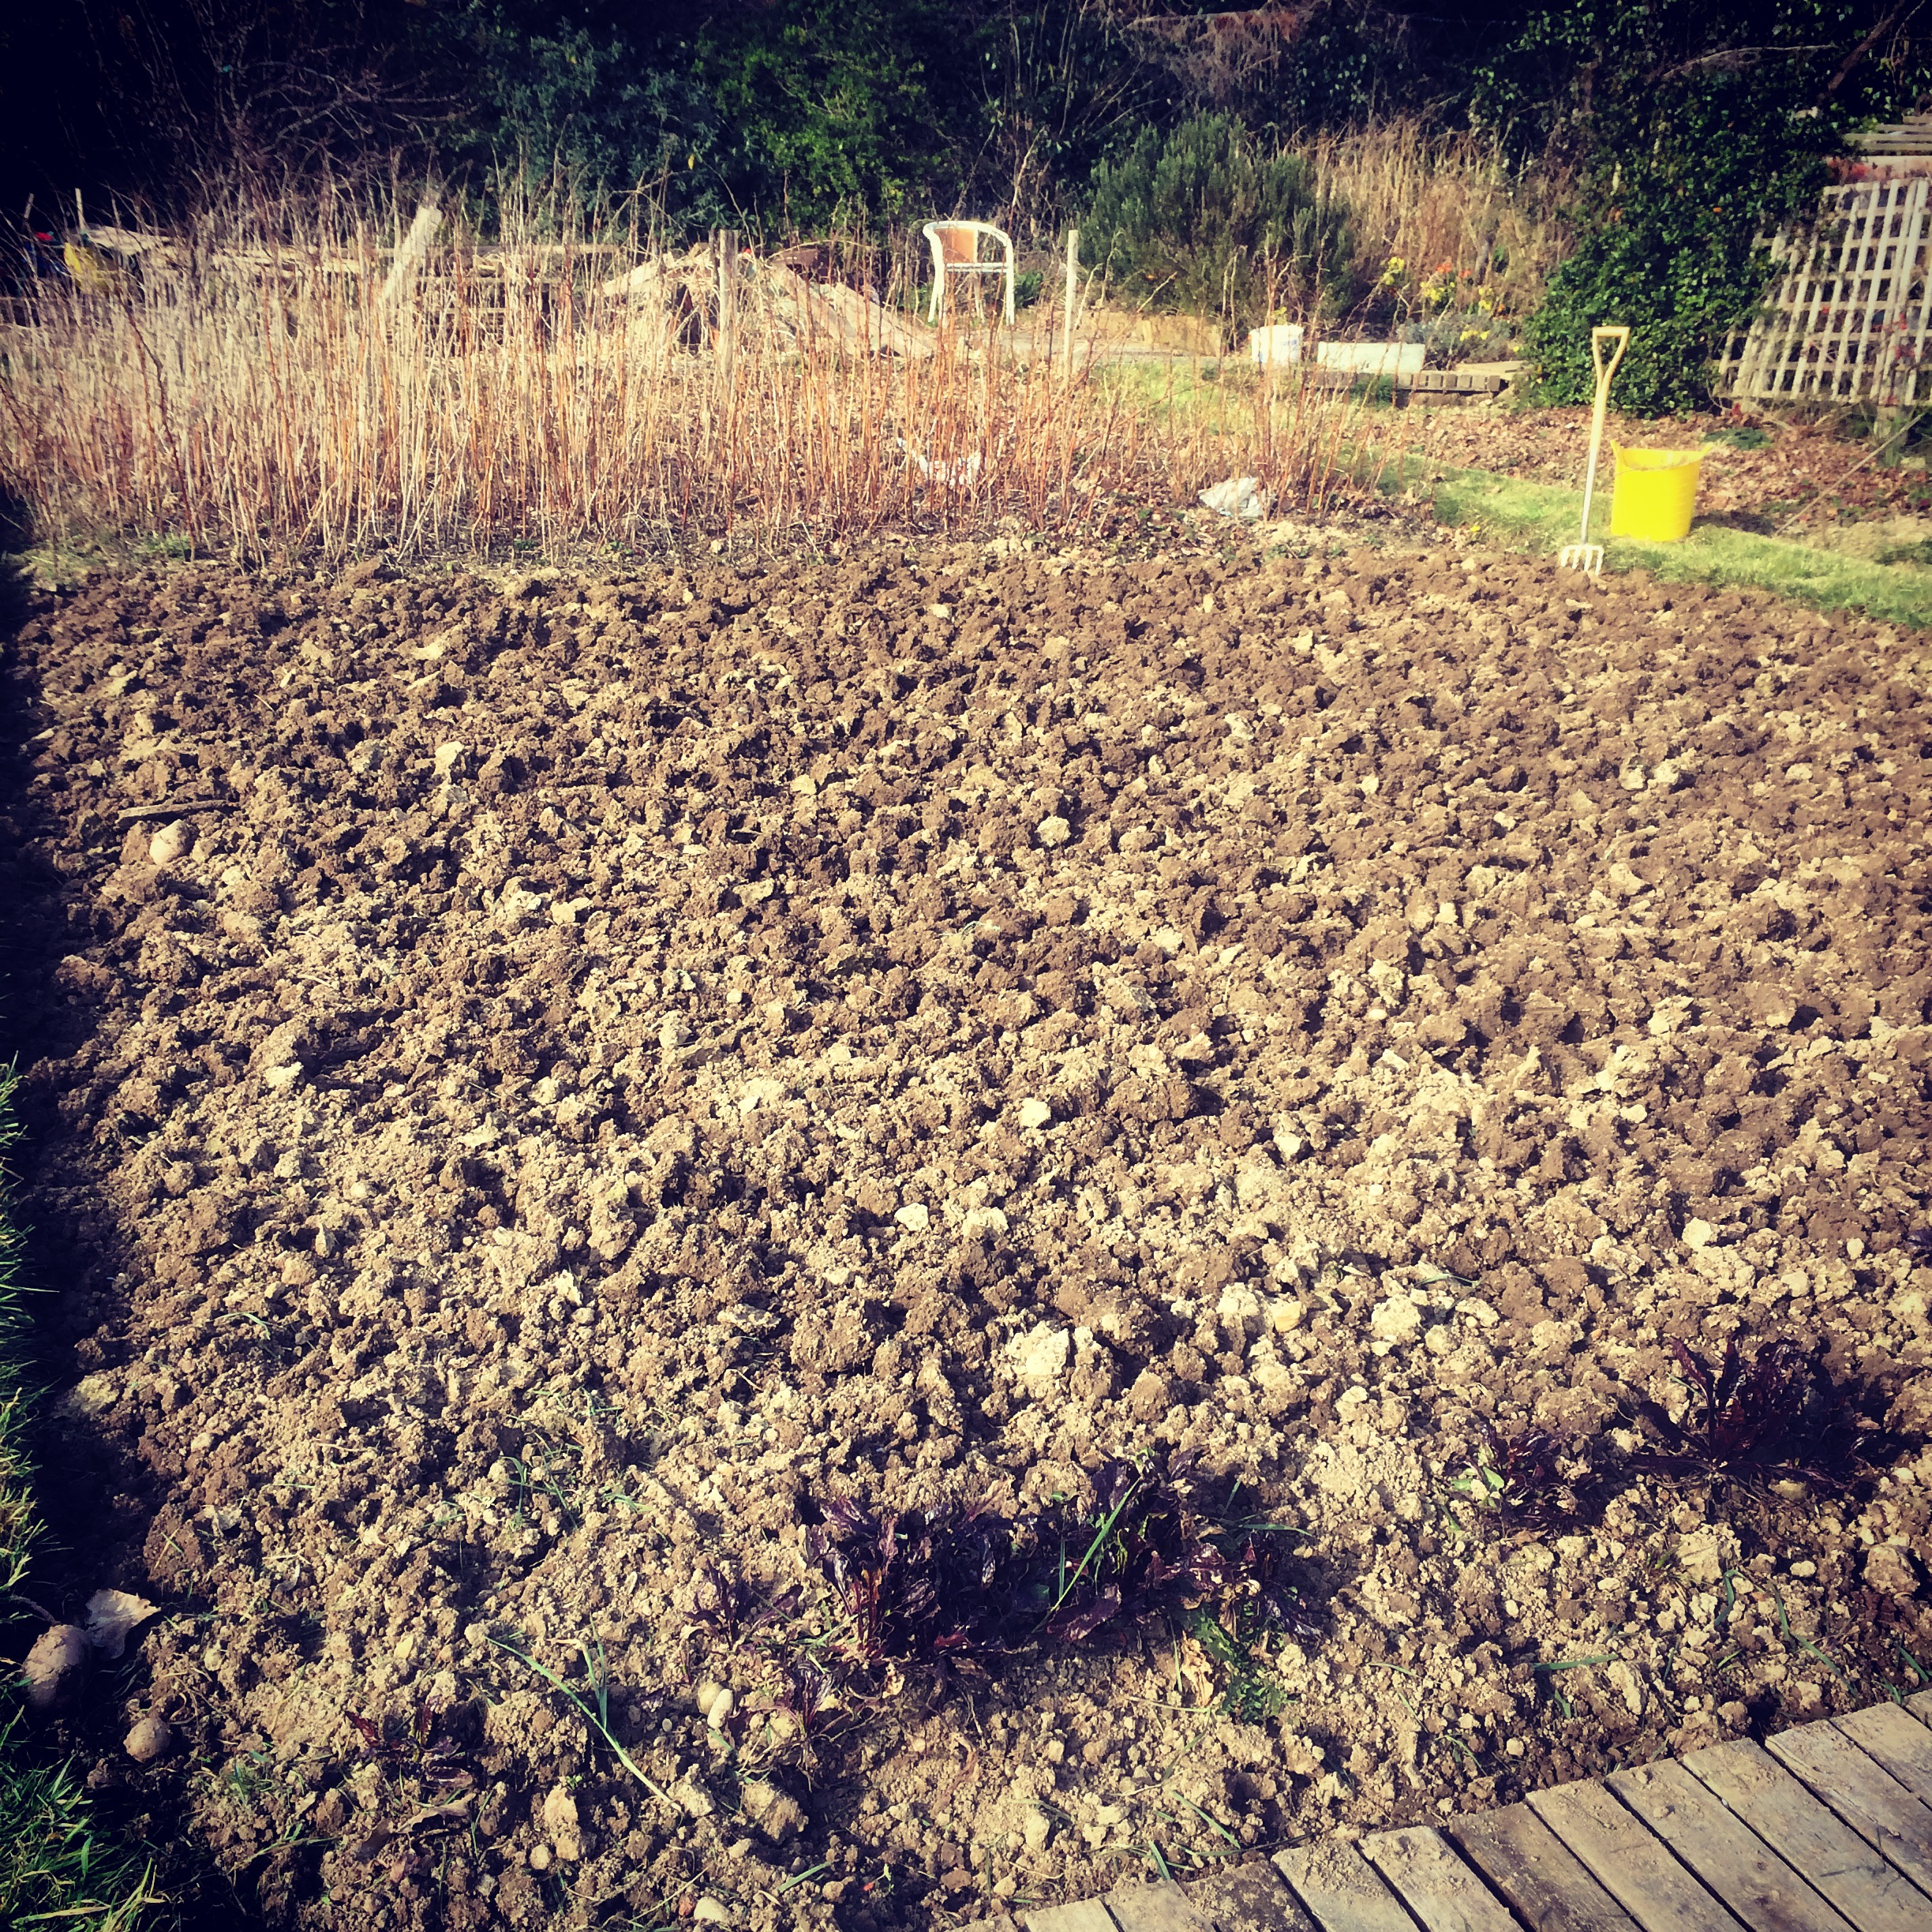
Fortunately we had had a lot rain, which softened the ground enabling us to make good progress, fairly quickly. The plot had been worked last year, so the overgrown weeds were fairly easy to remove. The huge amounts of brambles on the other hand were rather tricky to remove.
We’ve cleared about a third of the plot so far, but there’s still much to do.

Work in progress, plot 5
That white structure is interesting and not necessarily in a good way…. it’s made from old French doors and windows, apparently constructed by the previous tenant to grow melons in….. we don’t intend to grow melons so this structure will be removed at some stage…… very soon.
As the plot is at the very end of the site, we plan to make a gorgeous 40ft flower border along the side of the plot. It’s going to look spectacular. We’ll keep you posted with our progress.